
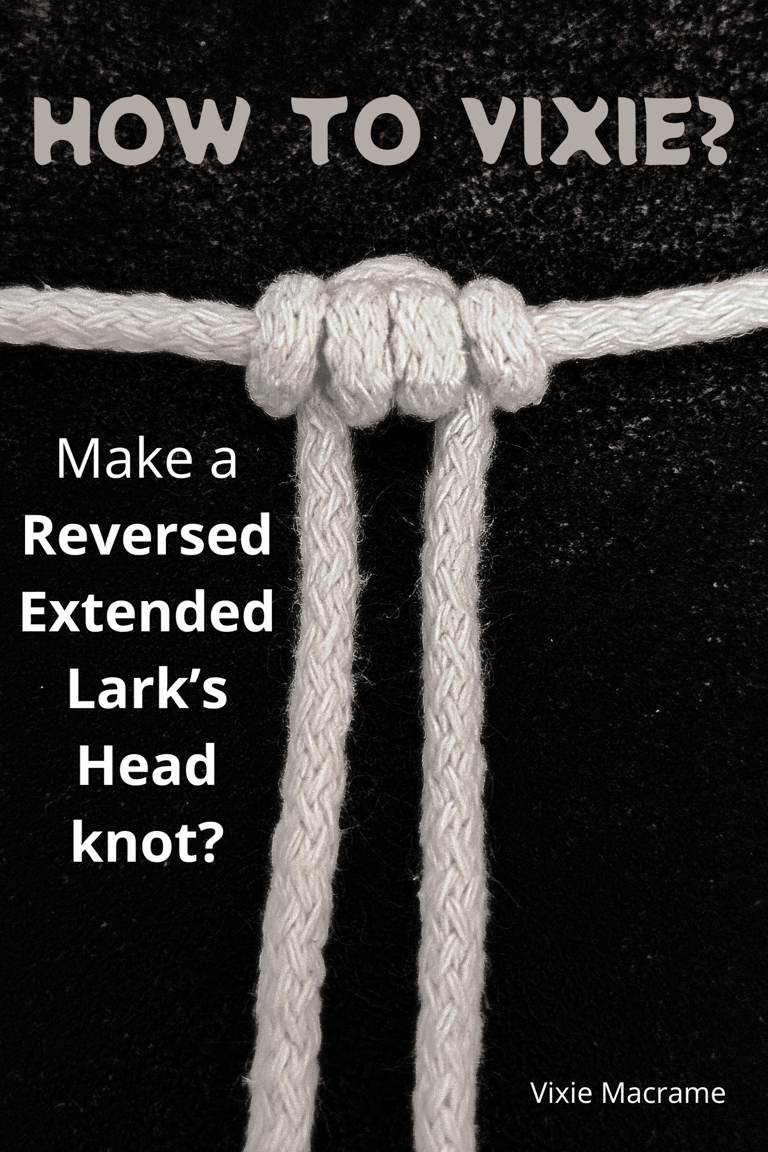
How to Vixie? Make a Reversed Extended Lark's Head knot?
Step into the wild flow of creativity with my tutorial on mastering the Extended Reversed Lark’s Head knot! This beautiful knot is the perfect way to add some extra boho flair and texture to your macrame magic. Whether you’re crafting dreamcatchers, keychains, or wall hangings, this knot will take your vibes to the next level. Follow along as I guide you through each step with love and good energy—let’s get those hands busy and your spirit soaring. Embrace the journey, spread the peace, and create something truly magical! Peace, love, and endless knots!
KNOTS TUTORIALS
Vixie Macrame
6/29/20254 min read
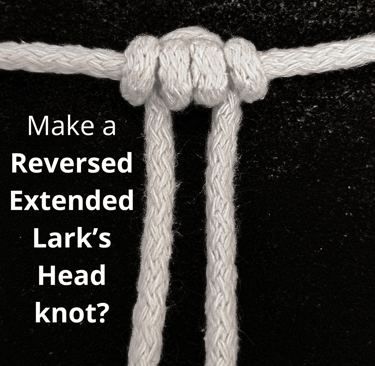
The Extended Reversed Lark's Head knot is a versatile variation of the classic knot that offers added length and decorative potential in your macramé projects. This knot secures cords firmly while creating an elegant, elongated loop that enhances both function and design. Mastering this knot can elevate your work, allowing you to attach cords with a unique twist compared to the standard Reversed Lark’s Head knot.
You will find this technique especially useful when you want a more dynamic attachment point on dowels, branches, or other anchors. It combines practicality with style, making it a valuable addition to your knotting skills.
What Is the Extended Reversed Lark's Head knot?
The Extended Reversed Lark's Head Knot modifies the standard reversed version by adding length and engagement in the loop, providing extra security and decorative potential. Understanding its structure, differences, and uses helps you decide when to apply it effectively in your macramé projects.
Differences from Standard Lark's Head knot
The Extended Reversed Lark's Head Knot starts like the regular Reversed Lark's Head knot but involves pulling the cord through with a longer loop. This extension gives the knot more surface area in contact with the anchor.
Unlike the standard, which lies flat and tight, the extended form creates a slight raised effect, offering both functional and visual variation. This can make your knots more secure on rougher on uneven surfaces.
You’ll find the Extended knot less common but preferable when added strength and a distinctive look are needed.
Common Uses in Macrame
You use the Extended Reversed Lark's Head Knot when you want a secure attachment with a bit of stretch or decorative appeal. It’s well-suited for suspending cords on dowels, branches, or rings where extra hold matters.
This knot is popular in jewelry making and detailed wall hangings where cords must stay firmly attached while maintaining a design flow. The loop extension can serve as a subtle feature or base for other knots.
If you work with thicker or recycled cords, this knot helps keep them from slipping or bunching. Its increased surface contact prevents damage from friction, making it ideal for durable or heavier macramé pieces.
Step-by-Step Extended Reversed Lark's Head knot Tutorial
This section guides you through setting up your workspace, following precise knotting steps, and using visual cues to perfect the Extended Reversed Lark's Head Knot. Proper preparation and understanding each movement help ensure a secure and consistent result.
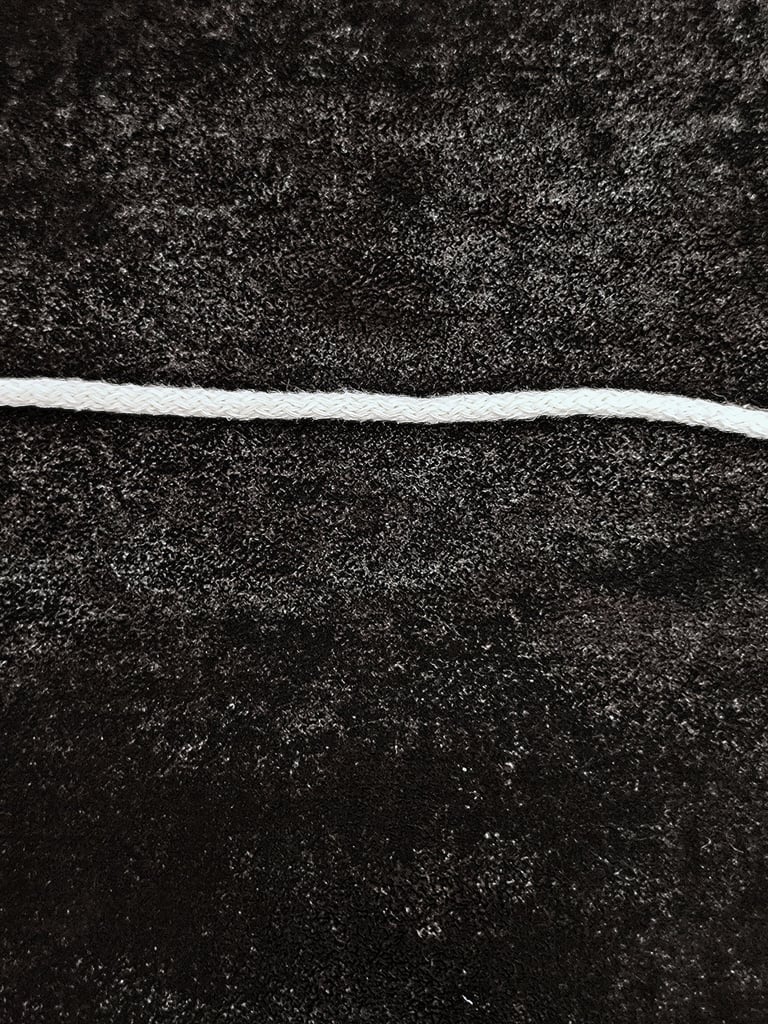
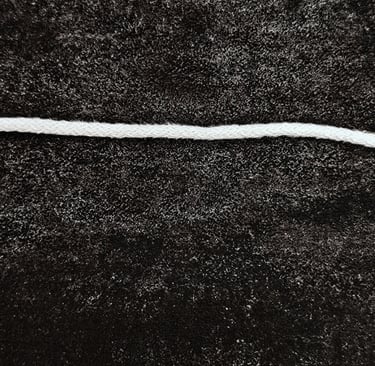
STEP 1
Select the cord or dowel where you want to attach your Extended Reversed Lark's Head knot.
STEP 2
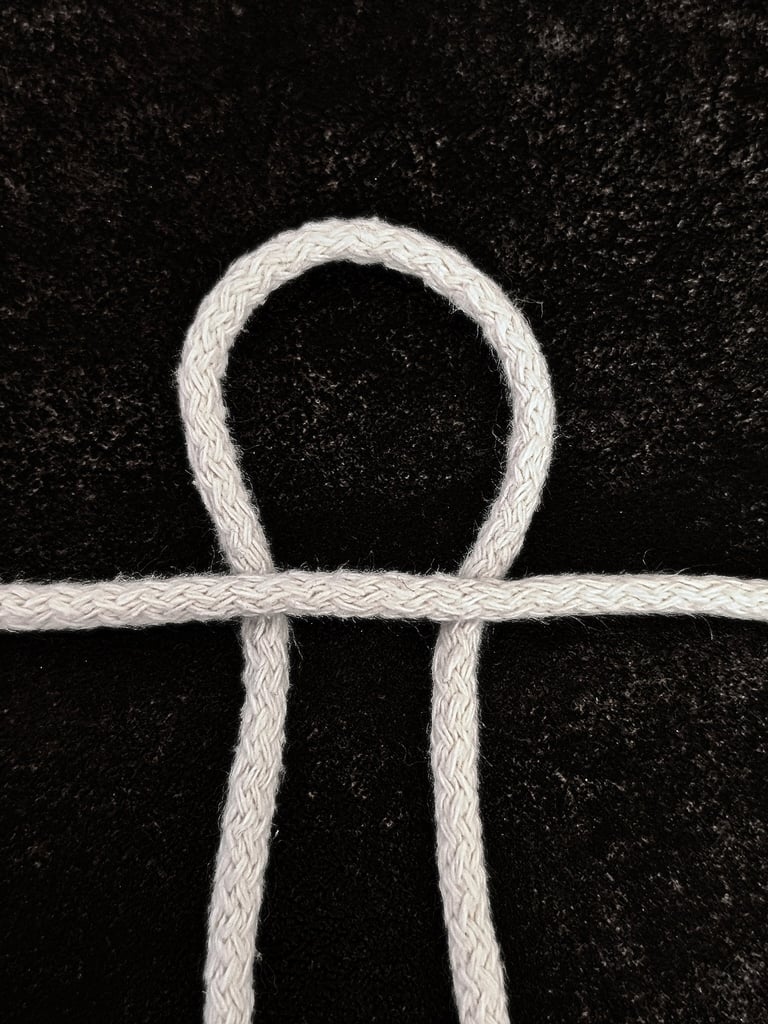
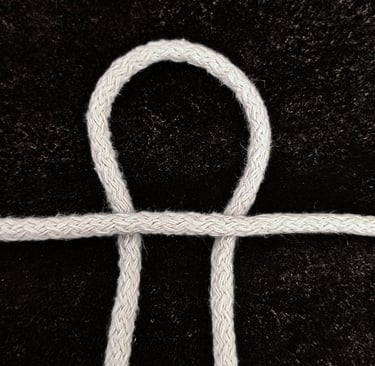
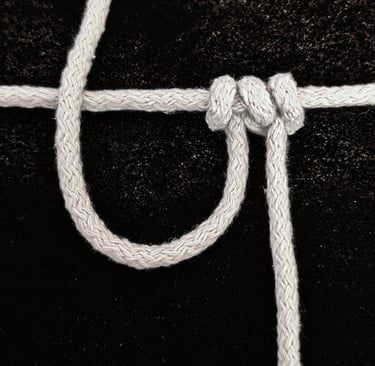
Take a new cord, fold it in half, and place the folded end behind the previously prepared cord or dowel.
STEP 3
Pass the ends of the cord through the loop you just created.
STEP 4
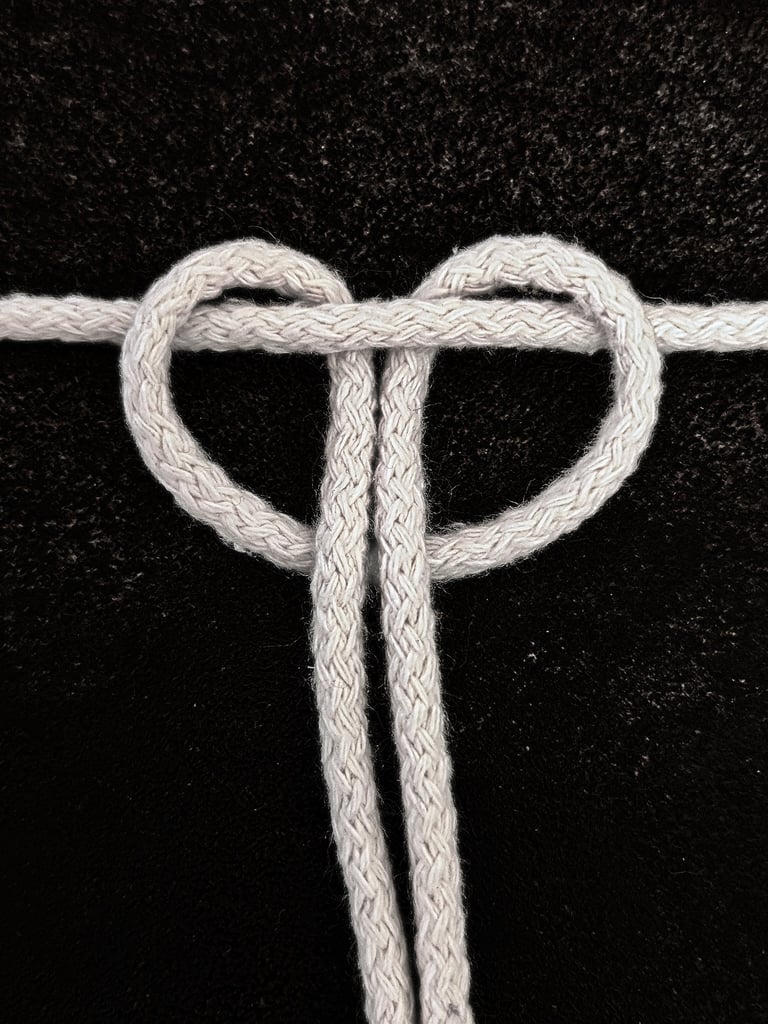
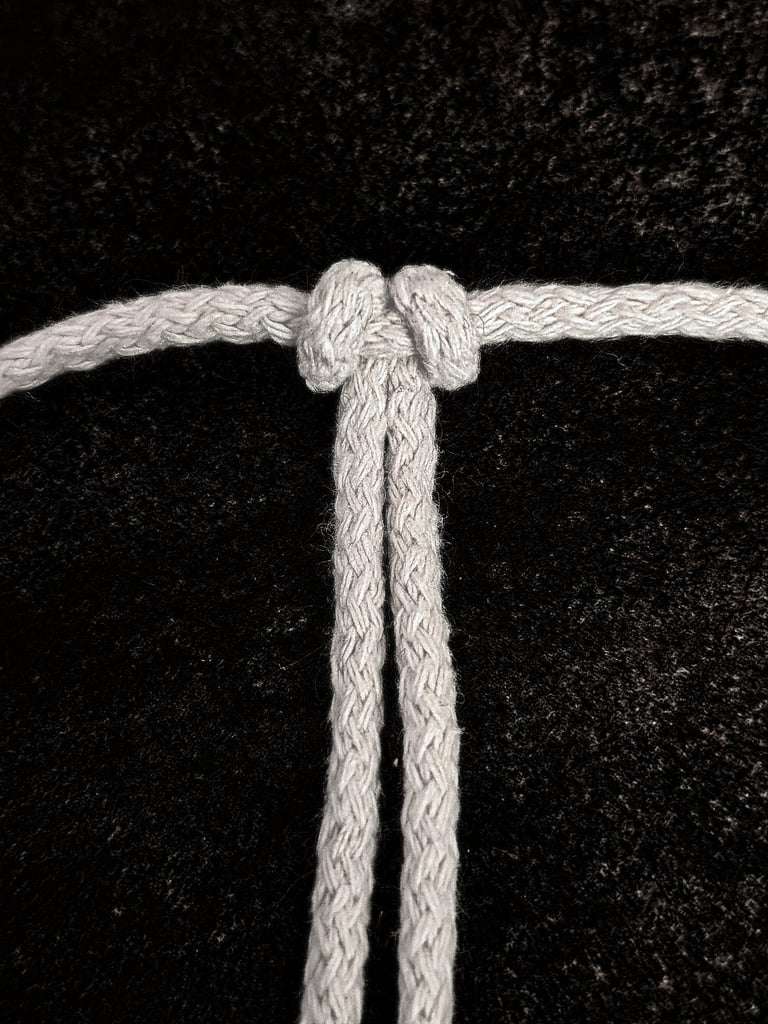
Pull the cord ends to tighten the knot securely.
STEP 5
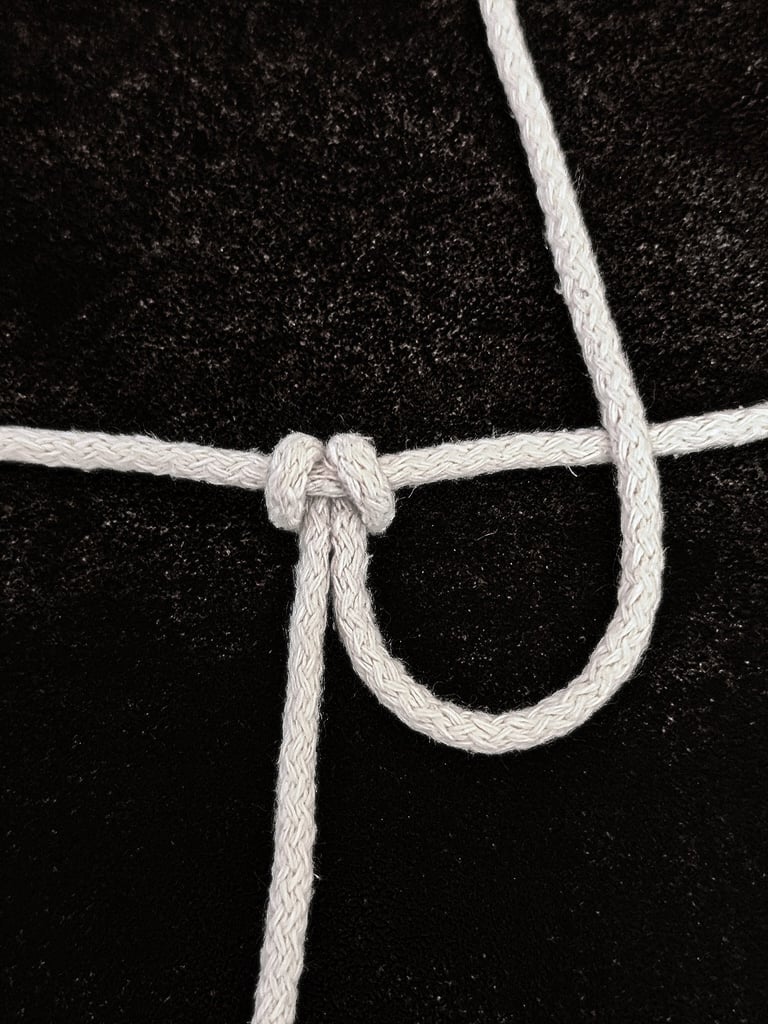
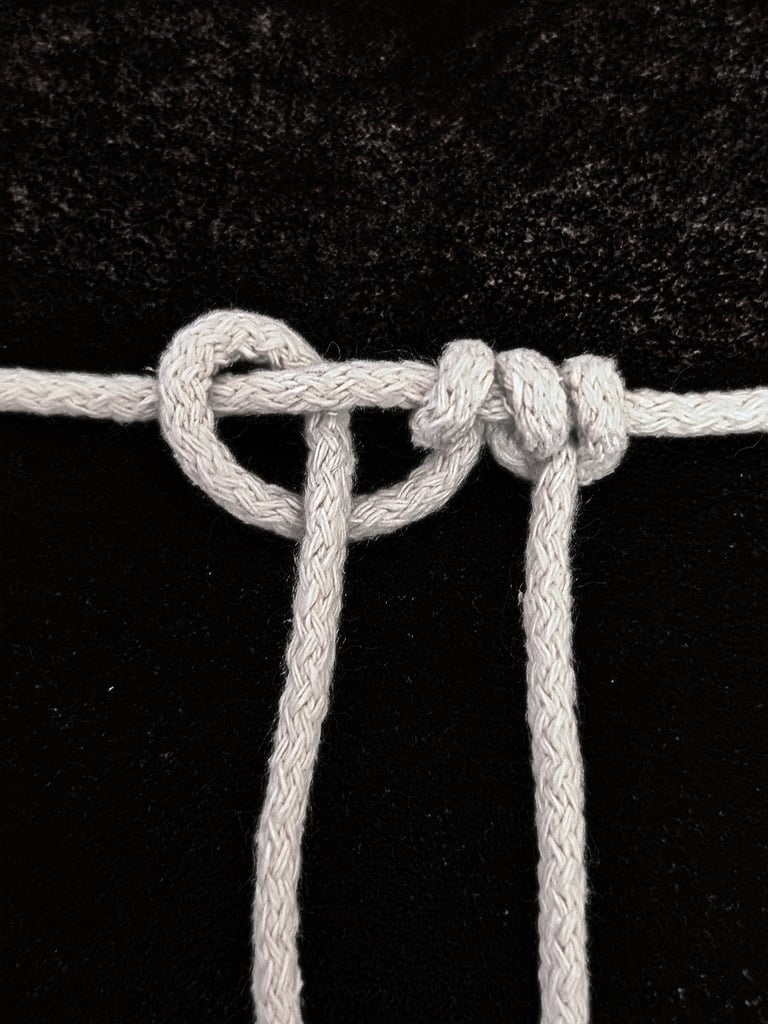
Lift the right cord upward to start extending the knot.
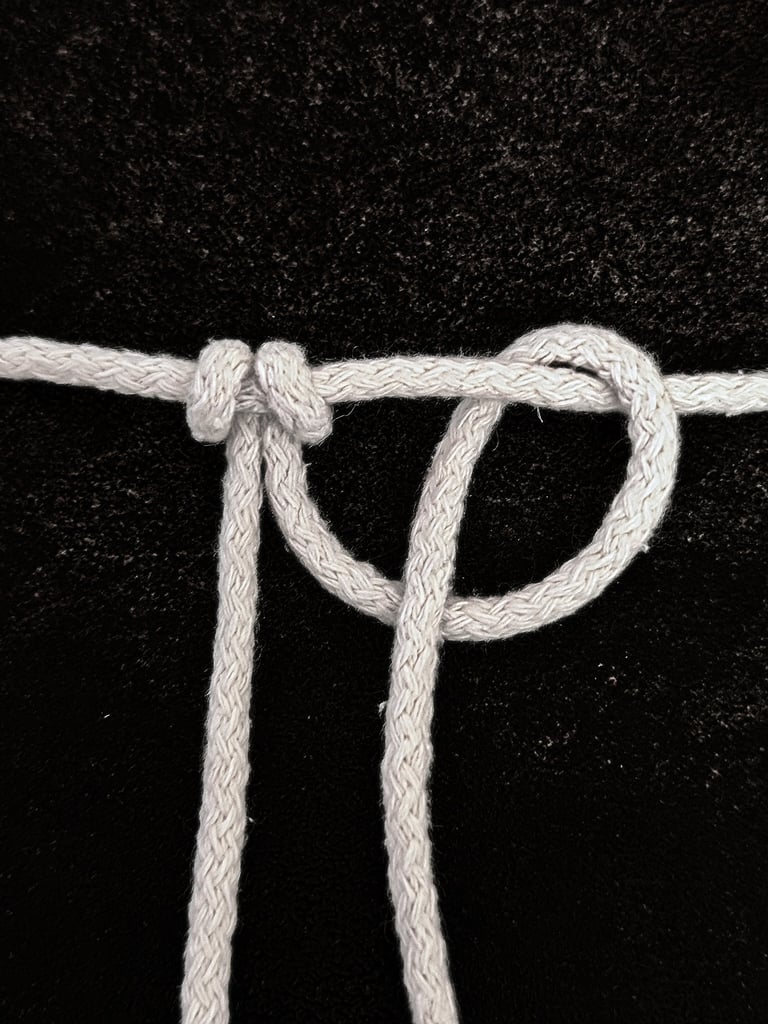
STEP 6
Take the cord’s end, bring it across, and then pass it back down through the loop you just created.

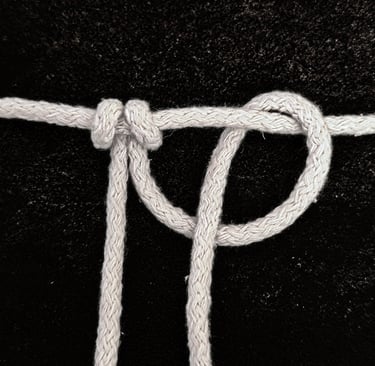
STEP 7
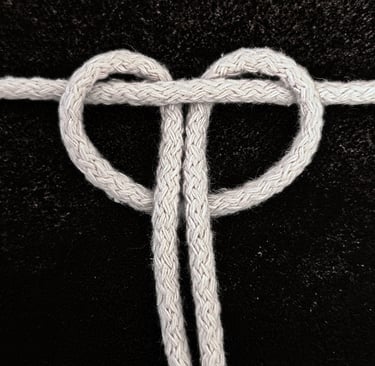
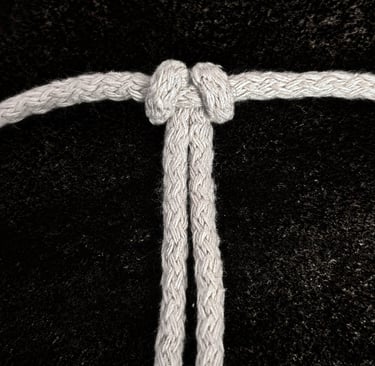
Pull the cord to tighten the knot securely.
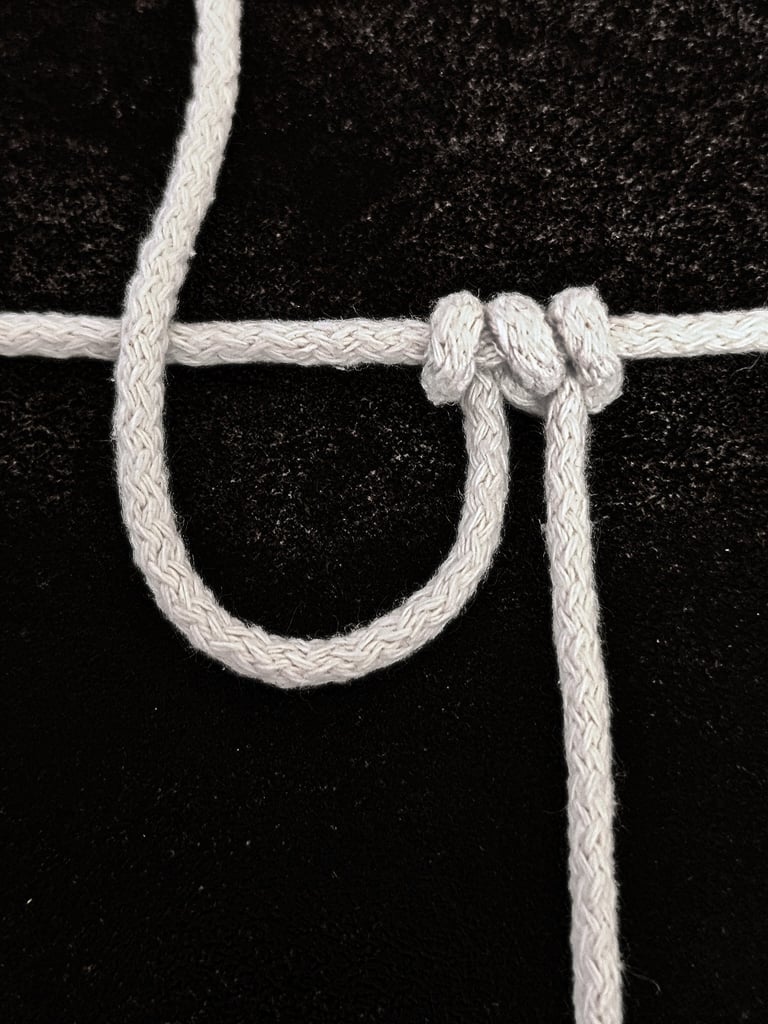
STEP 8
Lift the left cord upward.
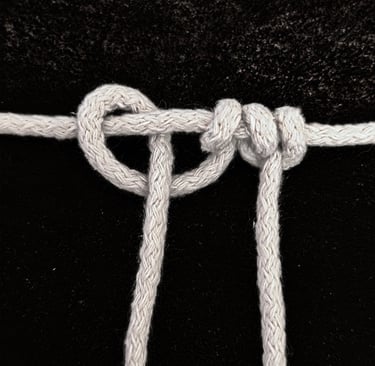
STEP 9
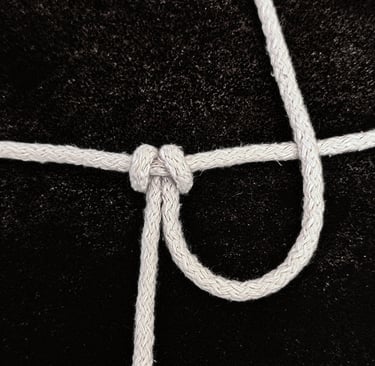
Take the cord’s end pass it behind, and then down through the loop you created.
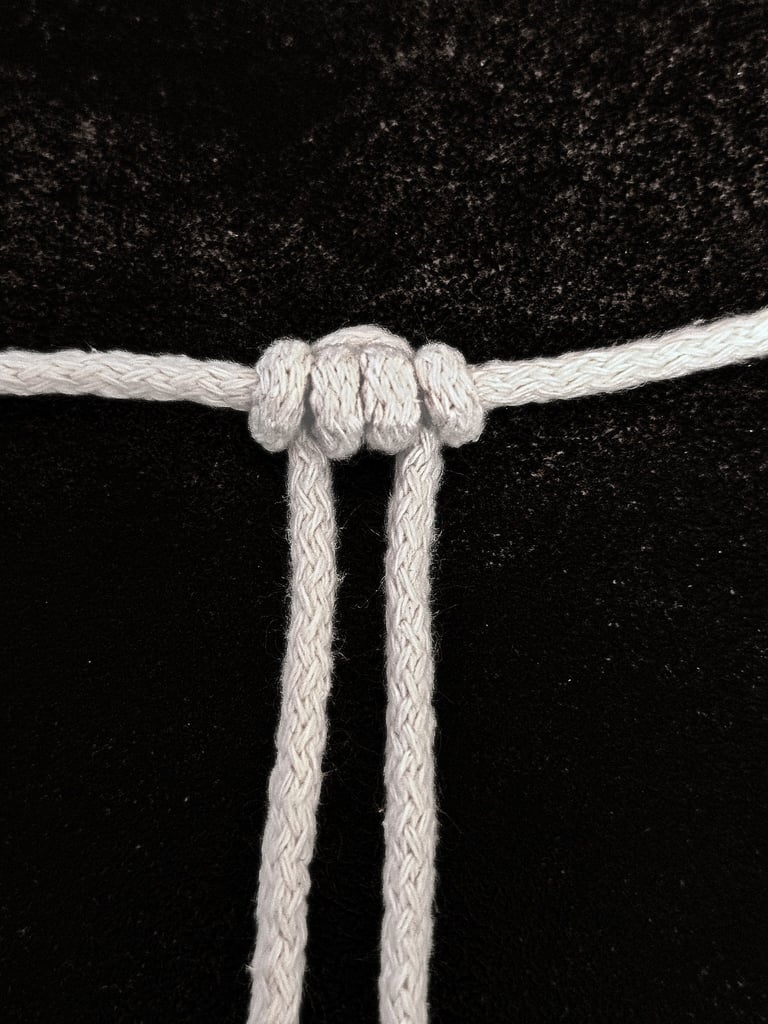
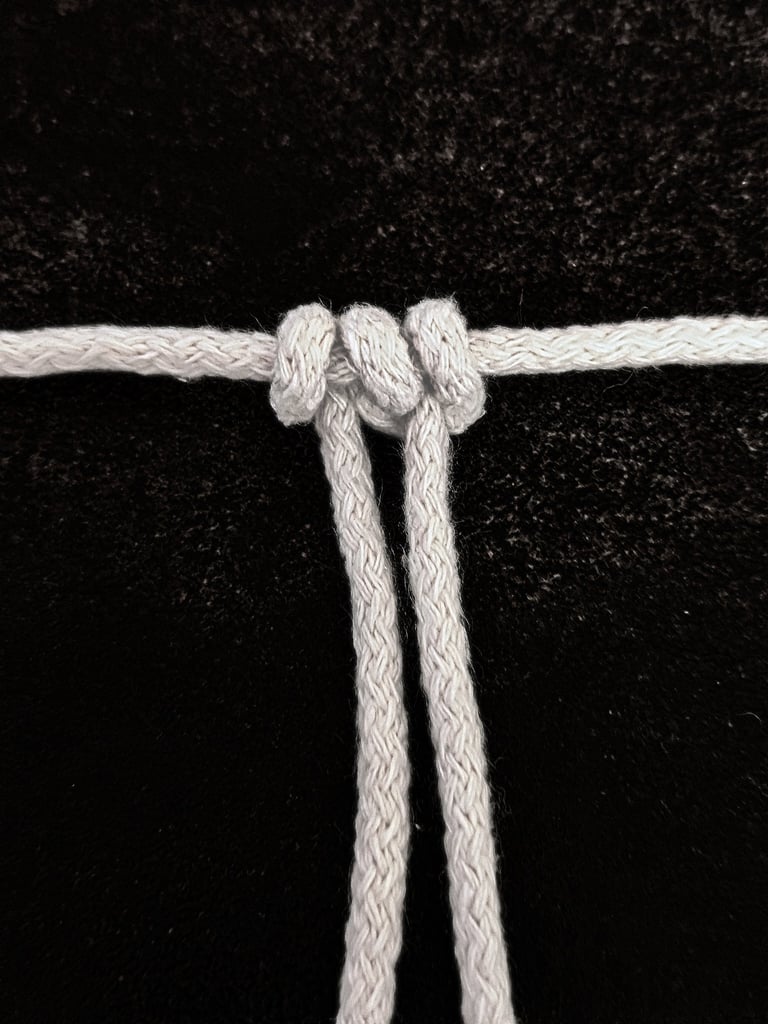
STEP 10
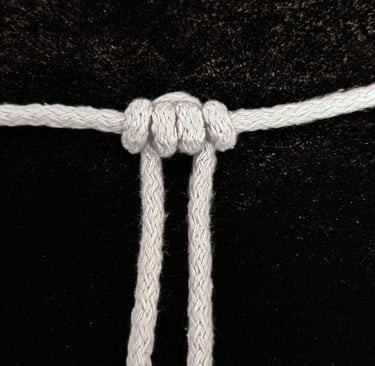
Pull the cord to tighten the knot. You have successfully completed the knot.
Troubleshooting Common Issues
When working with the Extended Reversed Lark's Head knot, several challenges can arise related to tension, knot placement, and technique consistency. Addressing these effectively ensures your macramé project maintains its clean and structured look.
Fixing Uneven Tension
Uneven tension in your knots can cause your design to warp or look unbalanced. Start by loosening the knot gently and pulling the cords evenly before tightening again.
Make sure you hold the base cord firmly while adjusting the loop size. Use your fingers to align the cords precisely, avoiding any twists or overlaps.
If one cord consistently pulls tighter, check your working angle. Maintaining a consistent pulling direction helps equalize tension throughout the knotting process.
Correcting Mistakes
If you notice a knot tied incorrectly, avoid pulling hard to force it into place. Undo the knot carefully by loosening the loop until you can slide the cords free.
Use a small tool like a crochet hook or blunt needle to assist in unthreading tight or complicated knots without damaging the cord.
After untangling, retie slowly, following the steps precisely: wrap the loose end over the object, loop it under itself, then pull through and tighten securely.
Avoiding Common Pitfalls
Begin your project by securing your cords properly to avoid slippage. The Extended Reversed Lark's Head knot requires stable anchoring to maintain structure.
Avoid using cords that are too slippery or thick for the chosen object, as this can affect knot hold and appearance.
When moving between knots, keep the working cords flat and untwisted. Twisted cords often lead to inconsistent knot shape and uneven spacing in your pattern.
Review your progress frequently to catch and adjust issues early.