
How to Vixie? Make a Reversed Lark's Head knot?
In this tutorial, we’ll explore the Reversed Lark’s Head Knot — a subtle variation of a classic knot that adds clean lines and a polished look to your macramé designs. Whether you’re creating a wall hanging, keychain, or plant hanger, this knot is a great technique to keep in your creative toolkit. Follow along step-by-step as we break it down in an easy, beginner-friendly way. It’s a small twist that can make a big difference in the texture and flow of your piece. Grab your cord, and let’s get started!
KNOTS TUTORIALS
Vixie Macrame
6/7/20254 min read
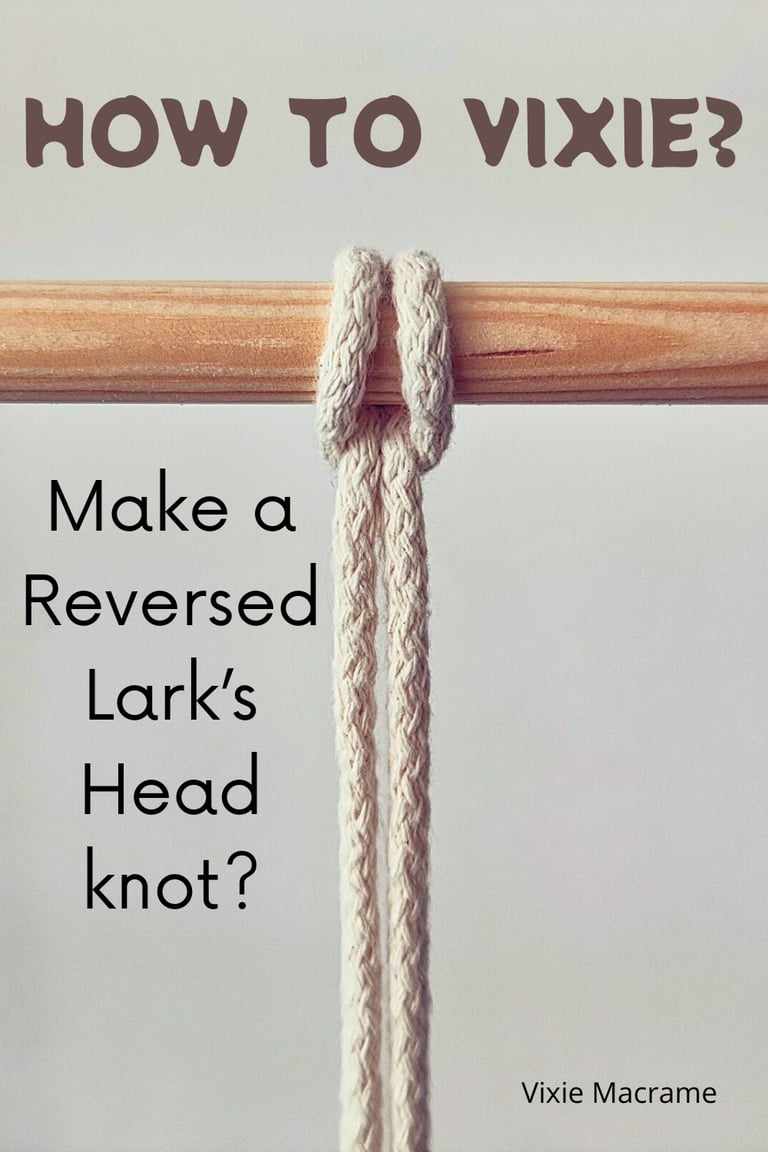
The Reverse Lark's Head knot is a simple yet essential technique for attaching cords securely to objects like dowels, branches, or keychains. This knot creates a clean, effective connection by looping the cord around the object in the opposite direction of the traditional Lark's Head knot, offering a subtle variation in tension and appearance.
Mastering this knot expands your macramé skills, allowing you to create more intricate patterns and stronger attachments. Whether you're working on wall hangings, jewelry, or decorative items, understanding how to tie a Reverse Lark's Head knot will make your projects neater and more durable.
You’ll find the steps easy to follow and perfect for both beginners and experienced crafters looking to refine their technique.
What Is the Reversed Lark's Head knot
The Reversed Lark's Head knot is a simple yet versatile knot used mainly in macramé and crafting. It differs from the standard Lark's Head knot by the way the cord is looped around an object, creating a reversed orientation. This affects how the knot sits and behaves in your project.
Understanding its history and key characteristics will help you use this knot effectively in attaching cords and adding texture to your work.
Origin and History
The Lark's Head knot, including the reversed version, originates from traditional knot-tying used in various crafts and maritime activities. It has been widely adopted in macramé due to its ease of use and secure hold.
The reversed variation likely developed as a practical alternative, offering a mirror image that changes the knot’s direction around an anchor point. This tweak provides crafters with more design options, especially when creating symmetrical or patterned works.
Today, it remains a fundamental knot for attaching cords to dowels, rings, or other anchor points, favored for its neat appearance and simplicity.
Key Features
The main feature distinguishing the Reversed Lark's Head knot from the regular one is how the loop is positioned relative to the anchor. Instead of pulling the loop over the front, you bring it up from the back.
This results in the knot facing the opposite way, which can affect the tension and layout of your cords. Despite this, it functions just like the normal Lark’s Head knot in terms of holding strength.
You can use it to attach cords securely to objects such as dowels, branches, or cords. Its clean finish and adaptability make it useful in jewelry, home décor, and other fiber arts.
Step-by-Step Reversed Lark's Head knot Tutorial
You will start by preparing your cords and workspace, ensuring you have the right materials. Then, you will create the foundational loop that sets the stage for the knot. The knot itself will be formed around your chosen object, followed by a secure tightening to maintain stability.
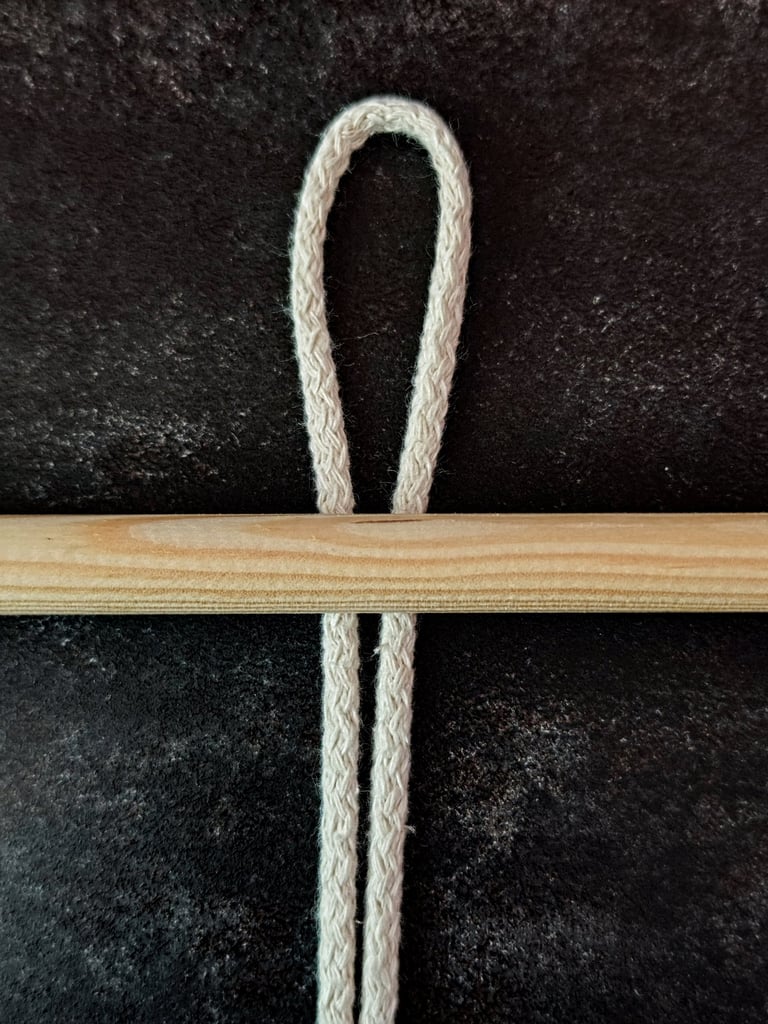
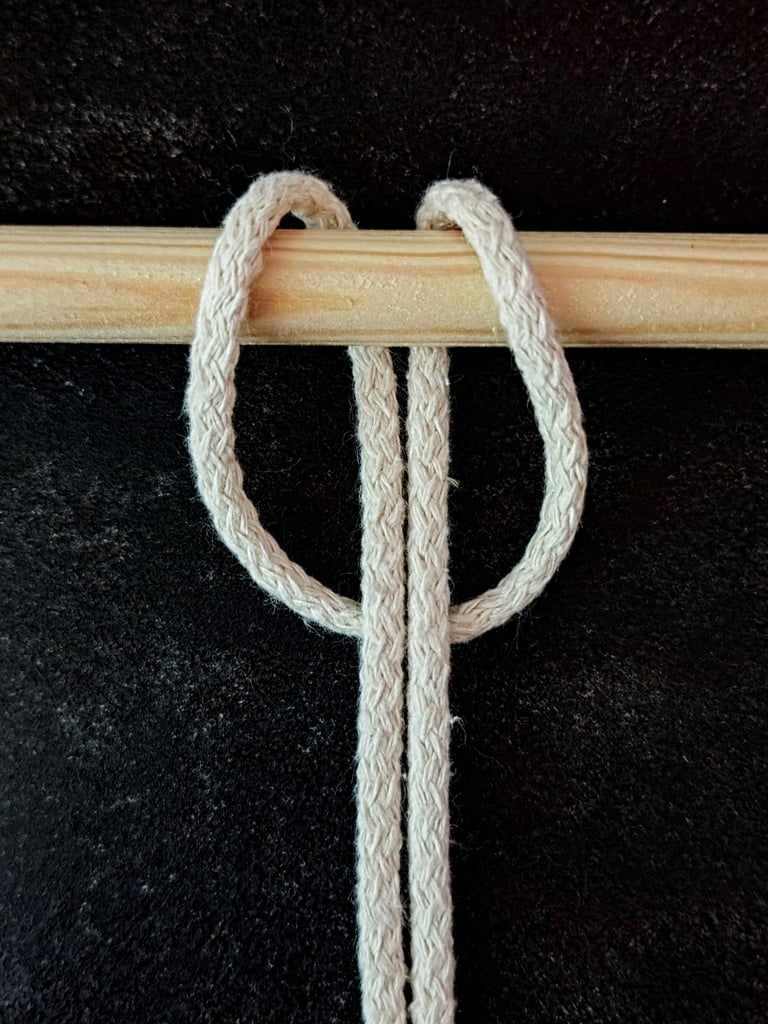
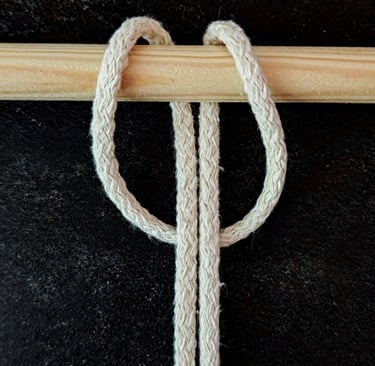
STEP 1
Fold a cord in half to form a loop. Position it behind the dowel.
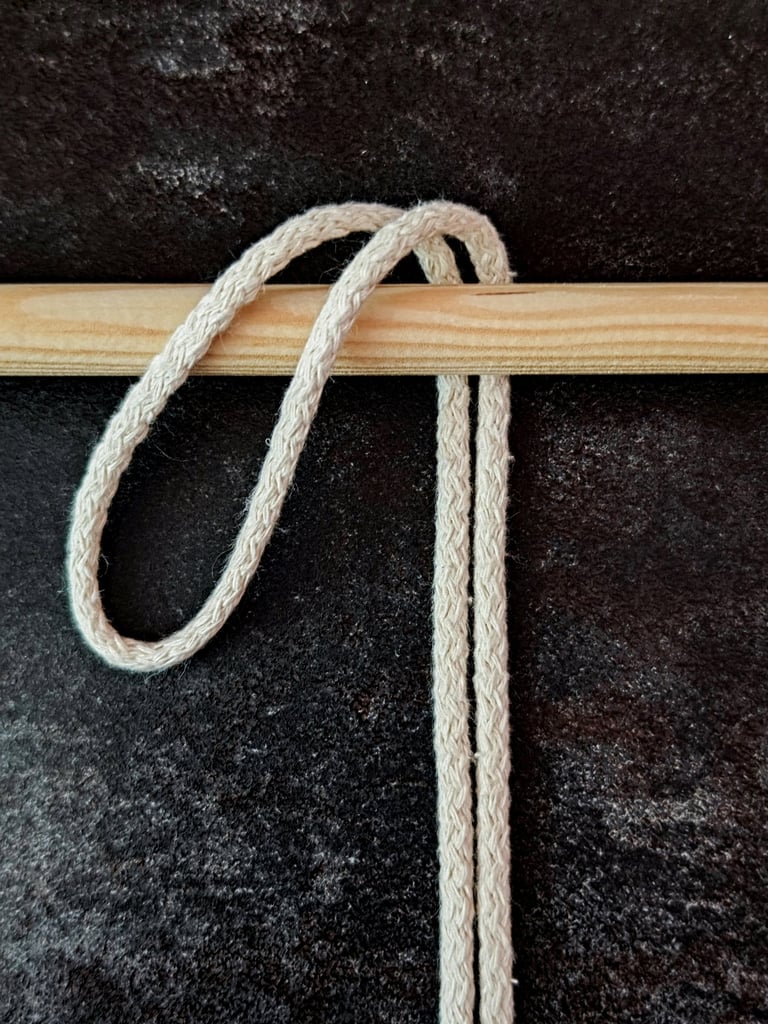
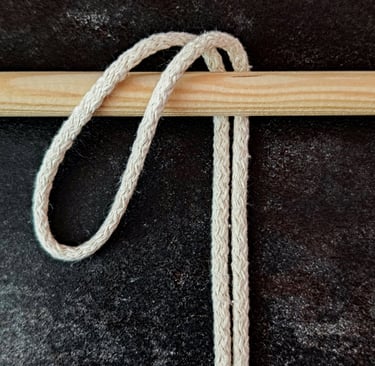
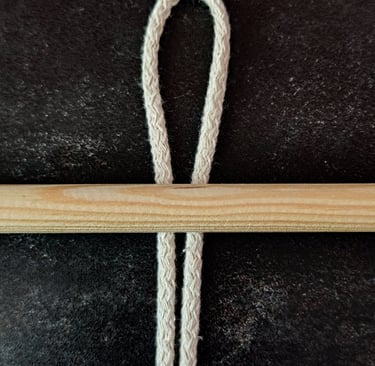
STEP 2
Fold the loop in front of the dowel, top down.
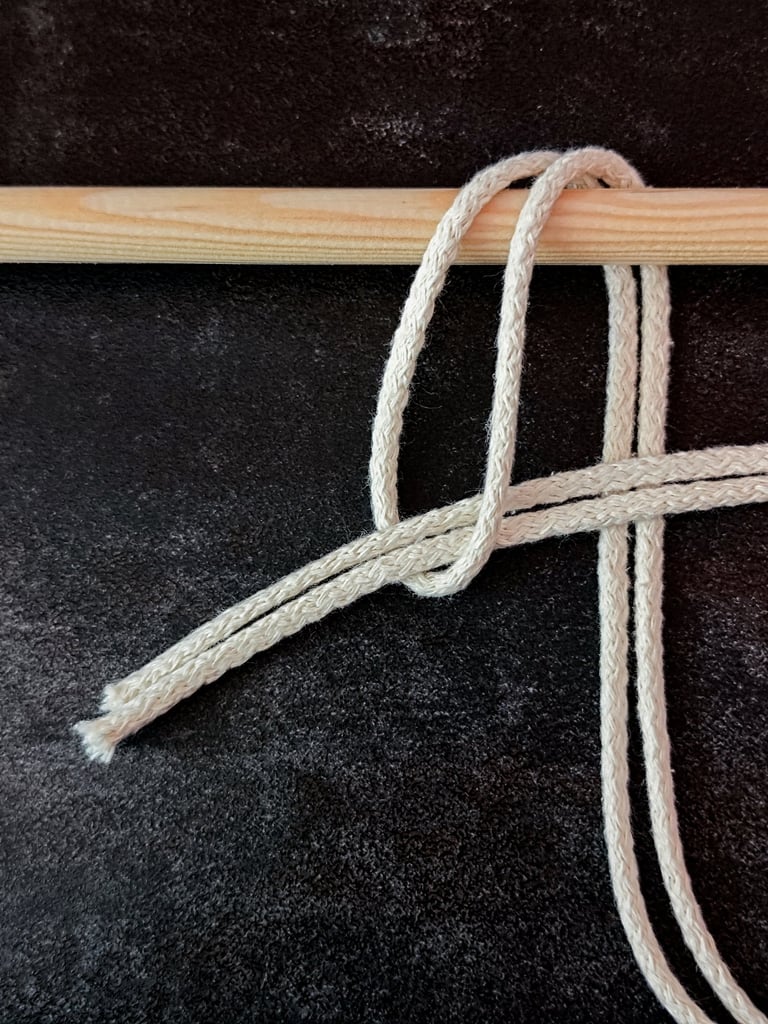
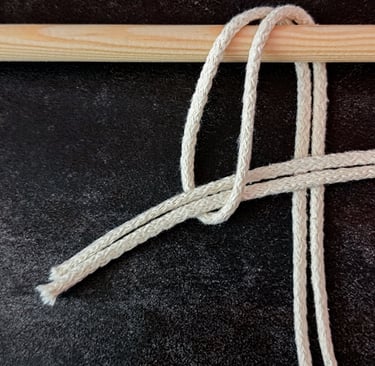
STEP 3
Take the vertical ends and pass them through the loop.
STEP 4
Start pulling on the cord's ends, so the loop starts to tighten around the dowel.
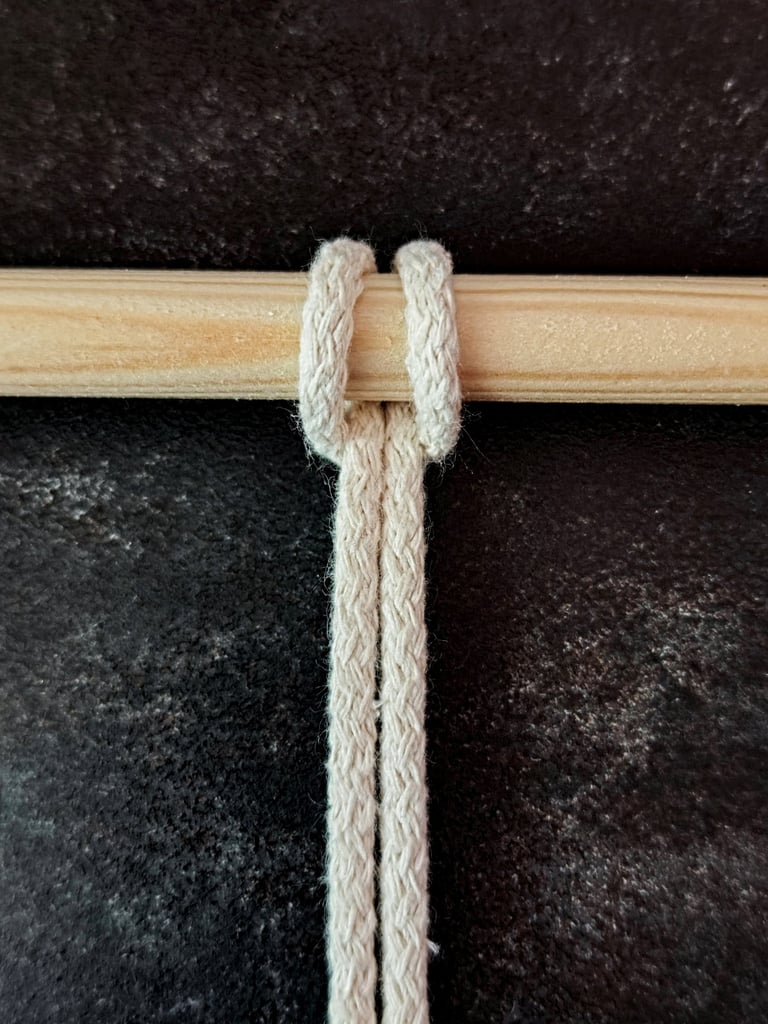
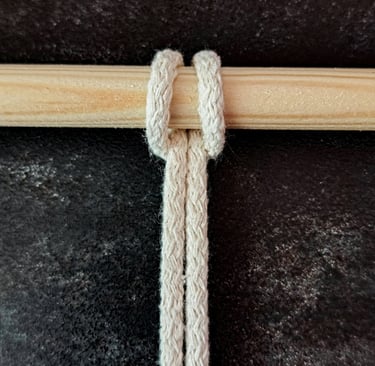
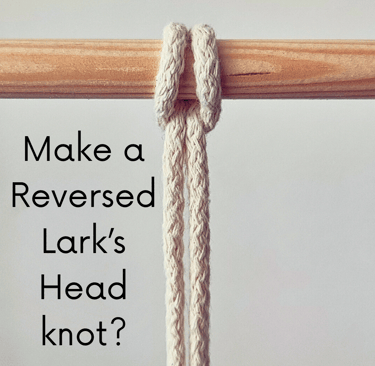
STEP 5
Tighten the loop firmly around the dowel.
When tying the Reversed Lark's Head knot, you might encounter problems that affect the knot's appearance and hold. Addressing these issues early will ensure your cords remain secure and your project looks tidy.
Uneven loops usually happen when the cord loops are not pulled through the anchor object consistently. To fix this, start by aligning both sides of the loop evenly before tightening.
Check that the loop passes fully behind or in front of the dowel, depending on your knot orientation. Pull gently on each side of the loop to balance the lengths before securing the knot.
If your loops remain uneven after tightening, loosen the knot slightly and reset the loop placement. Practice will help you develop muscle memory for making symmetrical loops every time.
Uneven Loops
Loose Knots
Loose knots occur when the cords aren’t pulled tight enough around the anchor after looping. This reduces the knot’s grip and can cause slipping.
After creating the Reversed Lark’s Head knot, pull the ends firmly but not so hard that the cord is distorted. The knot should sit snugly against the dowel or object.
If your knot loosens over time, try tightening it periodically while working. Additionally, using a cord with slight friction, like macramé cord, will help maintain tension better than very smooth materials.
Adjust the tension incrementally to avoid damaging delicate cords.
