
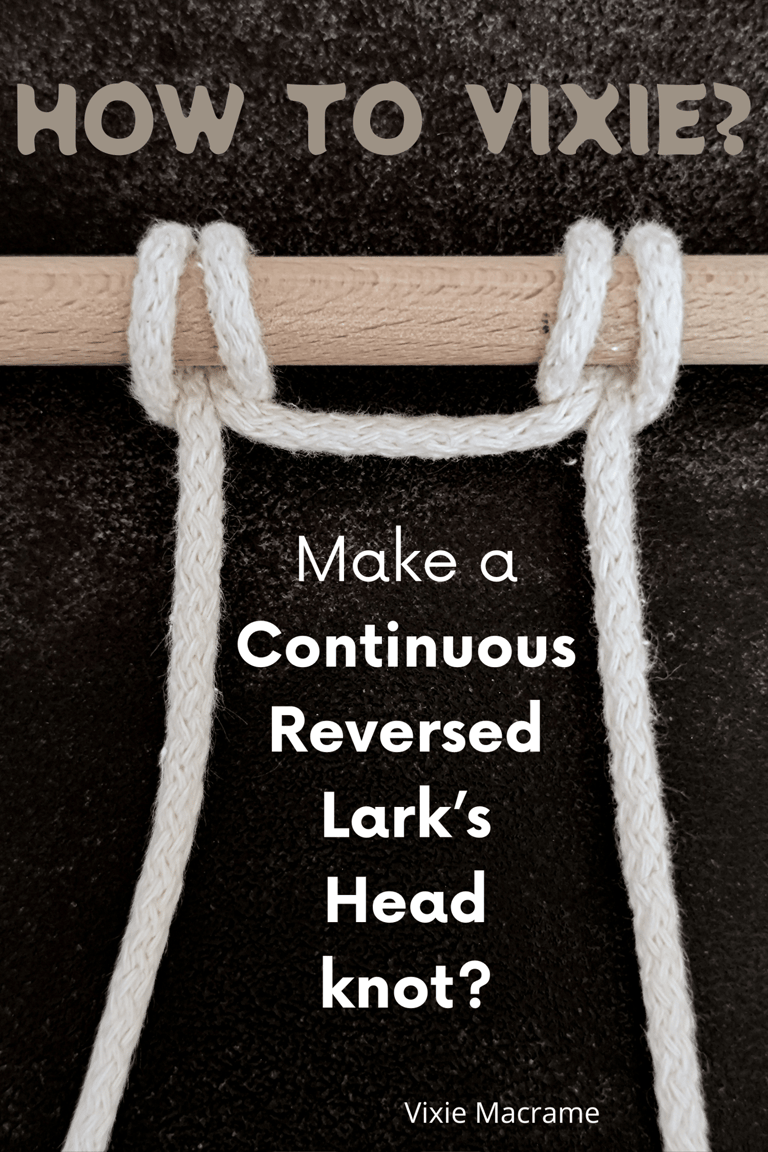
How to Vixie? Make a Continuous Reversed Lark's Head knot?
Ready to dive deep into the wild, wonderful world of macramé? Today, we’re taking a magical journey to master the Continuous Reversed Lark’s Head Knot — a uniquely flowing knot that’ll add some serious boho flair to your creations. Whether you’re weaving wall hangings, plant hangers, or dreamy tapestries, this knot brings that extra wave of rhythm and flow to your fiber art. Join me on this laid-back adventure where you’ll learn step-by-step how to twist, loop, and groove your cords into this engaging pattern. No rush, just good vibes and creative energy flowing through your fingertips. Let’s get knotty together — your next macramé masterpiece awaits! Peace, love, and endless knots.
KNOTS TUTORIALS
Vixie Macrame
6/28/20253 min read
The Continuous Reversed Lark's Head knot is a versatile technique that allows you to attach cords securely while creating a consistent, decorative pattern in your macramé projects. Understanding how to tie this knot can enhance your macramé skills and give your projects a polished, professional look.
You will learn how to loop and connect multiple cords with this method, maintaining tension and uniformity throughout your work. Mastering the Continuous Reversed Lark’s Head knot adds both function and style to your craft, making it easier to expand your macramé designs with clean, effective attachments.
Understanding the Continuous Reversed Lark's Head knot
This knot variation involves repeatedly tying the Reversed Lark's Head knot along a cord or base to create a continuous, decorative pattern. It maintains tension and consistency, which helps in crafting even and secure designs.
Definition and Distinguishing Features
The Continuous Reversed Lark's Head Knot is formed by looping your cord around a base and pulling it through its own loop, but with the working end crossing over the front first—reversed from the standard approach. You then continue tying additional knots in sequence without cutting your cord, producing a linked pattern.
Key features include its smooth, twisted appearance and the way it lies flatter against dowels or rings compared to some other knots. This knot is especially useful in jewelry making where flexibility and uniform tightness matter.
Comparison to Standard Lark’s Head knot
Unlike the standard Lark’s Head knot, where the cord passes under the base before forming the loop, the reversed version crosses it over first. This creates a mirrored, reversed finish on the knot's face.
The continuous form differs from single attachment points by extending the design and allowing multiple knots to be tied in a row without interruption. This gives more control over tension and spacing, making it ideal for complex macramé projects.
Step-By-Step Tutorial
This process requires setting up your tools and materials correctly before you start. You will learn how to form the initial knot, then reverse it to create the continuous pattern. Attention to tension and consistency is crucial to maintain an even look throughout.
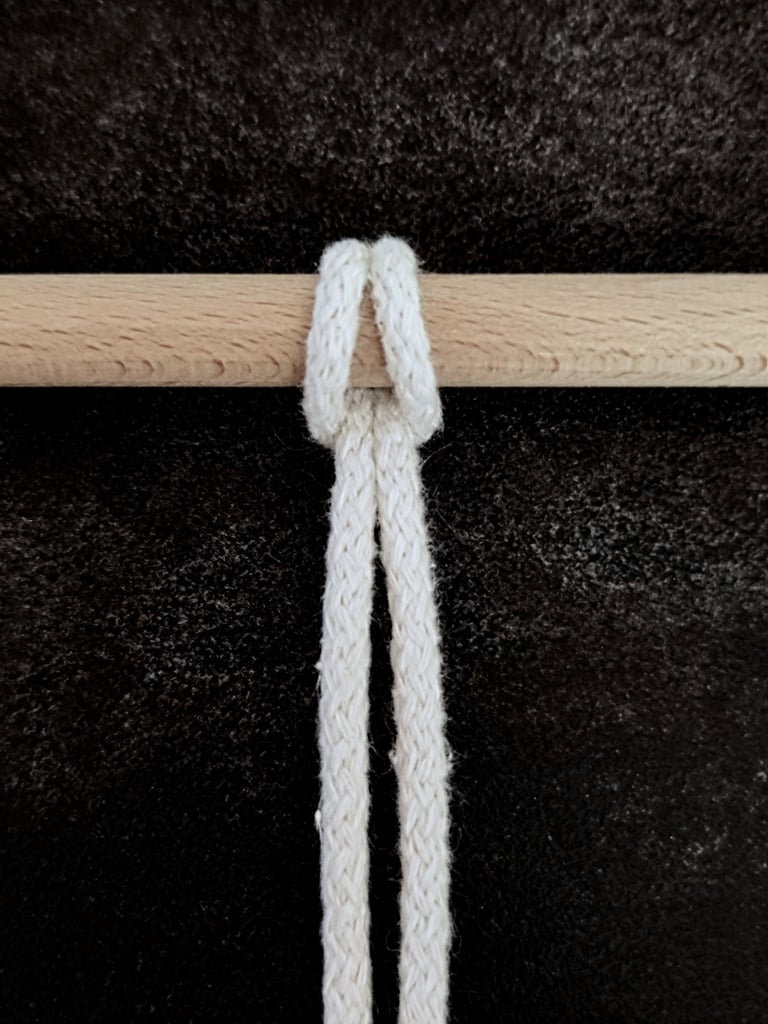
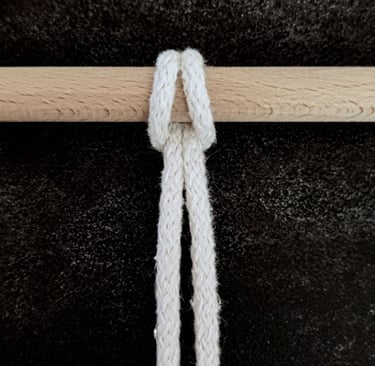
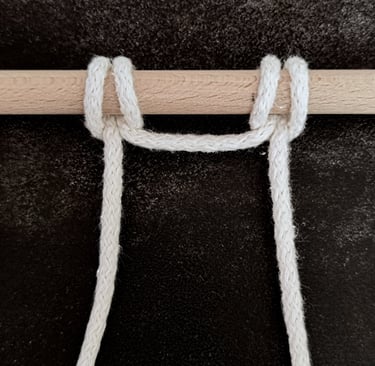
STEP 1
First, create a Reversed Lark's Head knot.
If you are unsure how to make this knot, click on the knot in this box to access the tutorial.
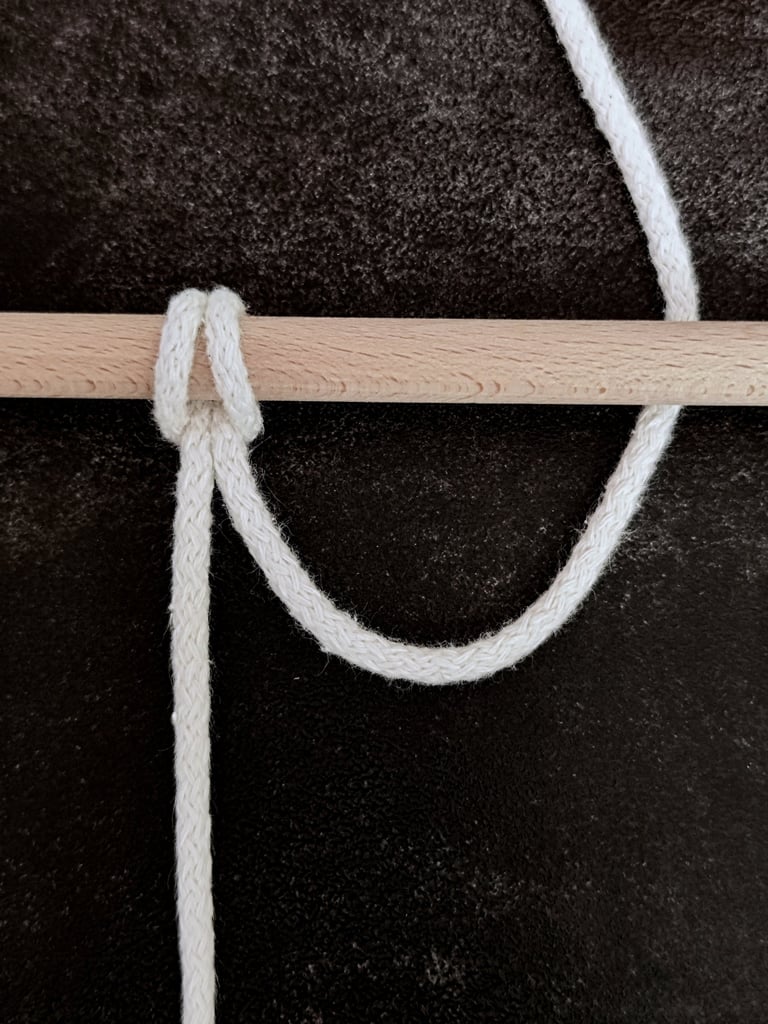
STEP 2
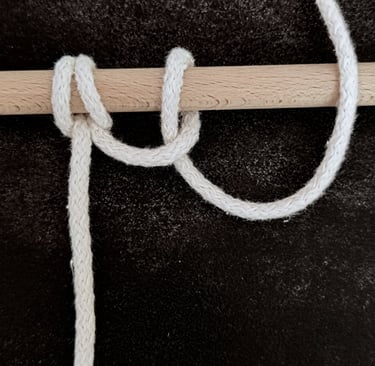
Take the cord you want to extend with a Continuous Reversed Lark's Head knot and bring it up underneath the dowel or cord.

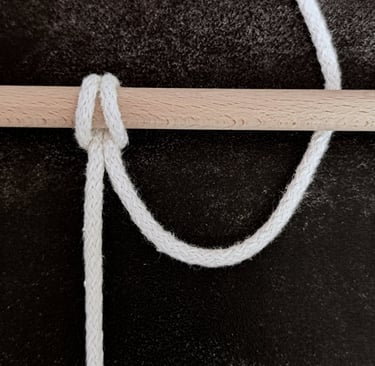
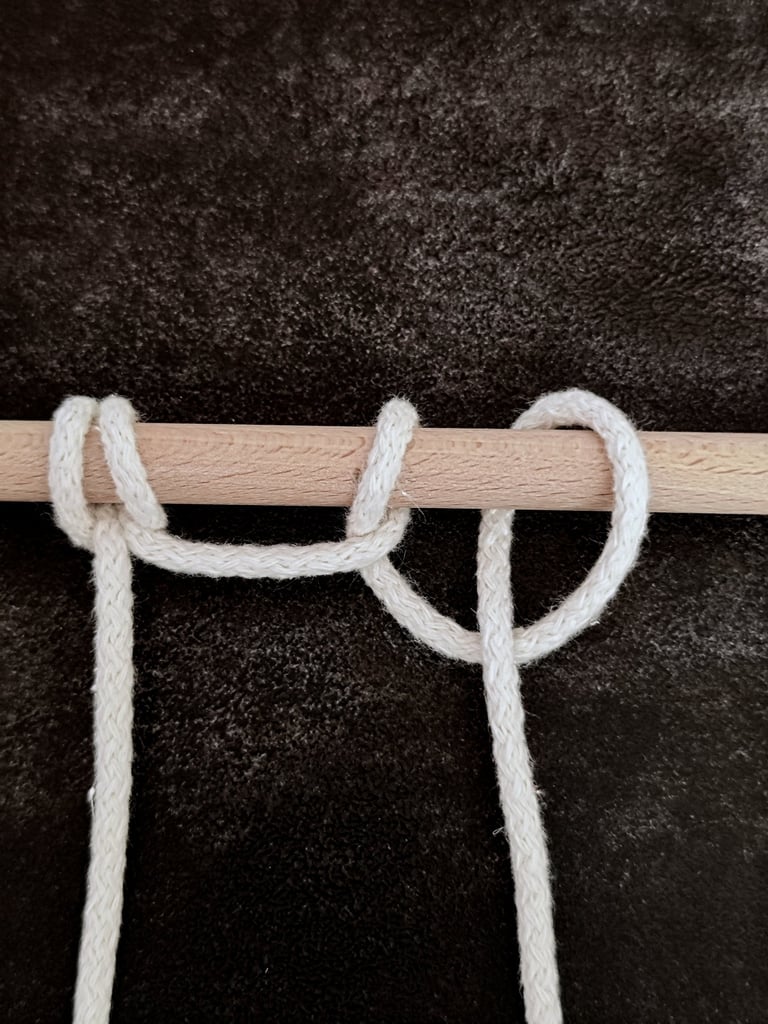
STEP 3
Take the cord’s end, pass it across, and then back down through the loop on the inner side of both knots.
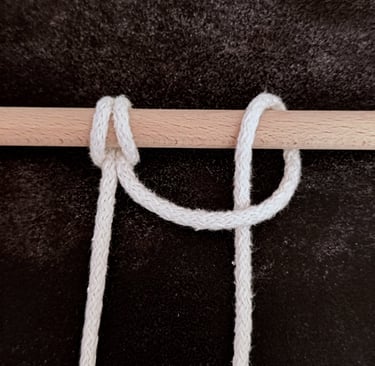
STEP 4
Bring the cord back up again, this time passing in front of the dowel or cord.
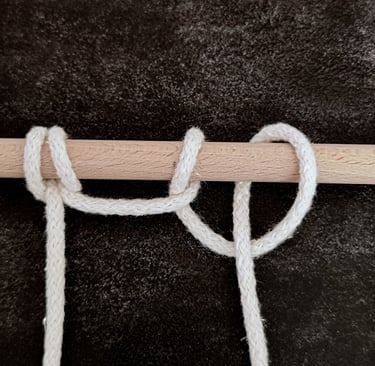
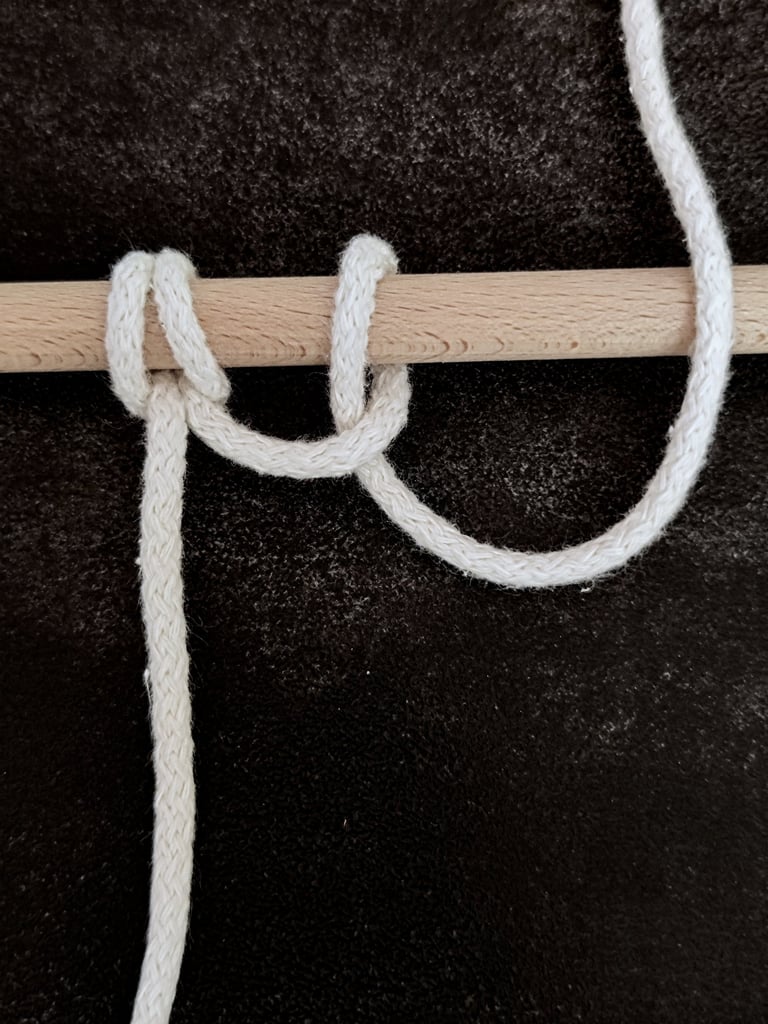
STEP 5
Take the cord’s end, pass it across, and then back down through the loop on the inner side.
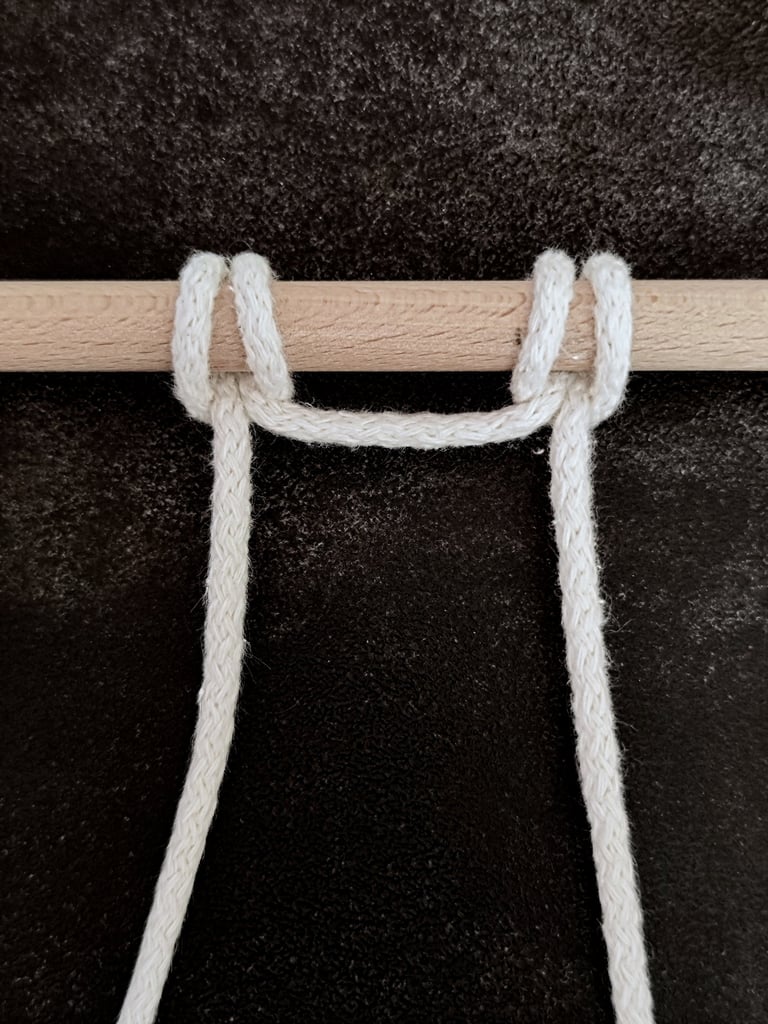
STEP 6
Pull the cords to tighten the knot. Readjust if needed before fully tightening.
Common Pitfalls to Avoid
Avoid uneven tension, which can cause your design to look lumpy or loose. Consistently pull each knot the same amount of tightness to ensure a smooth pattern.
Be careful not to twist cords during looping; a tangled knot will affect the flow of your project. Regularly check that loops lie flat and knots face the correct direction.
Cut cords slightly longer than needed to account for tightening and trimming later. Also, secure your base well to prevent slipping while you work. These steps prevent frustration and wasted materials.