How to Vixie? Make a 3-PLY Crown knot?
Discover the elegance of the 3-Ply Crown Knot — a striking and symmetrical knot that adds a refined touch to your ropework, jewelry, or decorative crafts. Formed by weaving together 2 strands in a precise pattern, this knot resembles a crown and represents unity and strength. Perfect for making bracelets, keychains, or enhancing your knot-tying skills, the 3-Ply Crown Knot blends beauty with practicality. Whether you're new to knotting or an experienced enthusiast, this classic knot is a valuable addition to your repertoire. Follow our easy step-by-step guide and create this stunning knot today!
KNOTS TUTORIALS
Vixie Macrame
7/10/20254 min read
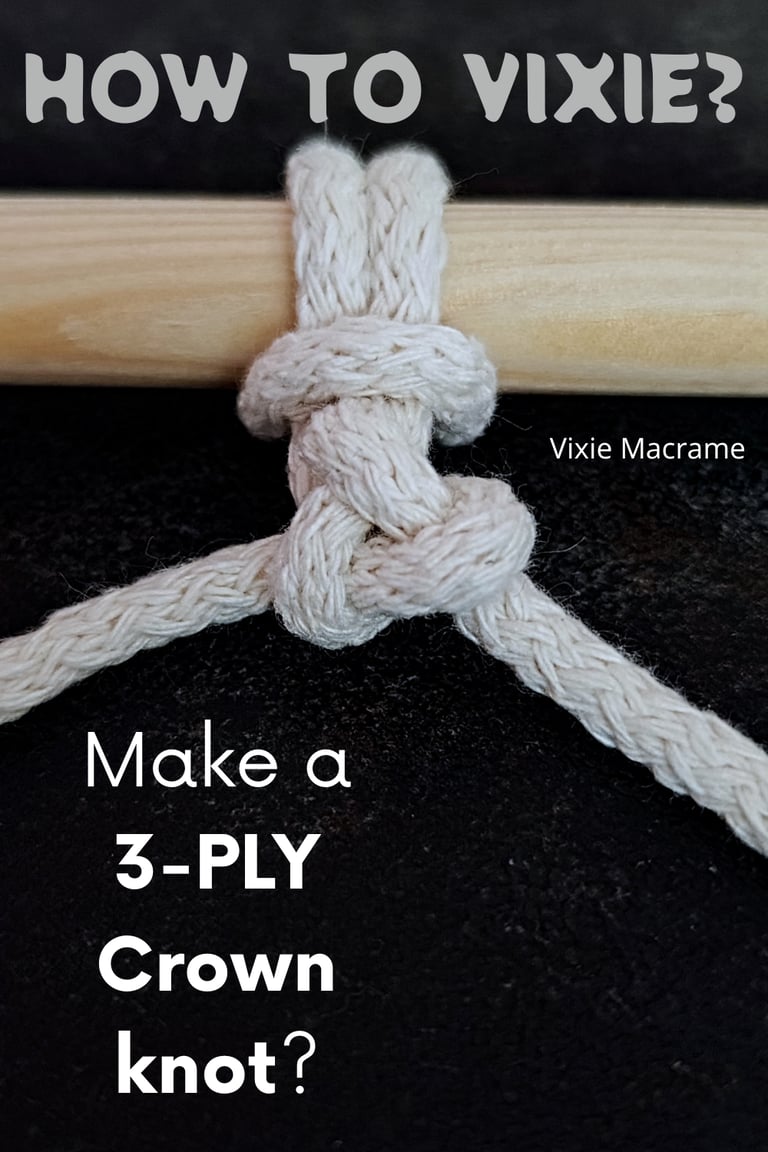
The 3-PLY Crown knot is a versatile and visually striking macrame knot that adds structure and elegance to your projects. It is created by intertwining 2 cords in a specific pattern, resulting in a sturdy, decorative knot often used in plant hangers, jewelry, and home décor. Mastering this knot will give your macrame work a polished, professional look while expanding your skill set.
This tutorial will guide you through each step of the 3-PLY Crown knot, breaking down the process into easy-to-follow instructions. Whether you are new to macrame or looking to refine your technique, you’ll find this knot straightforward to learn with a little practice. Your finished knot can serve as a focal point or an intricate detail in various creative projects, making it a valuable addition to your crafting abilities.
What Is the 3-PLY Crown knot?
The 3-PLY Crown knot is a fundamental knot formed by intertwining 2 strands or cords, creating a strong and decorative loop. It is widely used in macrame for its stability and aesthetic appeal. This knot combines functional strength with visual texture, making it ideal for various craft and practical applications.
History and Uses in Macrame
The 3-PLY Crown Knot has roots in traditional rope work, originally used to prevent fraying at rope ends.
It appears in classic nautical and rope-handling contexts, where durability is essential. Over time, macrame artists adopted this knot for its neat, symmetrical pattern and reliability.
In macrame, you use the knot to add decorative finishings to projects, such as plant hangers, wall art, and jewelry. It creates raised, textured sections that stand out visually and reinforce the structure. Because it involves three strands tied in a specific sequence, it preserves tension and shape, which is vital in macrame designs that require firm knots.
Comparison to Other Macrame knots
Compared to simpler macrame knots like the Square knot or Half-Hitch, the 3-PLY Crown knot is more complex but offers greater durability. It forms a strong double loop that resists slipping under tension, unlike some basic knots that loosen over time.
The knot is distinct from the Wall knot, which directs strands away from the main rope, whereas the Crown knot turns strands back towards the standing end. This difference impacts the knot’s final shape and function. In macrame projects, the Crown knot tends to form the foundational element in more intricate patterns due to its stability.
Materials Best Suited for the Crown knot
For best results, use 3-ply cords or ropes with clearly defined strands. Natural fibers like cotton or hemp work well because they hold texture and maintain knot shape. Synthetic fibers that are stiff enough to manage three distinct strands can also function but may lack the softness preferred in decorative macrame.
Avoid overly slippery cords, like some slick nylon types, since these may cause the knot to loosen. You want cords with enough grip to hold the strands in place while tying and afterward. The thickness of the cords should suit your project size; thinner cords in multiples can achieve fine detail, while thicker 3-ply cords provide bold, robust structure.
Step-by-Step 3-PLY Crown Knot Tutorial
To create a 3-ply Crown knot, you will need to organize your cords properly and follow a precise sequence of crossovers and tucks. Attention to strand placement and tension is key to achieving a neat finish. This process will build the foundation for decorative or functional macrame projects.
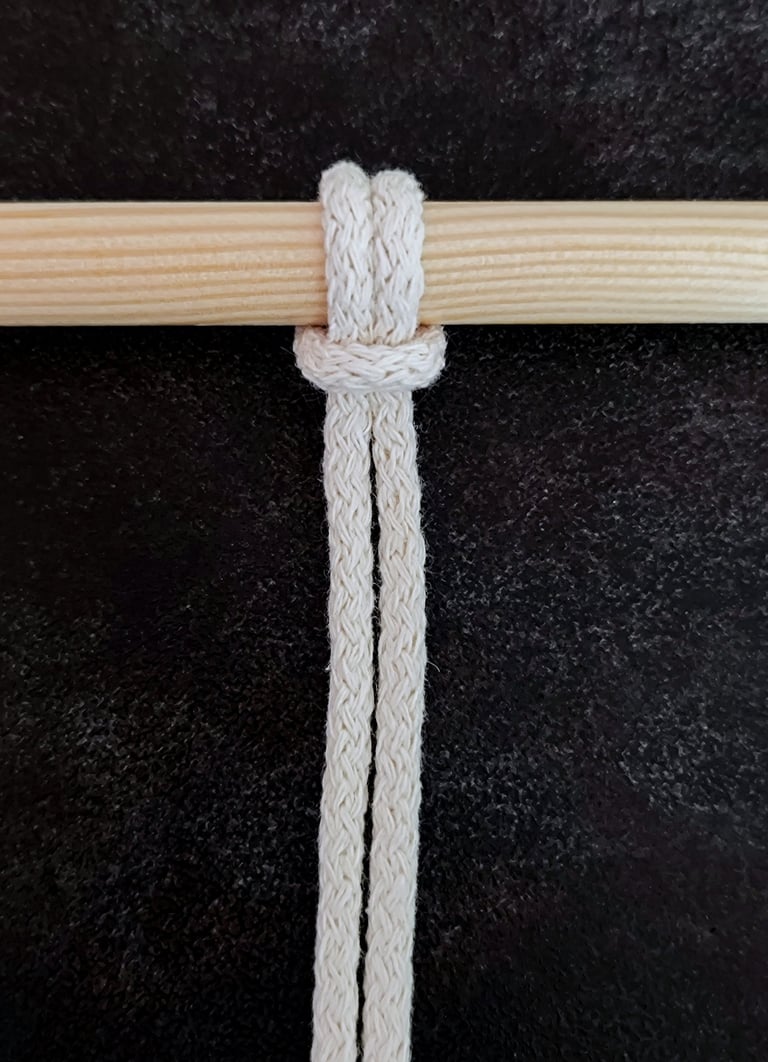
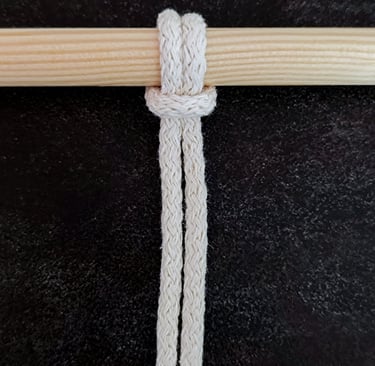
STEP 1
Begin with 2 strands of yarn.
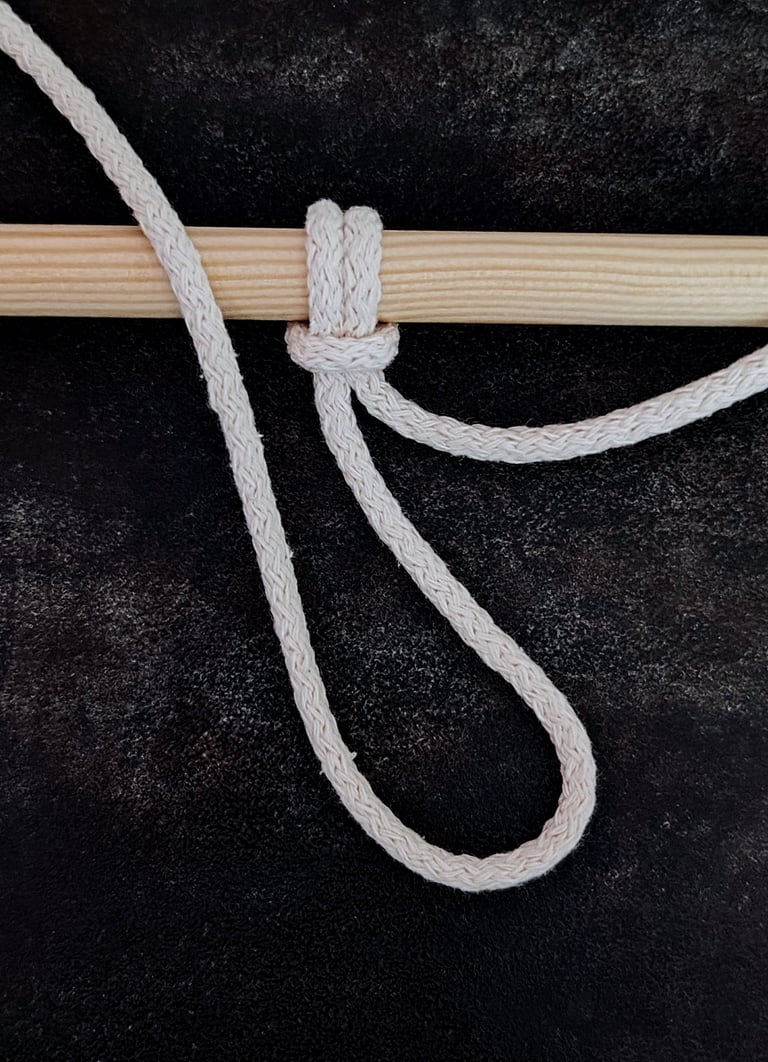
STEP 2
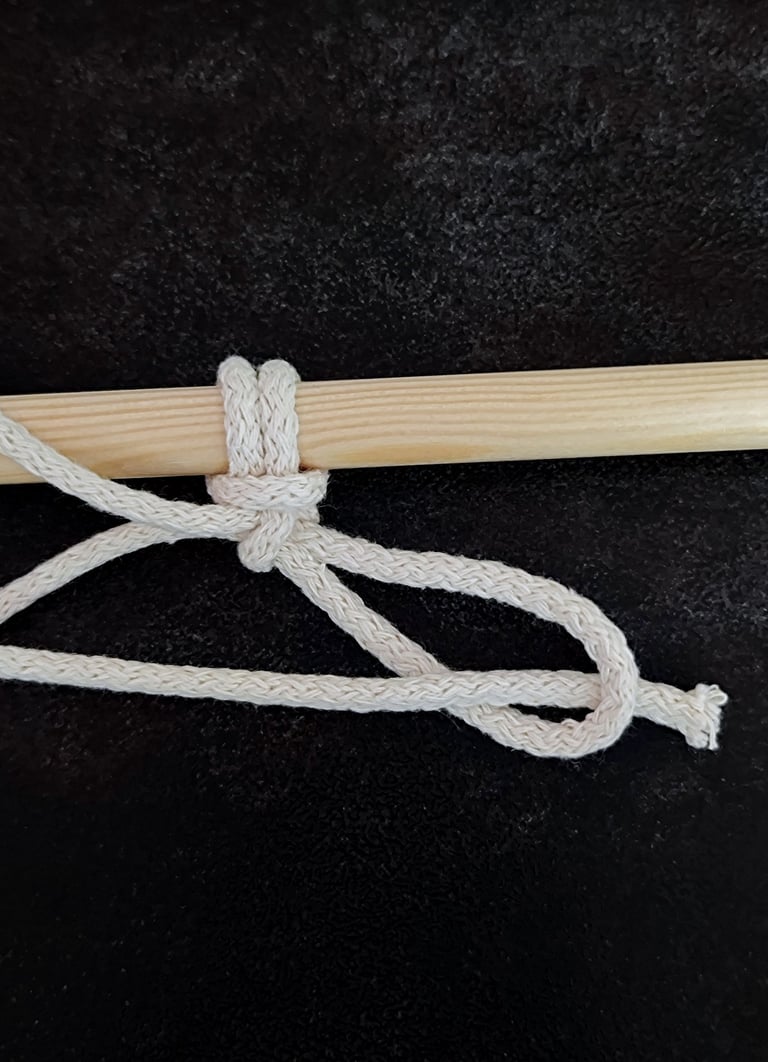
Take the left cord and create a loop that points to the right.
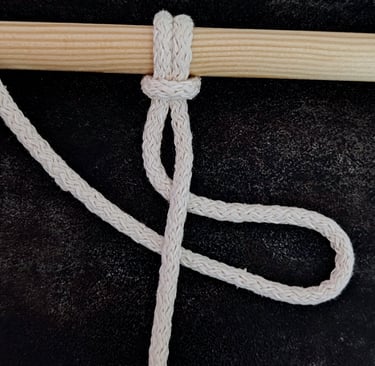
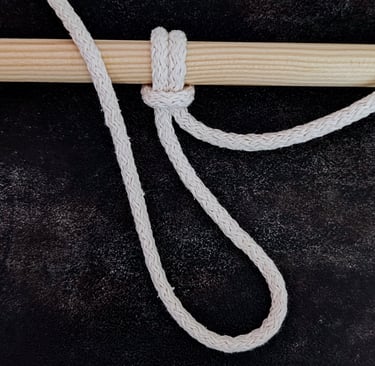
STEP 3
Take the right cord and cross it vertically over the left cord.
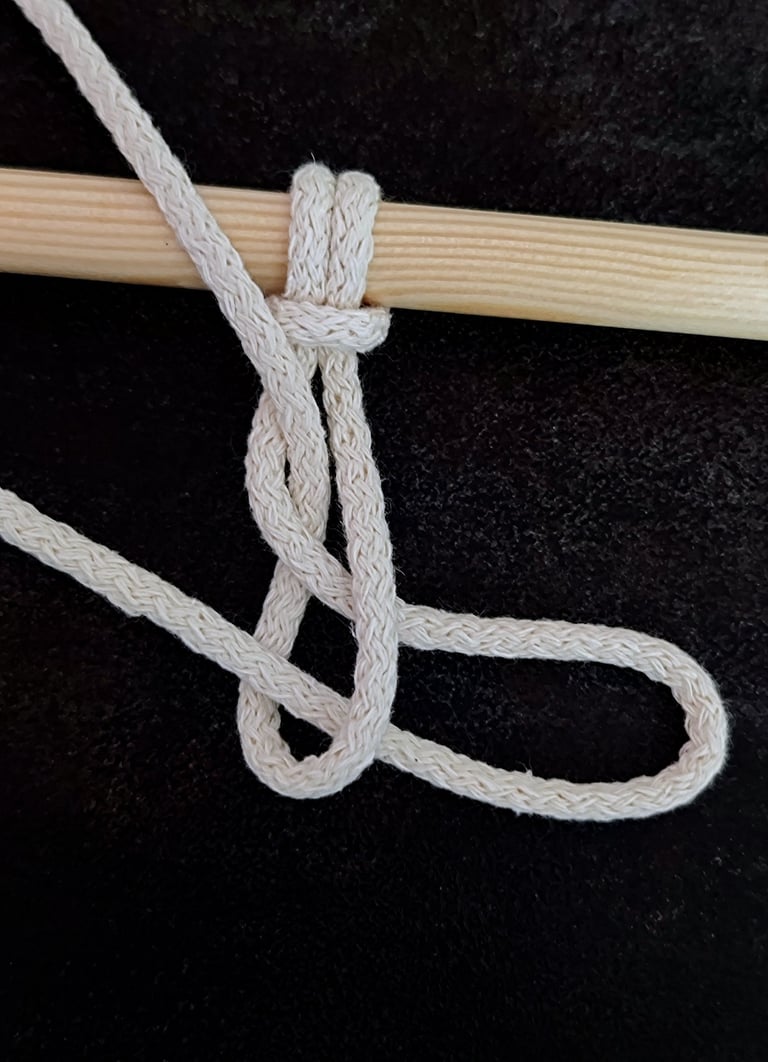
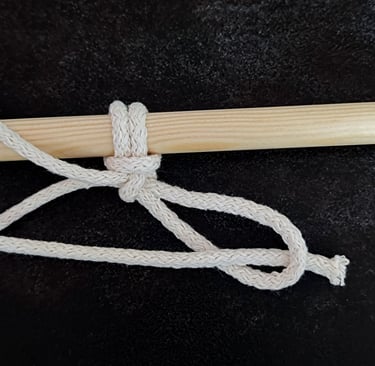
STEP 4
Next, bring the right cord underneath and thread its end between the 2 cords from the top.

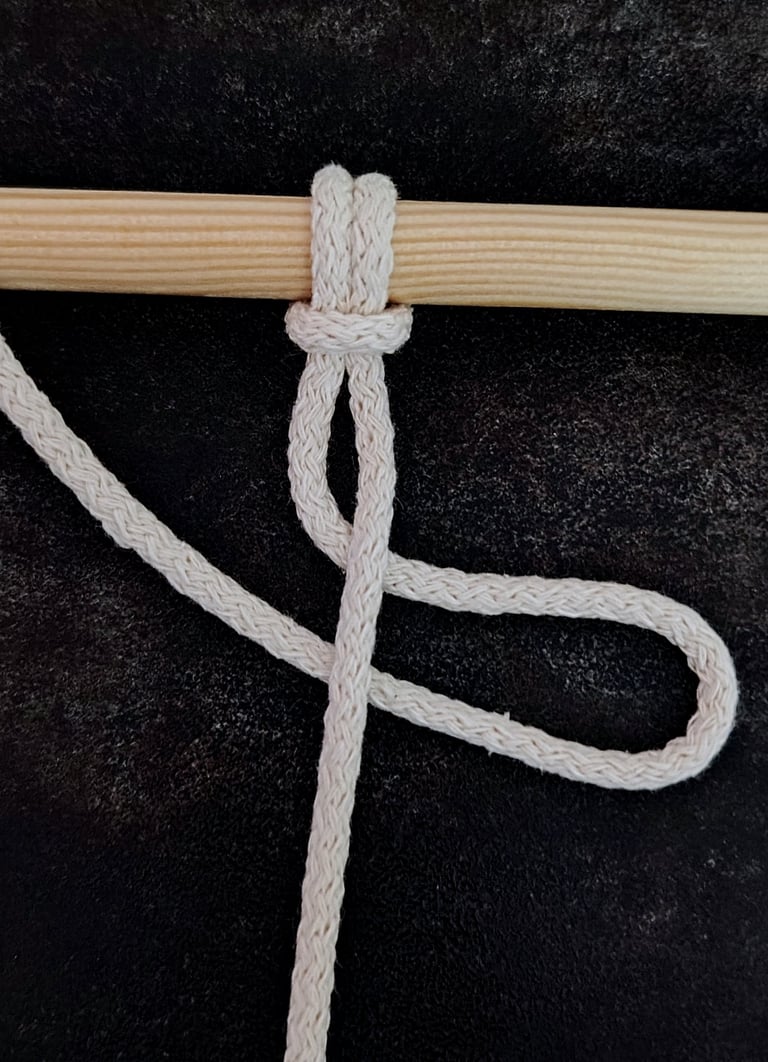
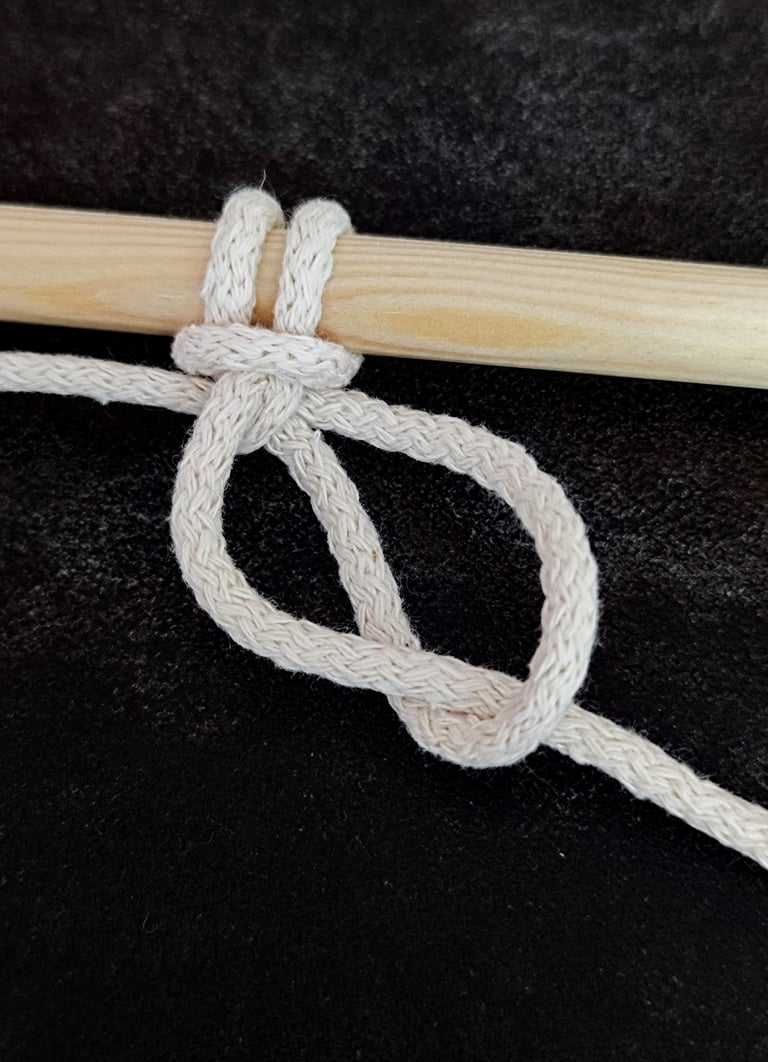
STEP 5
Pull the cord tightly to secure the knot.
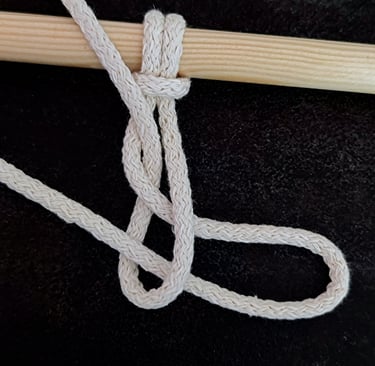
STEP 6
Using the end of the right cord, pass it from the front through the loop of the left cord.

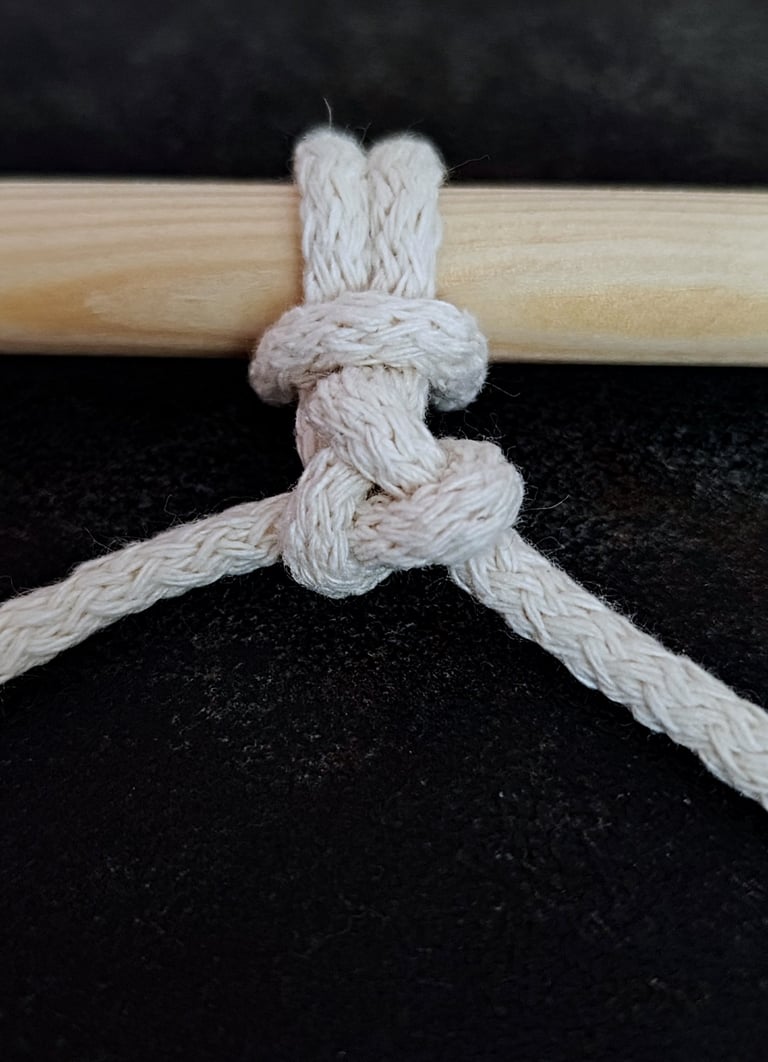
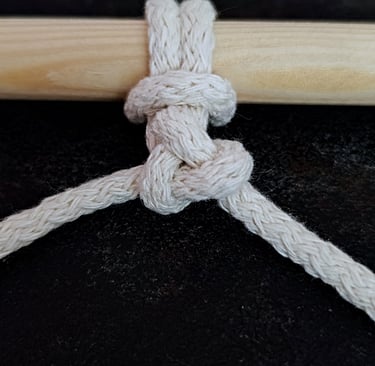
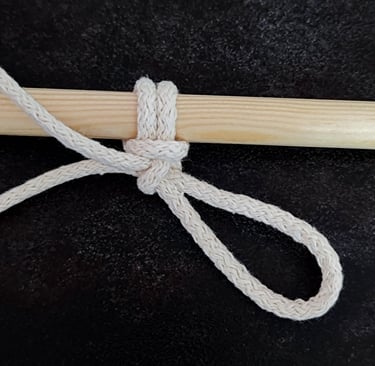
STEP 7
Pull both cords evenly to tighten the knot. Position it in the center between the 2 cords.
Troubleshooting Common Mistakes
If your knot looks loose or uneven, review your strand positioning. Make sure you are laying each cord over the next with correct alignment following the natural twist of the cord.
If strands slip out or the knot unravels, tighten gradually by pulling each strand before moving to the next step. Avoid excessive force, which may distort the shape or break delicate cords.
Using cords with varying thickness can cause an unbalanced knot. Stick to cords that are uniform in size, especially if you are a beginner following a free macrame knot guide.
If tension is inconsistent, pin your cords more securely at the start. You can also pause after each step to adjust before proceeding.