
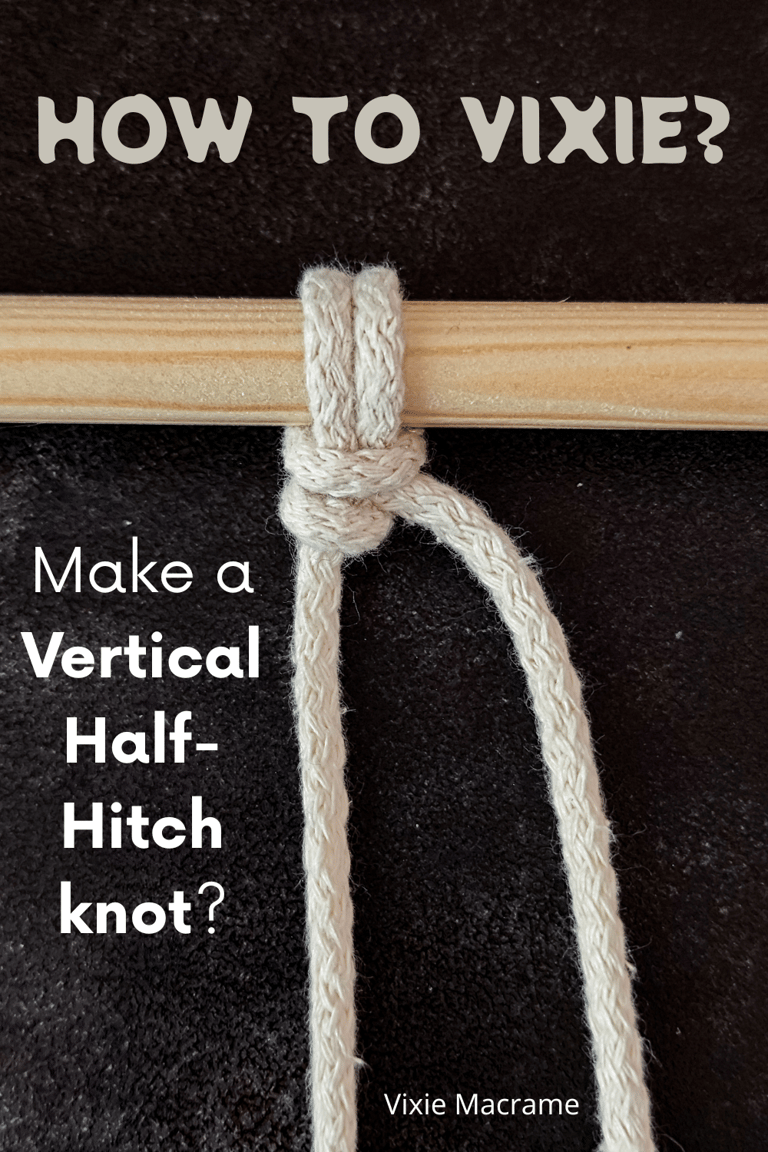
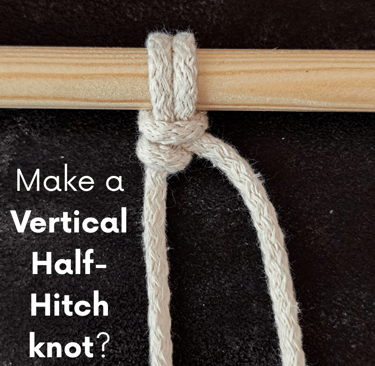
How to Vixie? Make a Vertical Half-Hitch knot?
Ready to learn one of the most basic and useful knots in macrame? This step-by-step tutorial will show you exactly how to tie a Vertical Half-Hitch knot, a simple yet essential building block for many macrame patterns. Perfect for beginners, this guide breaks it down clearly so you can practice with confidence. Whether you're just starting out or brushing up on the basics, this knot is a must-know for creating clean, beautiful designs. Let’s get started!
KNOTS TUTORIALS
Vixie Macrame
6/8/20254 min read
The Vertical Half-Hitch knot is a fundamental macramé knot that adds texture and structure to your projects. This knot is created by tying a series of Half-Hitch knots vertically along a holding cord, giving you precise control over the design and tension. Mastering this knot will open up many possibilities for more intricate patterns.
You’ll find the Vertical Half-Hitch knot useful for creating clean, straight lines and curved shapes alike. It's often used in wall hangings, plant hangers, and other decorative crafts. With a clear tutorial, you can quickly learn the technique and start incorporating it into your work with confidence.
Understanding this knot can improve your overall macramé skills by teaching you how to manipulate cord tension and direction. Whether you’re a beginner or looking to refine your techniques, this tutorial will guide you step-by-step through the process to ensure success.
What Is the Vertical Half-Hitch knot?
This knot is a reliable method to secure a rope or cord by tying two connected Half-Hitch knots vertically. Its structure provides stability and control when attaching cords in crafts or practical uses like climbing and sailing.
Defining the Vertical Half-Hitch knot
The Vertical Half-Hitch knot consists of two Half-Hitch knots stacked one above the other on the standing part of a cord or rope. Unlike the horizontal variant, where the knots sit side-by-side, the vertical arrangement places the second knot directly below the first.
You use two cords: one acts as the knotting cord, while the other is the working cord around which the knots are tied. This setup creates a tight, dependable grip, allowing the knot to hold well without slipping.
The knot is especially popular in macramé, where it forms part of decorative patterns, but its simple design also makes it useful for securing loads or attaching ropes to objects. Its versatility comes from being quick to tie and easy to adjust.
Brief History and Origins
The Vertical Half-Hitch knot likely evolved from the basic Half-Hitch knot, which is one of the oldest and simplest knots known. Its use was first recorded in practical and decorative rope work, spanning sailors, climbers, and textile artists.
In traditional rope work, the Half-Hitch was primarily used for securing or binding items temporarily. The Vertical Double Half-Hitch variant was developed to enhance grip and stability, especially in applications needing more security than a single knot could provide.
Its appearance in macramé, a form of textile art involving knot tying, helped popularize the vertical arrangement. Older macramé manuals often refer to it as the Vertical Double Half-Hitch because of its two stacked loops, distinguishing it from side-by-side knot styles.
Step-by-Step Vertical Half-Hitch knot Tutorial
You will need to prepare your rope properly, form a precise loop, and then finish the knot by wrapping the working cord correctly. Each step involves careful hand placement and attention to tension.
LEFT SIDE
RIGHT SIDE


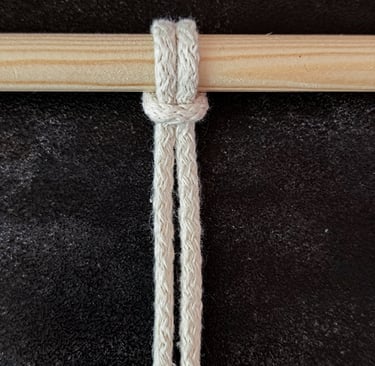
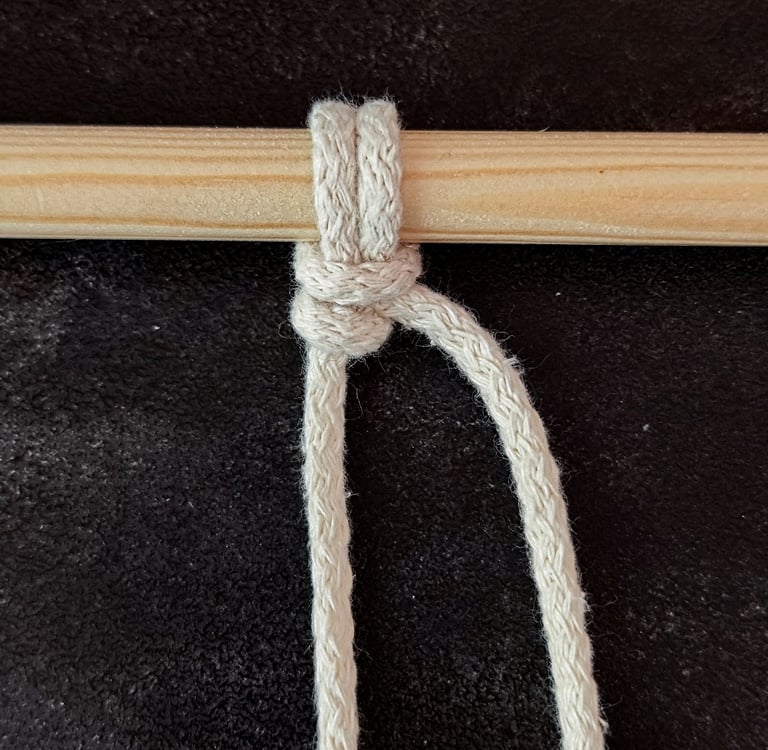
STEP 2
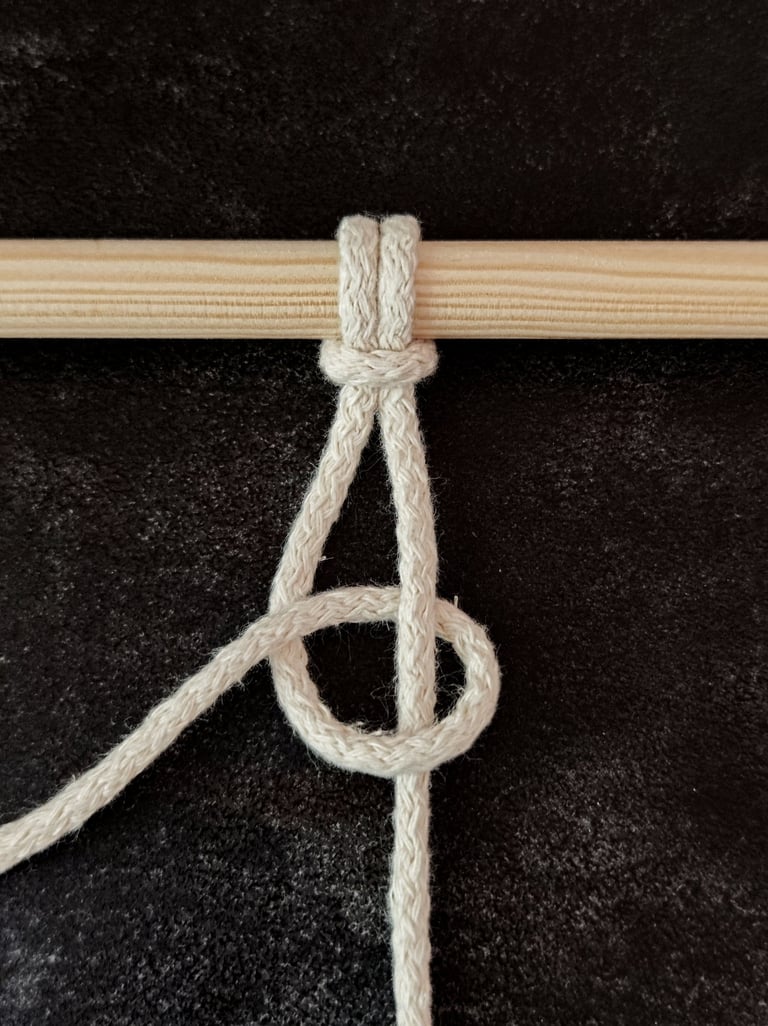
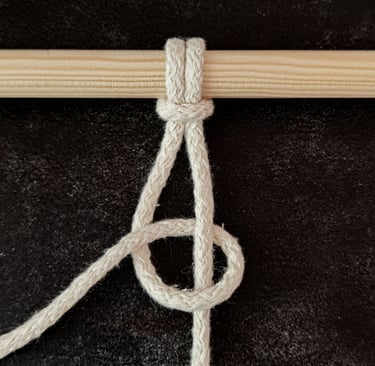
The working cord will create the knot around the anchor cord, which acts as the base.
Wrap the working cord around the anchor cord and with the cord's end go through the loop.
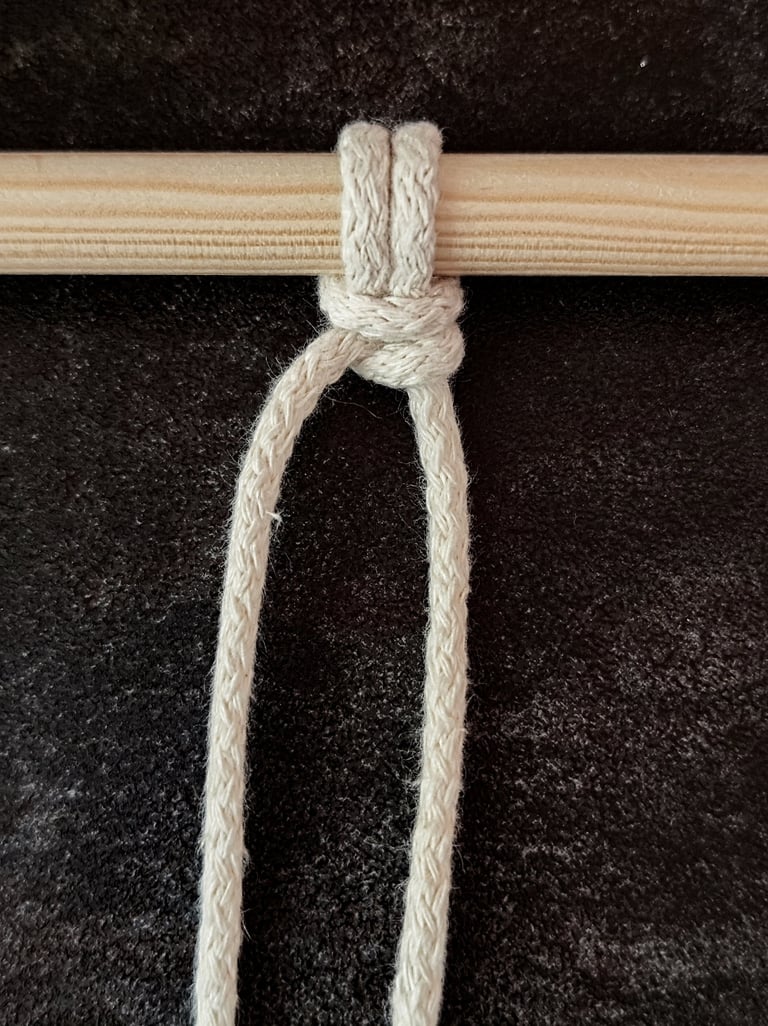
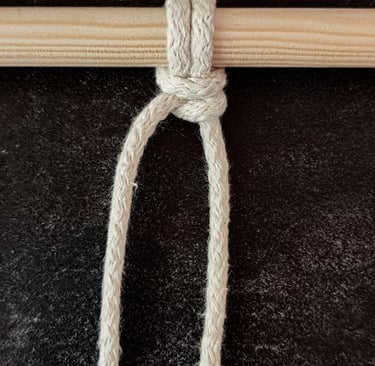
STEP 3
Tighten the working cord to complete your Half-Hitch knot.
Common Mistakes and Troubleshooting
When working with the Vertical Half-Hitch knot, precise cord handling and tension control are crucial. Common issues often relate to cord twisting, slipping, and uneven tightening, which can affect the knot’s appearance and stability.
Avoiding Twists and Slips
Twisting occurs when the knotting cord rotates unintentionally during the knotting process. To prevent this, maintain consistent cord orientation by holding your knotting cord firmly and ensuring it doesn’t spin as you wrap it around the filler cord.
Slips happen if the knot isn’t anchored properly on the base cord, causing it to slide. Always guide the working end firmly through the loop, and keep tension steady rather than pulling abruptly.
If your cords are slippery or synthetic, consider slightly roughening them to improve grip.
Ensuring Proper Tightening
Proper tightening ensures the knot looks neat and holds well. Pull the knotting cord gently but firmly to remove slack without distorting the loop shape.
Avoid over-tightening, which can warp the cords or cause uneven spacing in patterns. Tighten each Half-Hitch incrementally, adjusting as you go to maintain uniform knot size.
After tying, check your work by gently pulling the knot-bearing cord to ensure the knot stays secure without slipping.
Consistent tension control is key to a clean and reliable Vertical Half-Hitch knot.
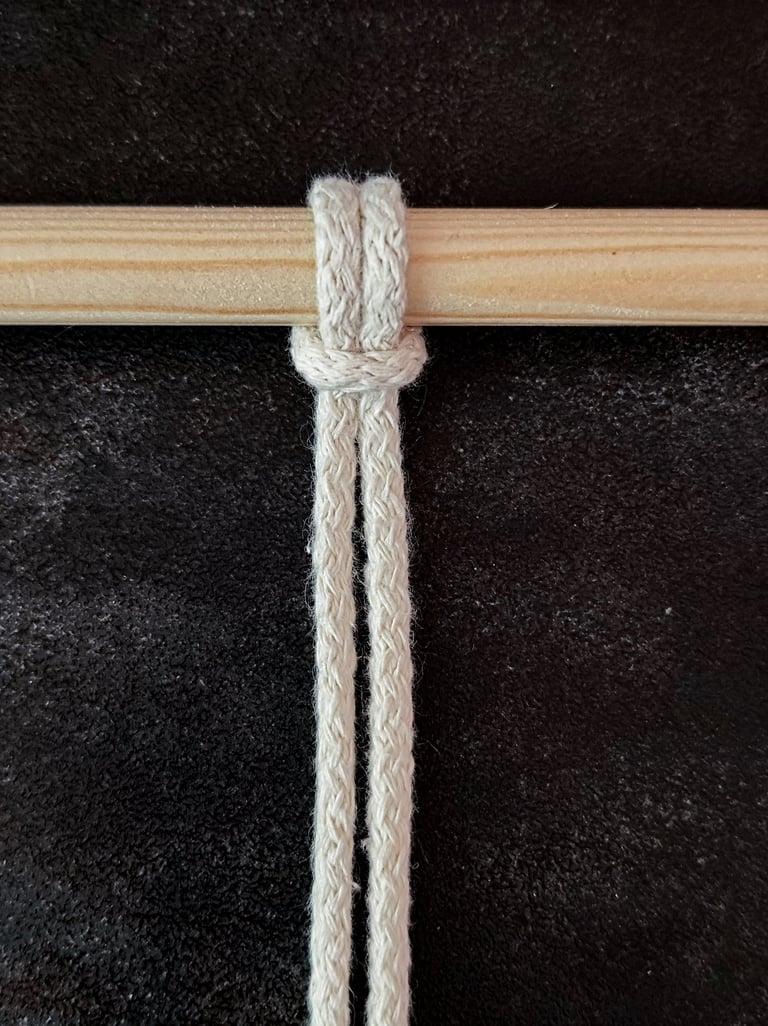
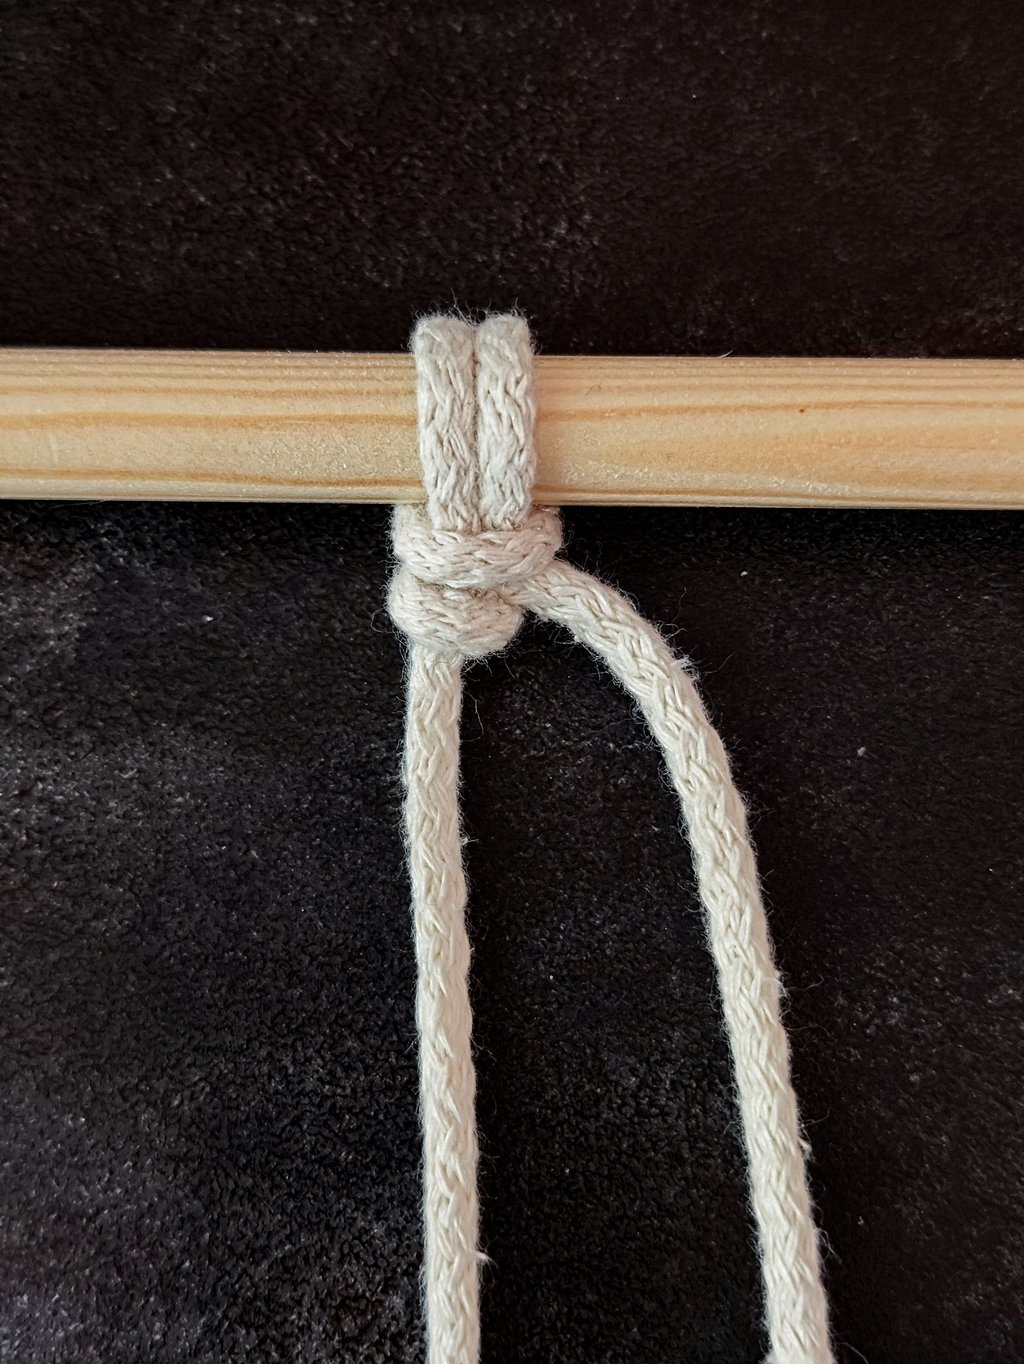
STEP 1
Begin by attaching a cord to the dowel (or your chosen object) using a Lark's Head knot.