
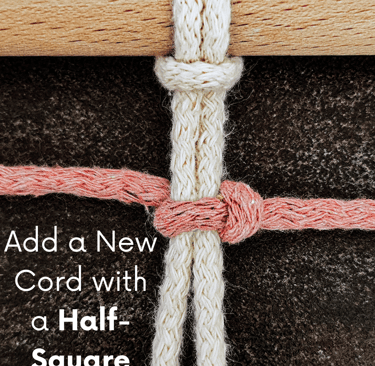
How to Vixie? Add a New Cord with a Half-Square knot?
Hey there, knot lovers! Ready to add a fresh new cord to your macramé piece? Let’s tie in a Half-Square knot together and keep those good vibes flowing. This simple, fun guide will help you blend your cords effortlessly, making your creations even more beautiful and full of positive energy. Let’s get knotting!
KNOTS TUTORIALS
Vixie Macrame
6/28/20254 min read
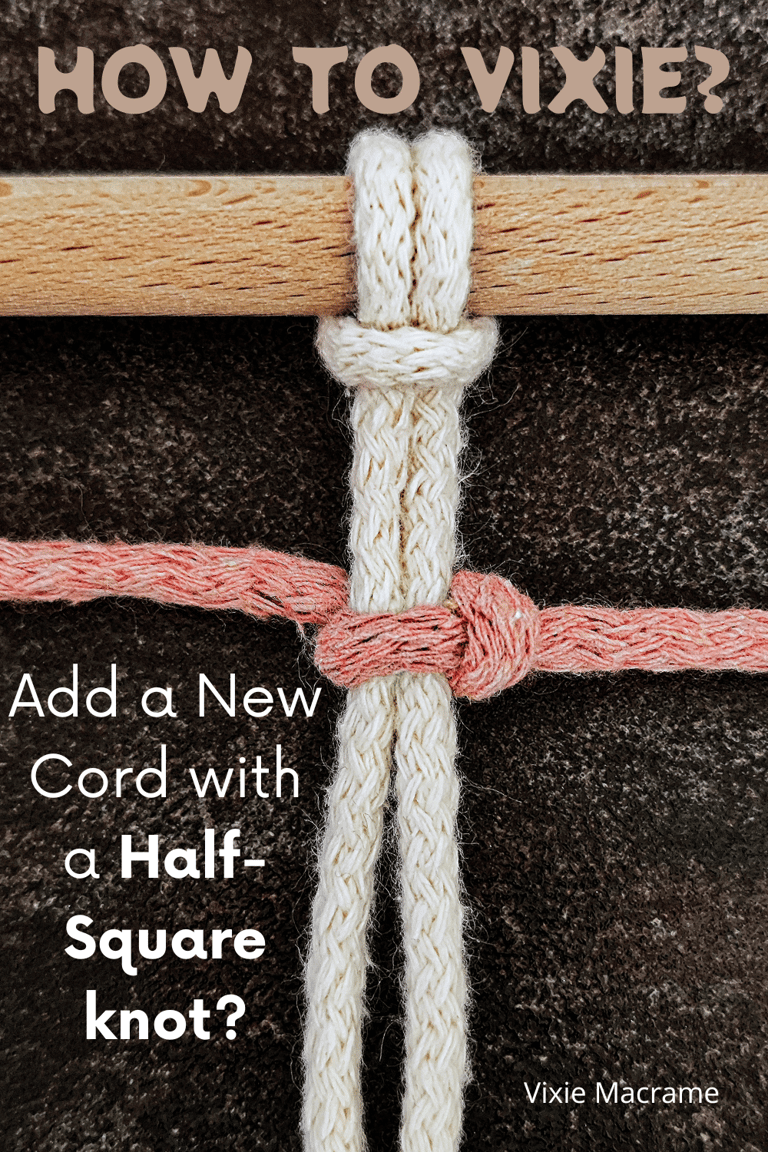
Adding a new cord with a Half-Square knot is a common technique in macramé and knotting crafts when you want to incorporate additional cords into your project seamlessly.
You’ll learn how to position the new cord correctly and tie the Half-Square knot so it blends perfectly with your existing work.
Understanding the Half-Square knot
The Half-Square knot is essential for joining cords smoothly in macrame. It provides a secure, stable connection while keeping your design neat. You will learn the knot’s structure, practical uses, and common errors to avoid when adding new cords.
Applications in Macrame
You can use the Half-Square knot to add new cords precisely where you need them without disrupting existing patterns. It’s ideal for expanding your project or replacing cords.
Because the knot grips firmly, it allows you to continue tying other knots like Square knots or Double Half-Hitch knots seamlessly. Many macrame tutorials recommend this knot when mid-project cord additions are necessary.
This knot also helps maintain a consistent appearance, especially in projects with repetitive patterns or when working with multiple cord colors.
Step-by-Step Tutorial
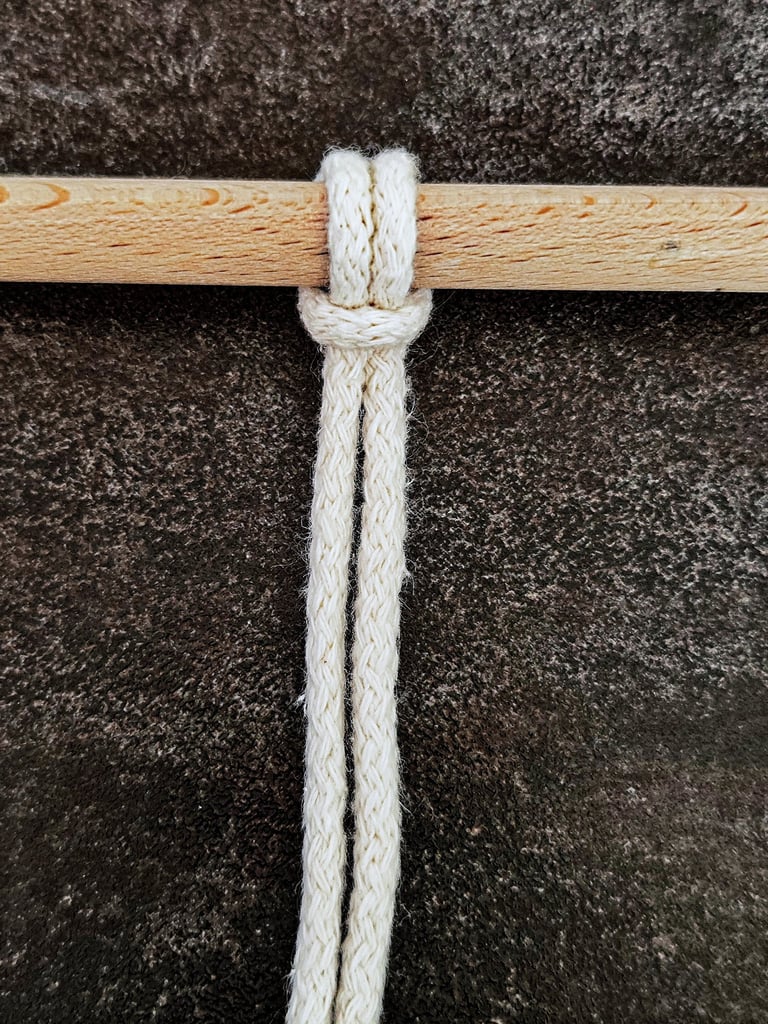
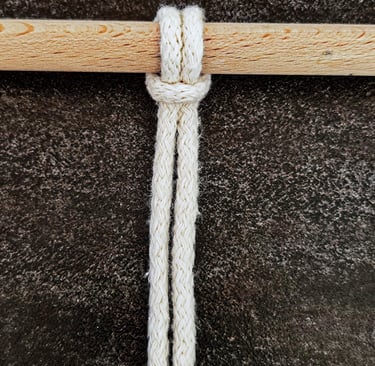
STEP 1
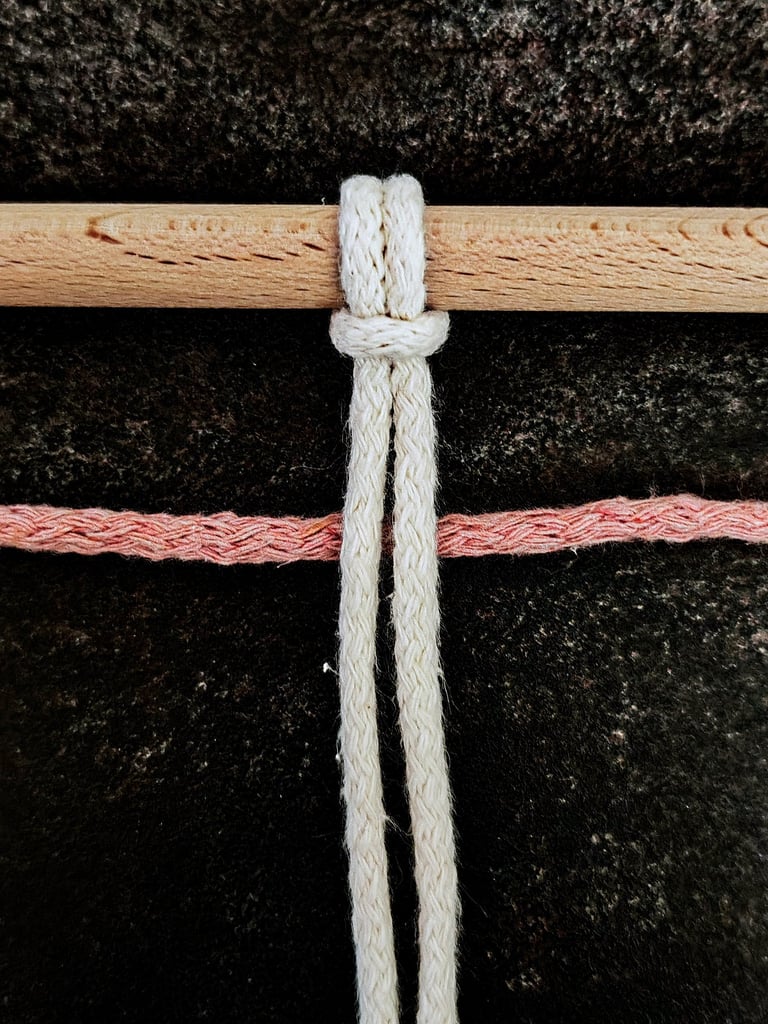
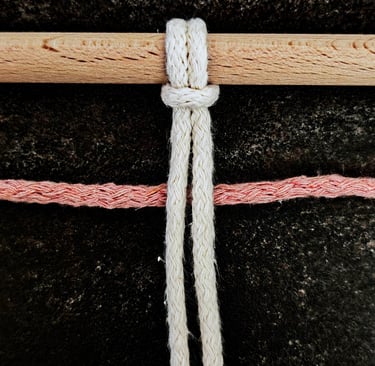
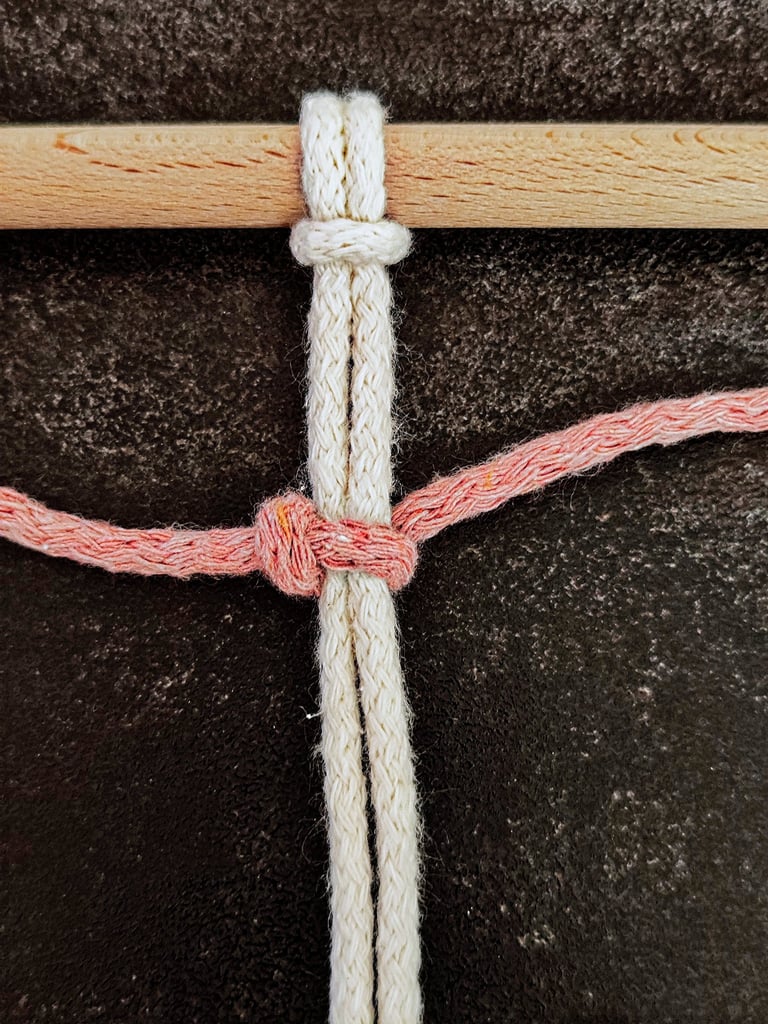
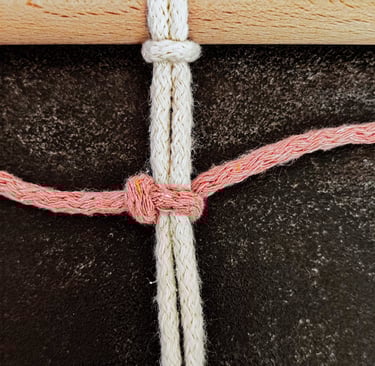
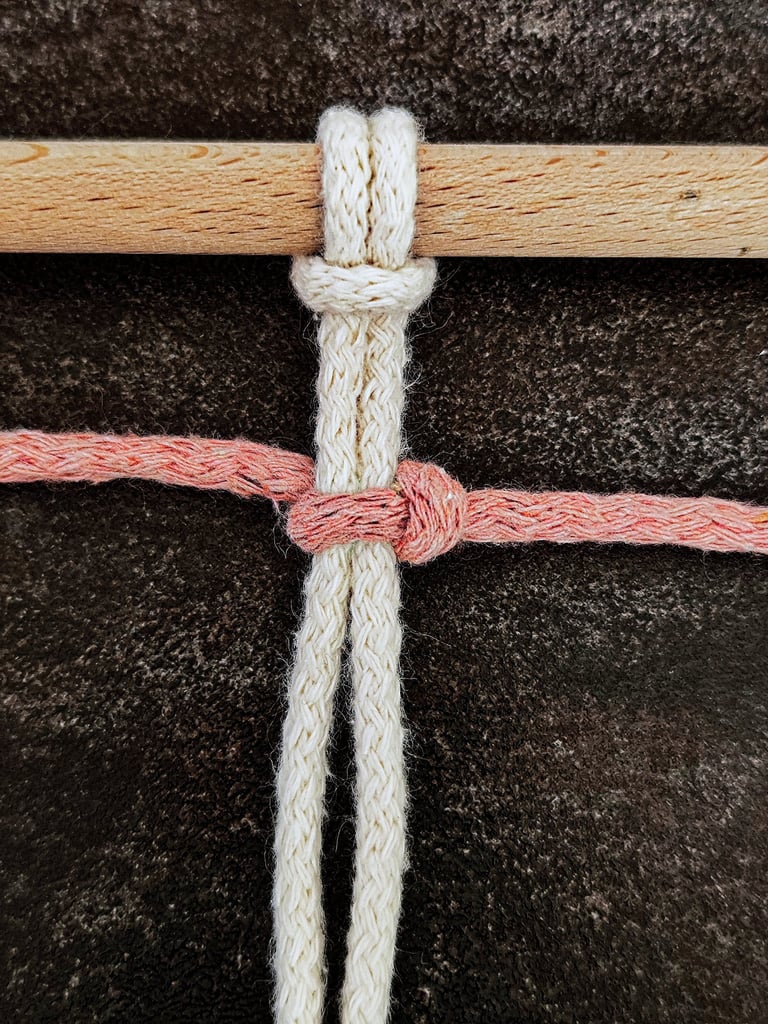
To begin, you will need 2 anchor cords secured with Lark’s Head knots or any other knot of your choice.
LEFT FACING
RIGHT FACING
STEP 2
Take the new cord (pink) and position it behind both anchor cords, placing it in the center.
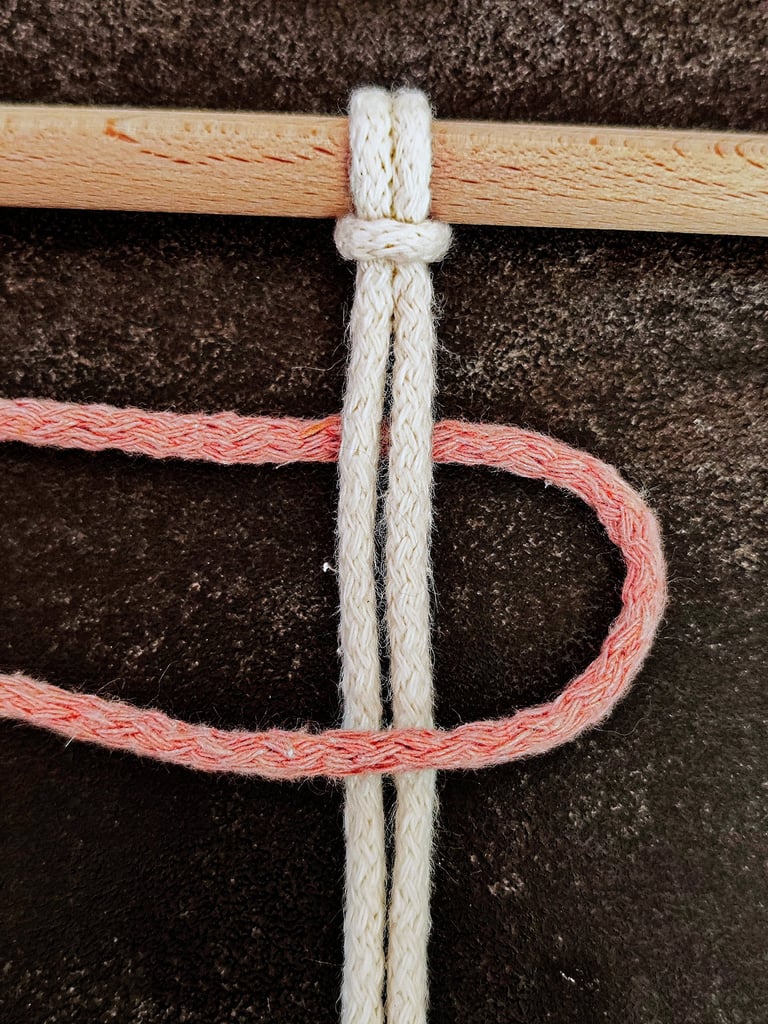
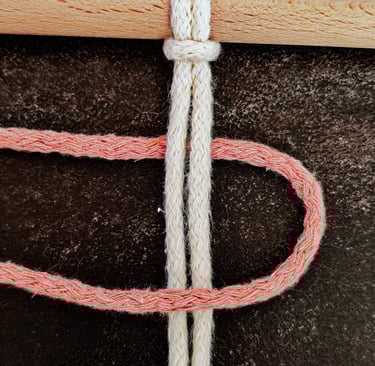
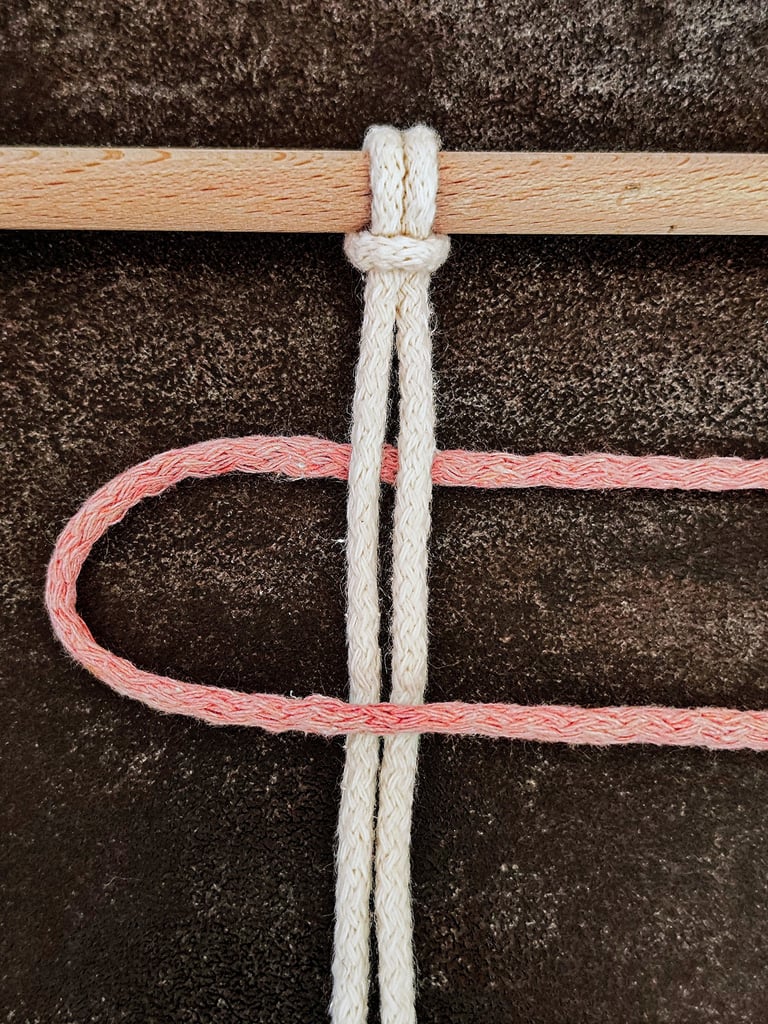
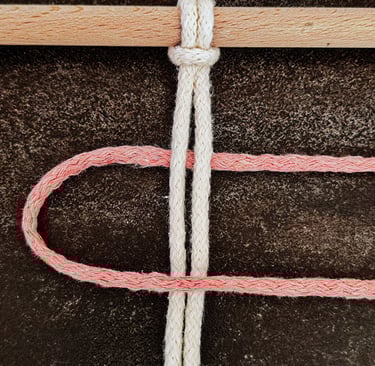
STEP 3
On the opposite side from where you want your Half-Square knot to face, take the working cord and fold it downward into a U-shape.
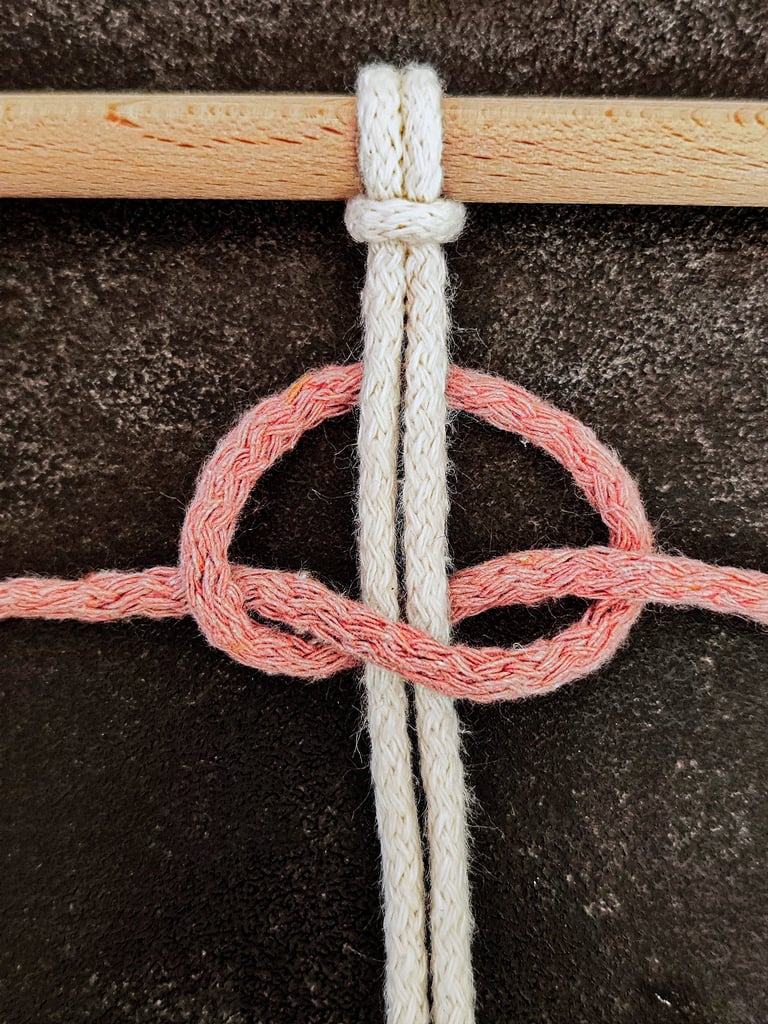
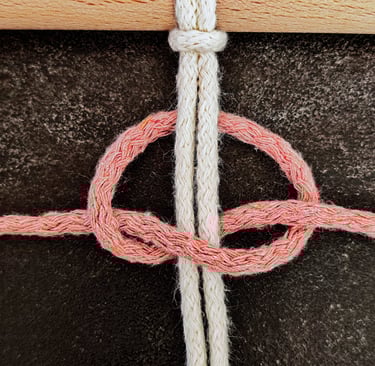

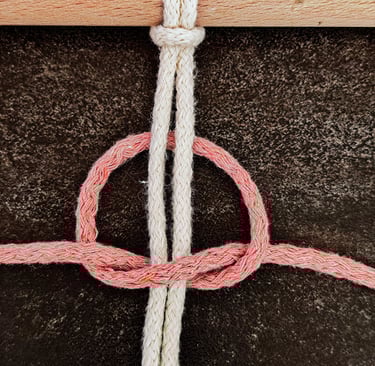
STEP 4
Move to the other side and take the opposite working cord. Fold it downward, pass it behind the anchor cords, and then thread it through the loop you created on the 1st side.
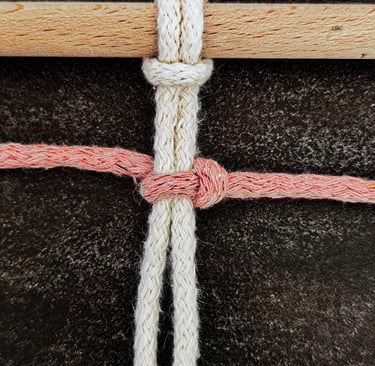
STEP 5
Pull both working cords firmly to tighten the knot securely around the anchor cords.
Common Mistakes to Avoid
One frequent mistake is twisting cords while tightening the knot, which can make your piece look messy or uneven. Always untwist cords before pulling tight.
Another error is starting the knot on the wrong side, which changes the angle and direction, disrupting your pattern’s flow.
Avoid pulling the knot too loosely; it must be snug enough to hold but not so tight that it distorts the fibers. Practice consistent tension for the best result.
Fixing Uneven Knots
Uneven knots usually happen when one side’s loop or cord is tighter than the other. Check each knot to see if one half wraps looser or tighter. You can gently pull the looser side to balance the tension.
If knots remain uneven, try retying the knot by loosening it first. Work on one socket and pull the cords symmetrically before tightening fully. This creates uniformity in both the size and shape of the Half-Square knots.
Use a flat surface to lay out your piece and adjust knots as you progress. Consistent hand pressure during tying helps avoid unevenness from the start.
Adjusting Cord Tightness
Cord tightness affects the final look and strength of your piece. If knots are too tight, the material may bunch up and stiffen. If too loose, the pattern will look sloppy and lack structure.
Adjust by gradually tightening each knot, not all at once. After tying, pull cords firmly but avoid over-tightening. Use your fingers to press knots flat while tightening for better control.
Keep your working cords straight and free of twists. Twisted cords contribute to uneven tension. When adding new cords, wrap neatly to avoid tension inconsistencies.
Preventing Cord Slippage
Slippage occurs when cords shift inside knots, especially with slippery or synthetic materials. To reduce this, maintain steady tension while knotting and avoid sudden jerks on cords.
You can also create a small friction lock by adding an extra half knot before the Half-Square knot. This “anchor knot” helps hold the cords securely in place during the main knotting process.
Using a slight amount of fabric glue or a tiny dab of beeswax on the cord’s surface before tying can enhance grip without damaging the fibers. Just apply sparingly to avoid stiffness.