
How to Vixie? Make an Extended Lark's Head knot?
Looking to add bold detail and movement to your macramé creations? The Extended Lark’s Head Knot is the perfect technique for makers who crave something a little different — a knot that stands out and flows with character. In this adventurous step-by-step tutorial, you'll learn how to create this eye-catching variation, perfect for adding depth to wall hangings, bags, and statement pieces. Whether you're crafting in a mountain cabin or your favorite sunny nook, this knot brings a sense of journey and creativity to every thread. Grab your cord, follow the rhythm, and let’s tie something that tells a story.
KNOTS TUTORIALS
Vixie Macrame
6/8/20255 min read
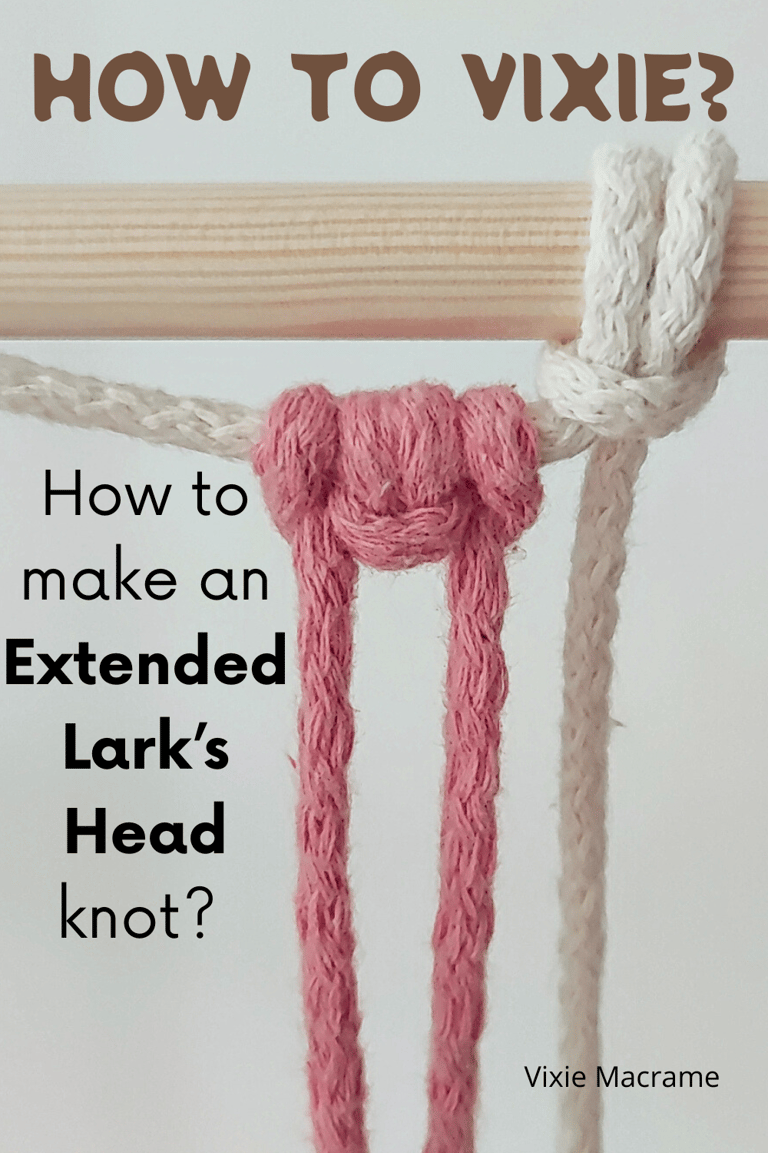

The Extended Lark's Head knot is a versatile variation of the classic Lark's Head knot, offering an added twist that makes it useful for various macrame projects. This knot allows you to create secure, decorative attachments with a subtle spiral effect, adding both function and style to your work. Understanding this knot expands your knot-tying skills beyond the basics and helps you tackle more complex designs.
You will find the Extended Lark's Head knot especially handy when you want extra texture or a unique look in your cords. It’s simple to learn once you grasp the essential steps and mindful of pressure points to avoid discomfort. Mastering this can elevate the quality and appearance of your macrame pieces significantly.
If you’re ready to enhance your knotting technique, you’ll benefit from clear, step-by-step guidance on how to execute this knot properly and safely. This tutorial breaks down the process so you can follow along easily and start using the Extended Lark's Head knot right away.
Understanding the Extended Lark's Head knot
You will learn how the extended version of the Lark's Head knot differs from the standard form and why it matters. This knowledge will help you apply the knot precisely in your projects and understand its practical uses.
What Is an Extended Lark's Head knot
The Extended Lark’s Head knot builds on the basic Lark’s Head knot by adding an extra twist at the end. This twist tightens the knot and can create a more secure hold. It’s especially useful when you want a stronger attachment that still looks neat.
Unlike the basic version, this knot requires an additional step to wrap or loop the cord before pulling it tight. This alteration changes its grip and tension slightly, making it less likely to slip under pressure.
Applications and Use Cases
You can use the Extended Lark’s Head knot in macramé projects that require stronger attachments without bulky knots. It’s ideal for hanging plant holders, jewelry, or decorative wall art where tension is significant.
This knot is also useful in situations where you want the knot to be part of the design, adding visual interest with its twist. It works well on cords, leather, and various thicknesses of thread.
Step-by-Step Extended Lark's Head Knot Tutorial
This tutorial guides you through precise preparation, construction of a secure base loop, and the method to form an extended, decorative structure. Each stage builds on the last to ensure your knot is both functional and visually effective.

STEP 1
Take the anchor cord.
STEP 2
Take the working cord and fold it in half. Put the folded end on the anchor cord.

STEP 3
Put the folded end behind and underneath the anchor cord. The cord's ends go through the loop you just created.

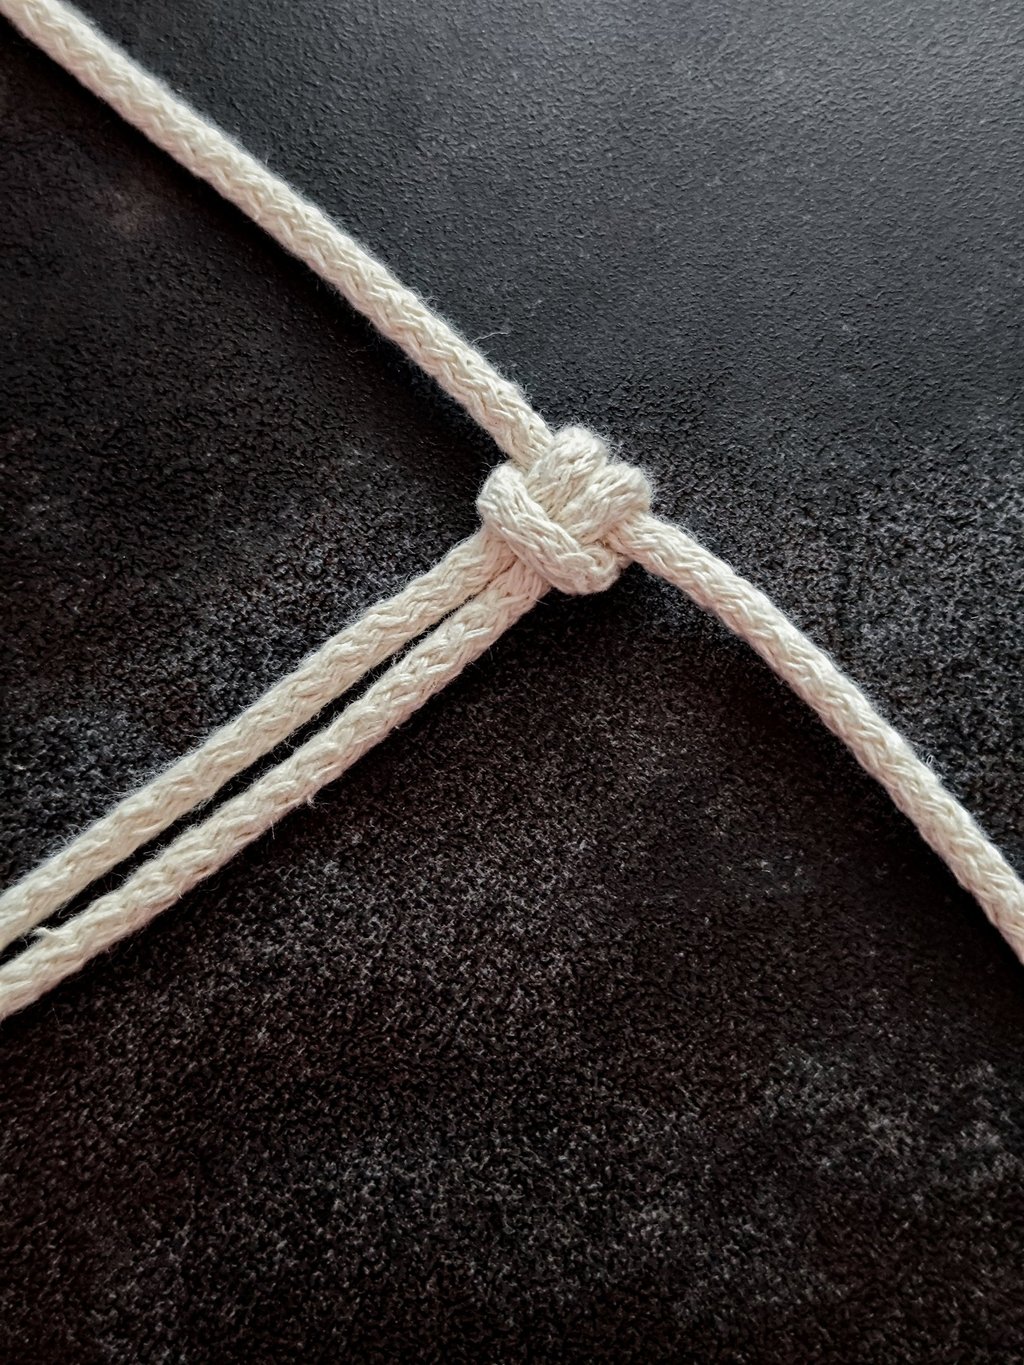
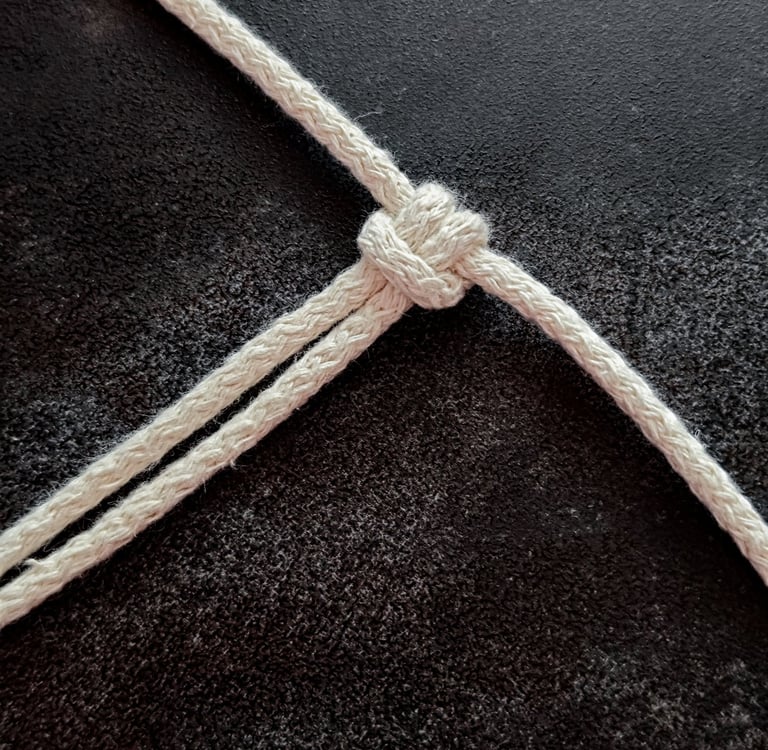
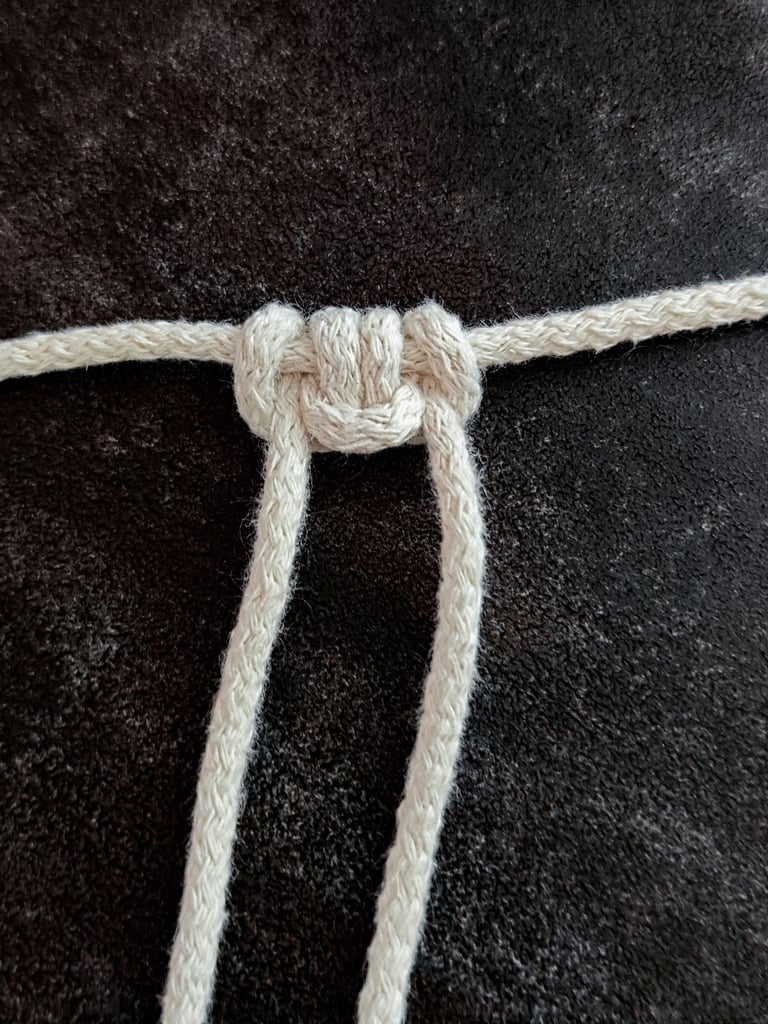
STEP 4
Pull on the working cords to tighten the knot. You've made Lark's Head knot.

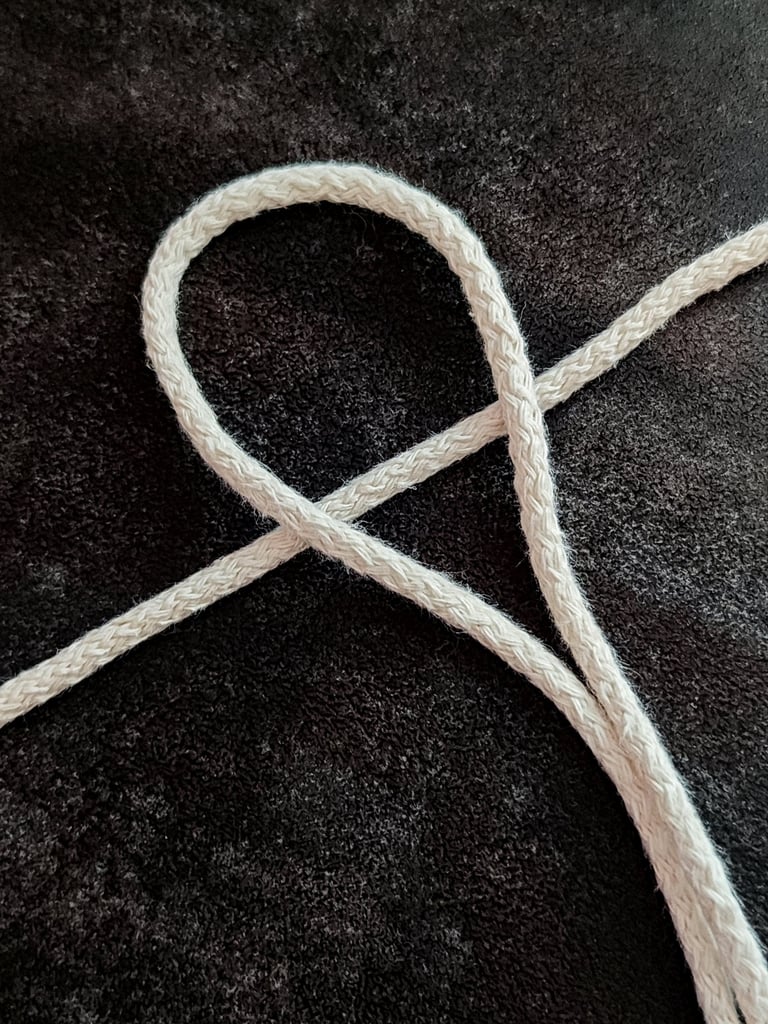
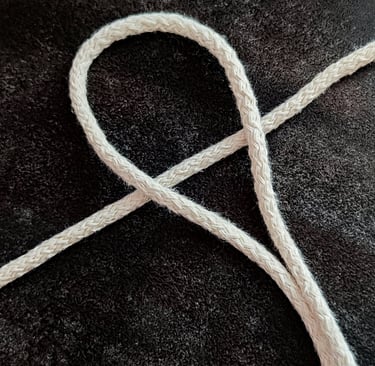
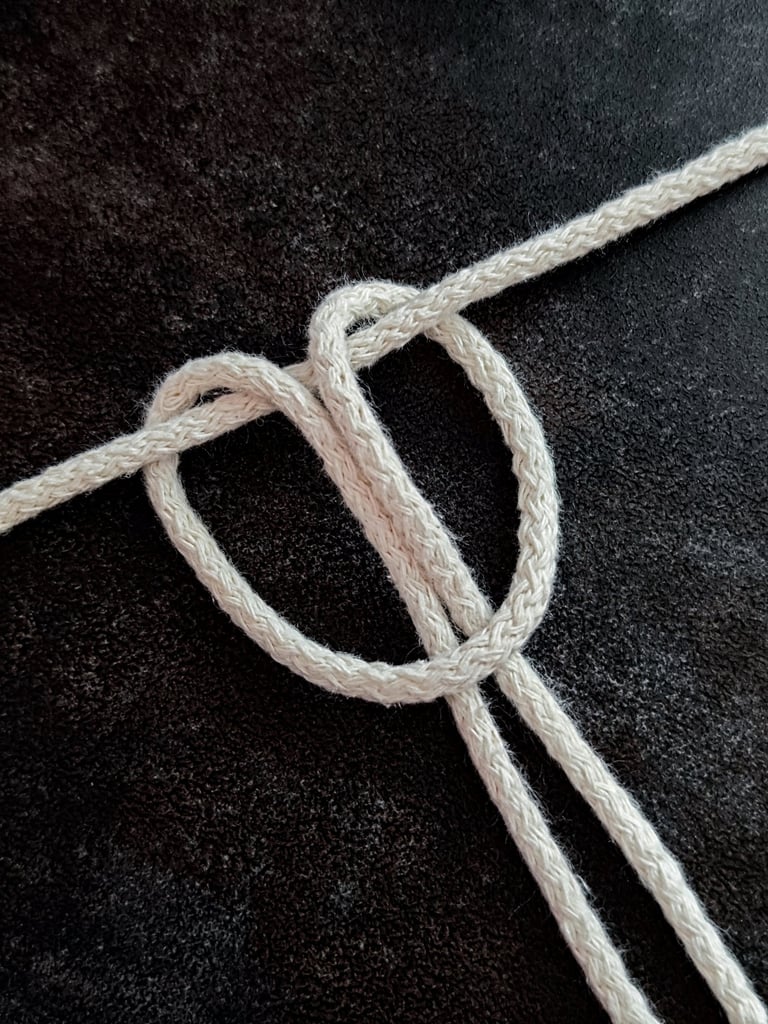
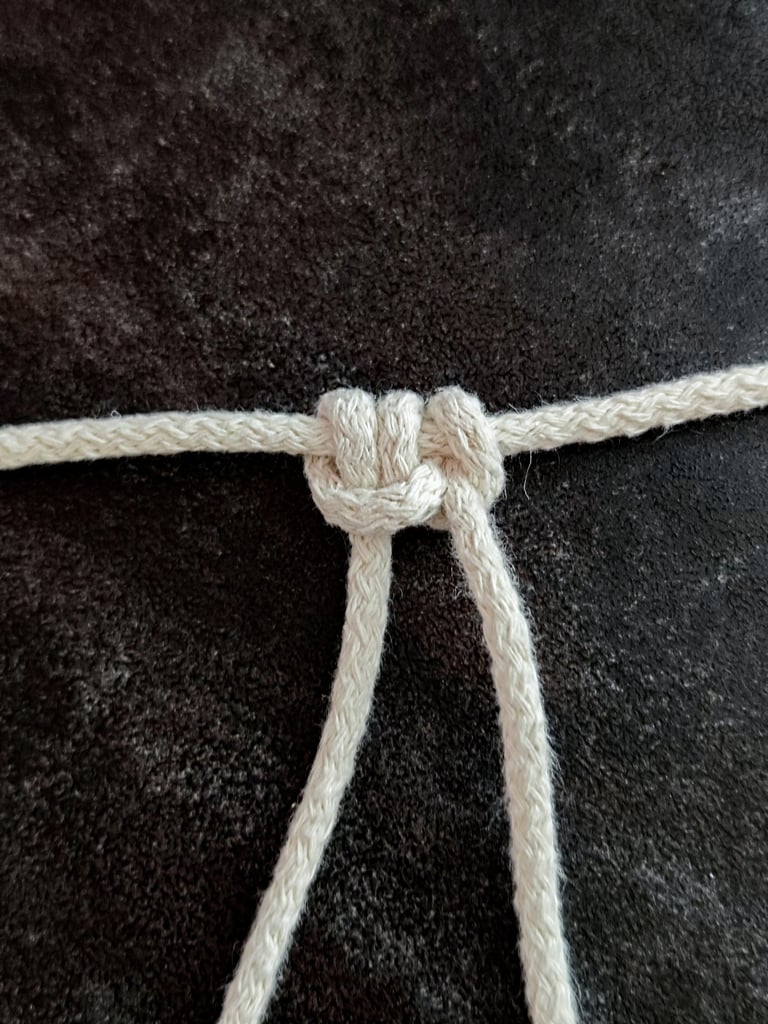
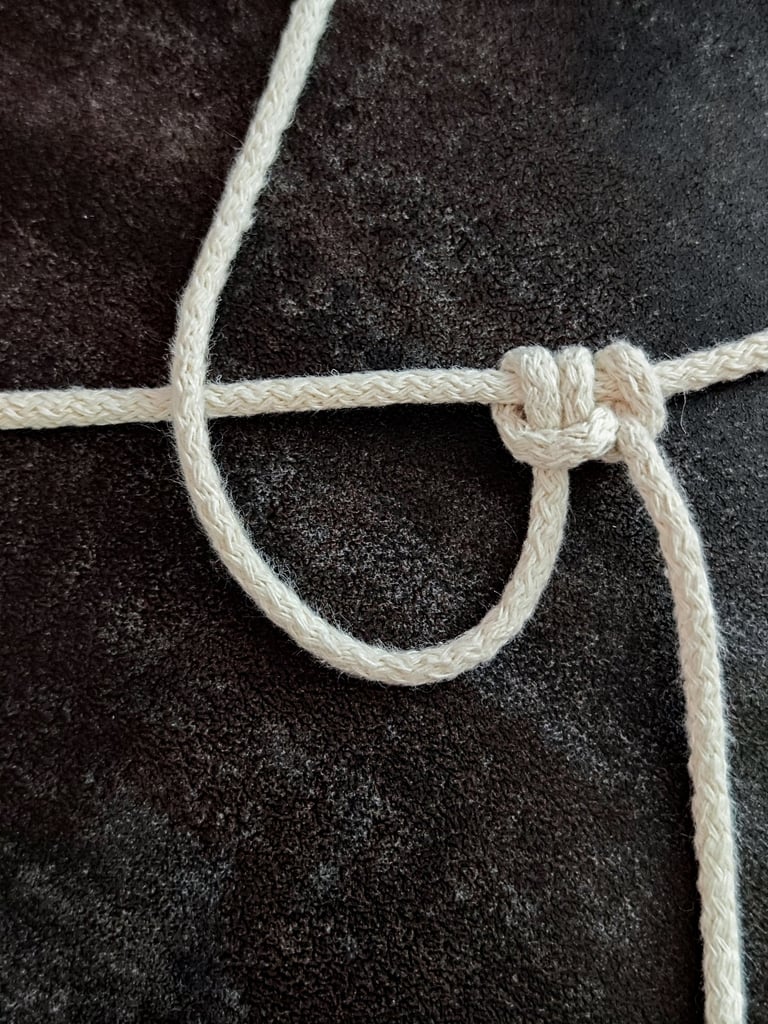
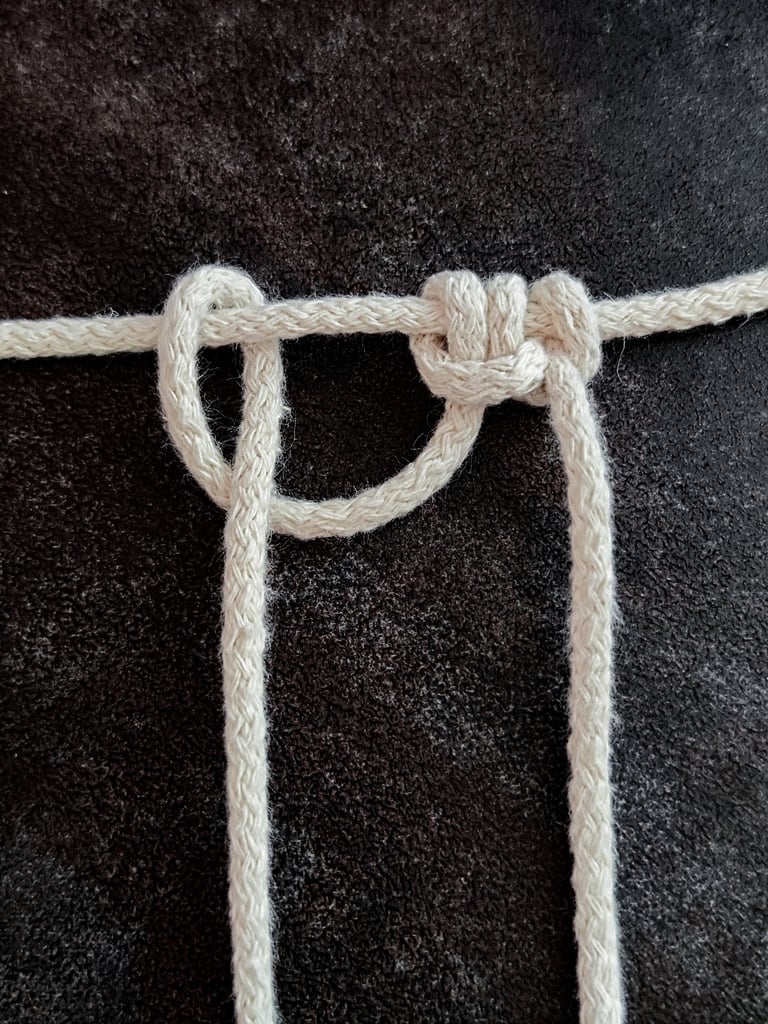
STEP 5
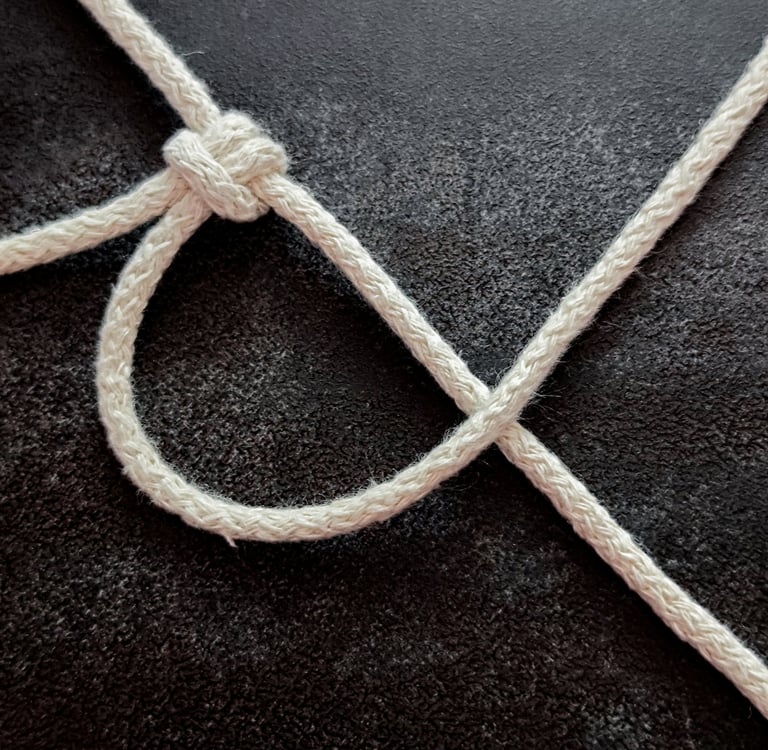
Put the right cord up to form a loop under the anchor cord.

LEFT SIDE
RIGHT SIDE
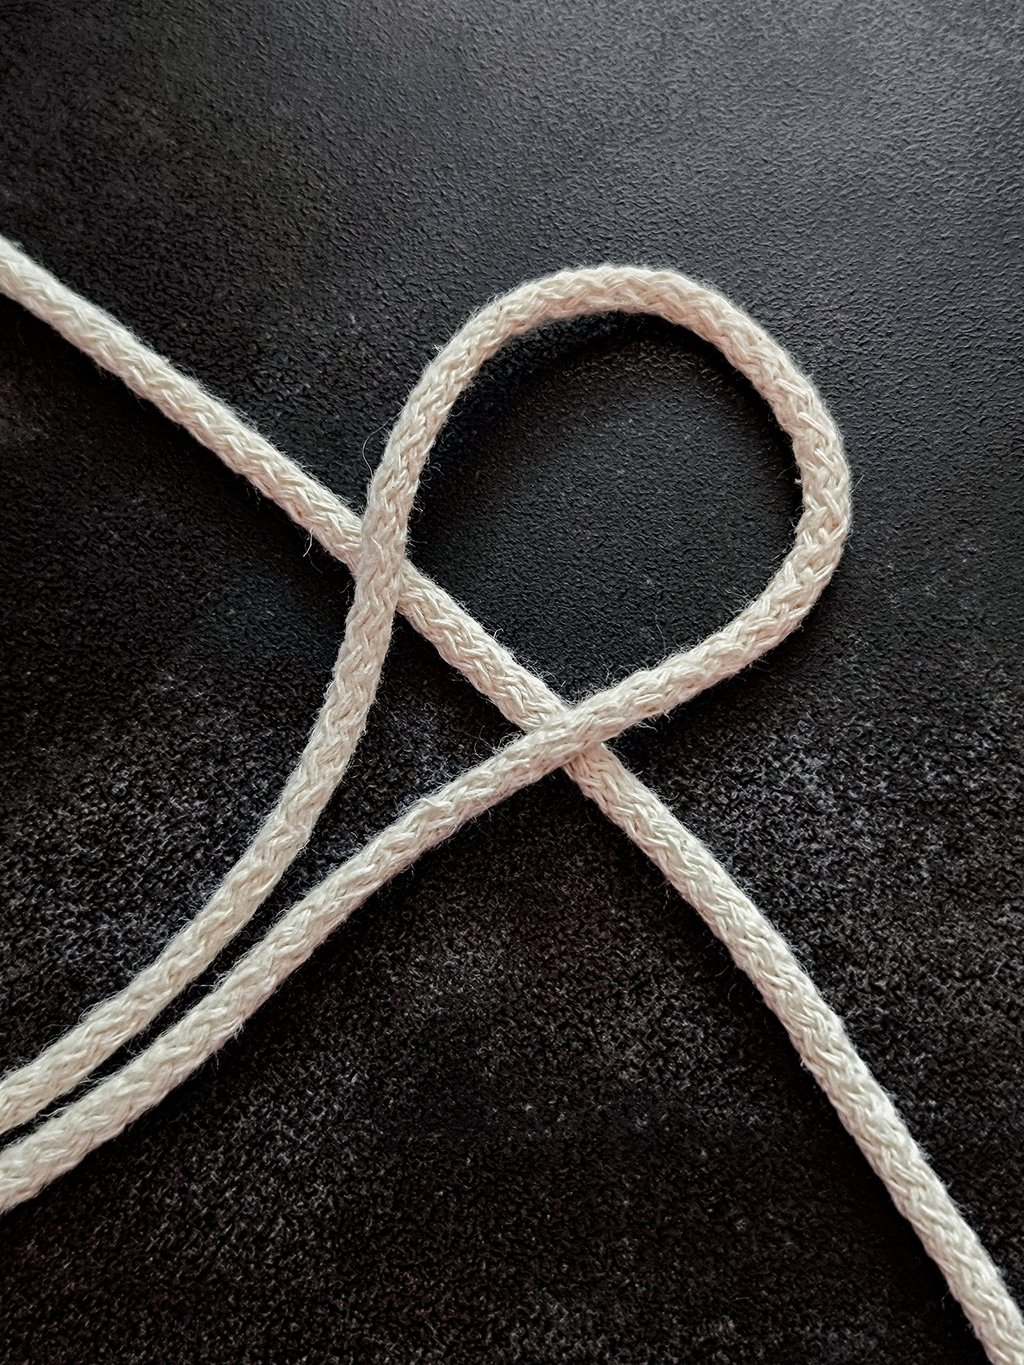
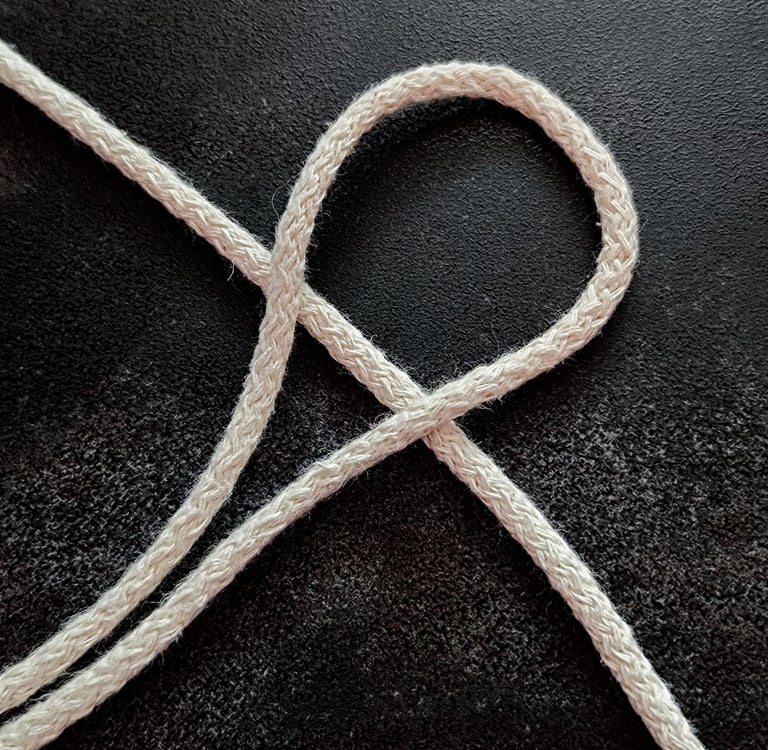
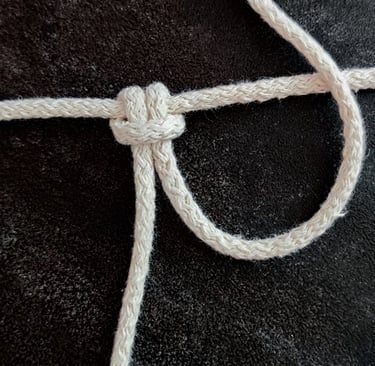
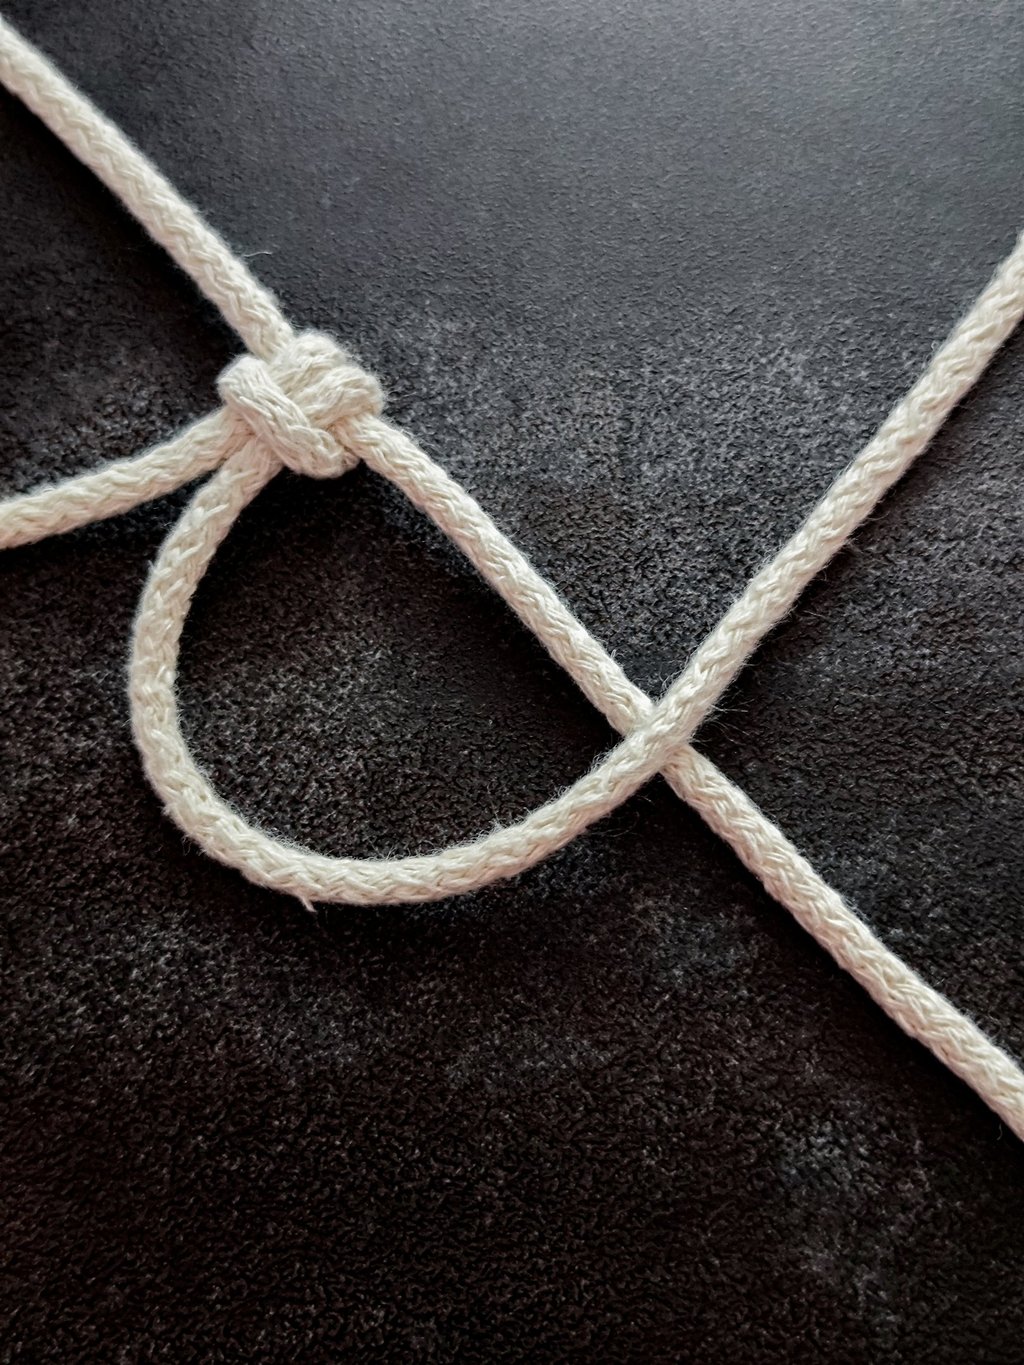
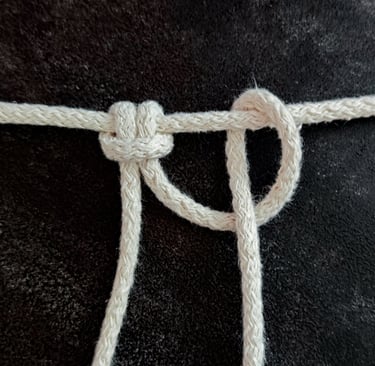
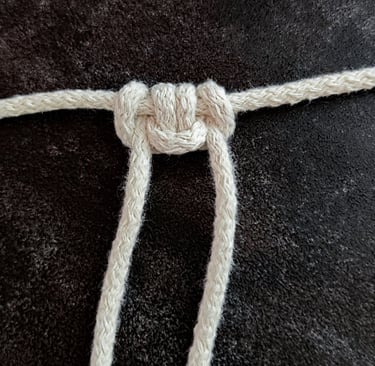
STEP 6
With the cord's end go behind and down through the loop you just created on the left bottom side.
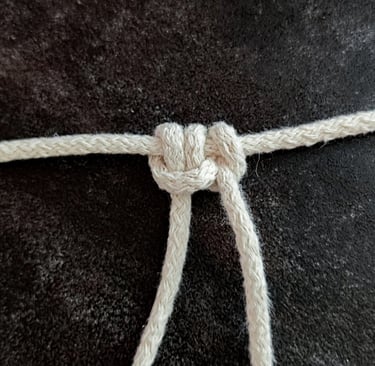
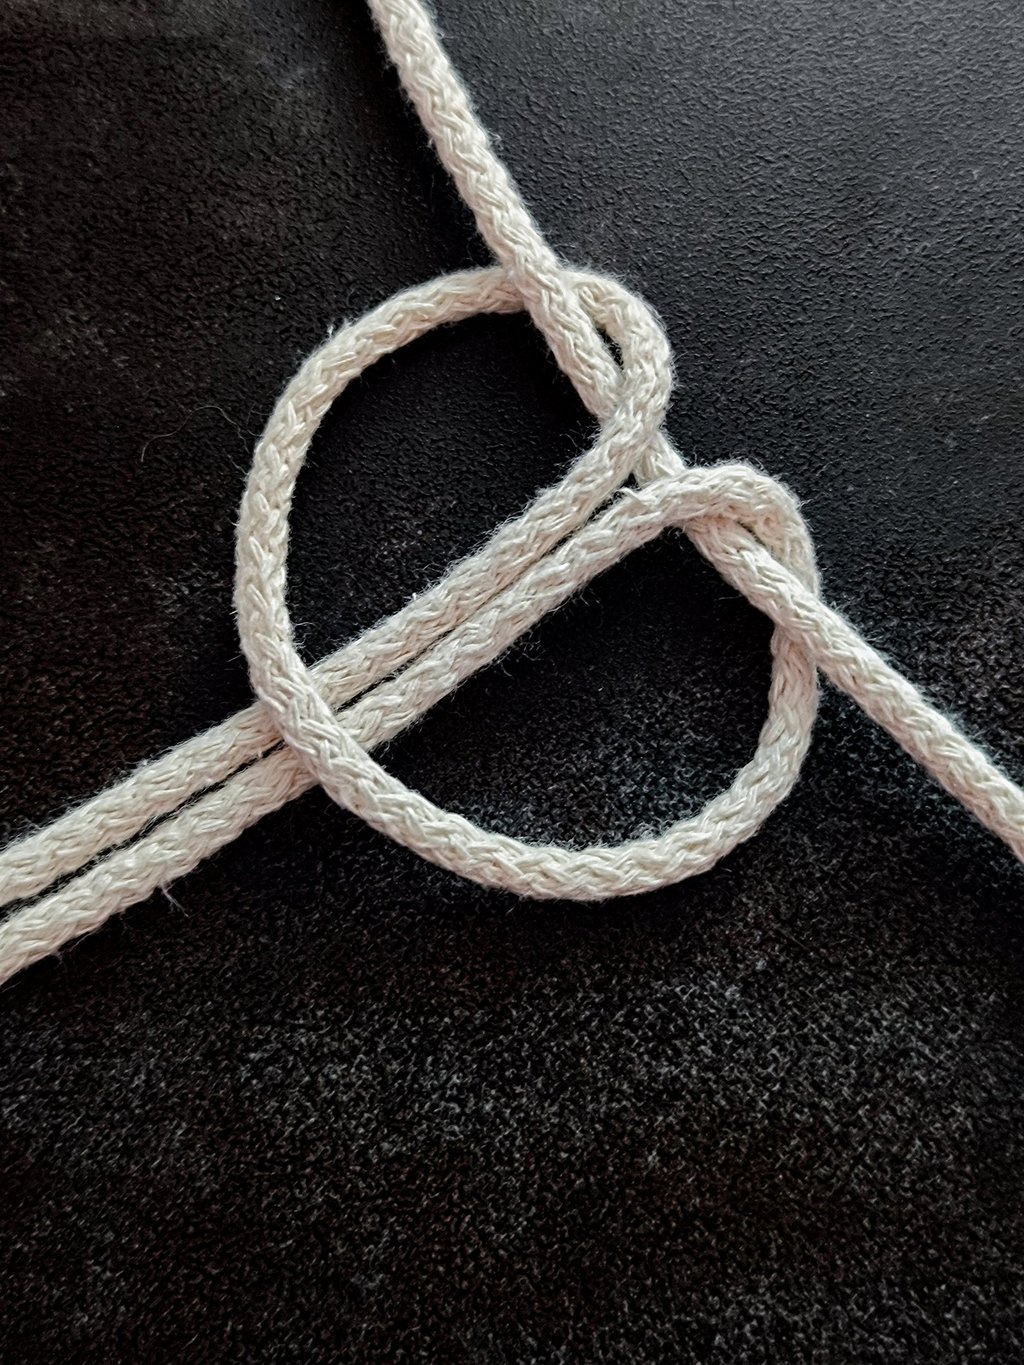
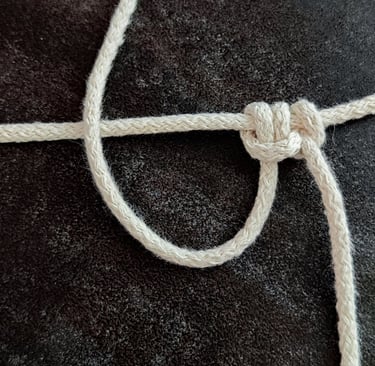
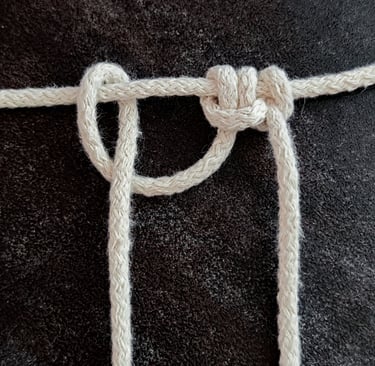
STEP 7
Pull to tighten.
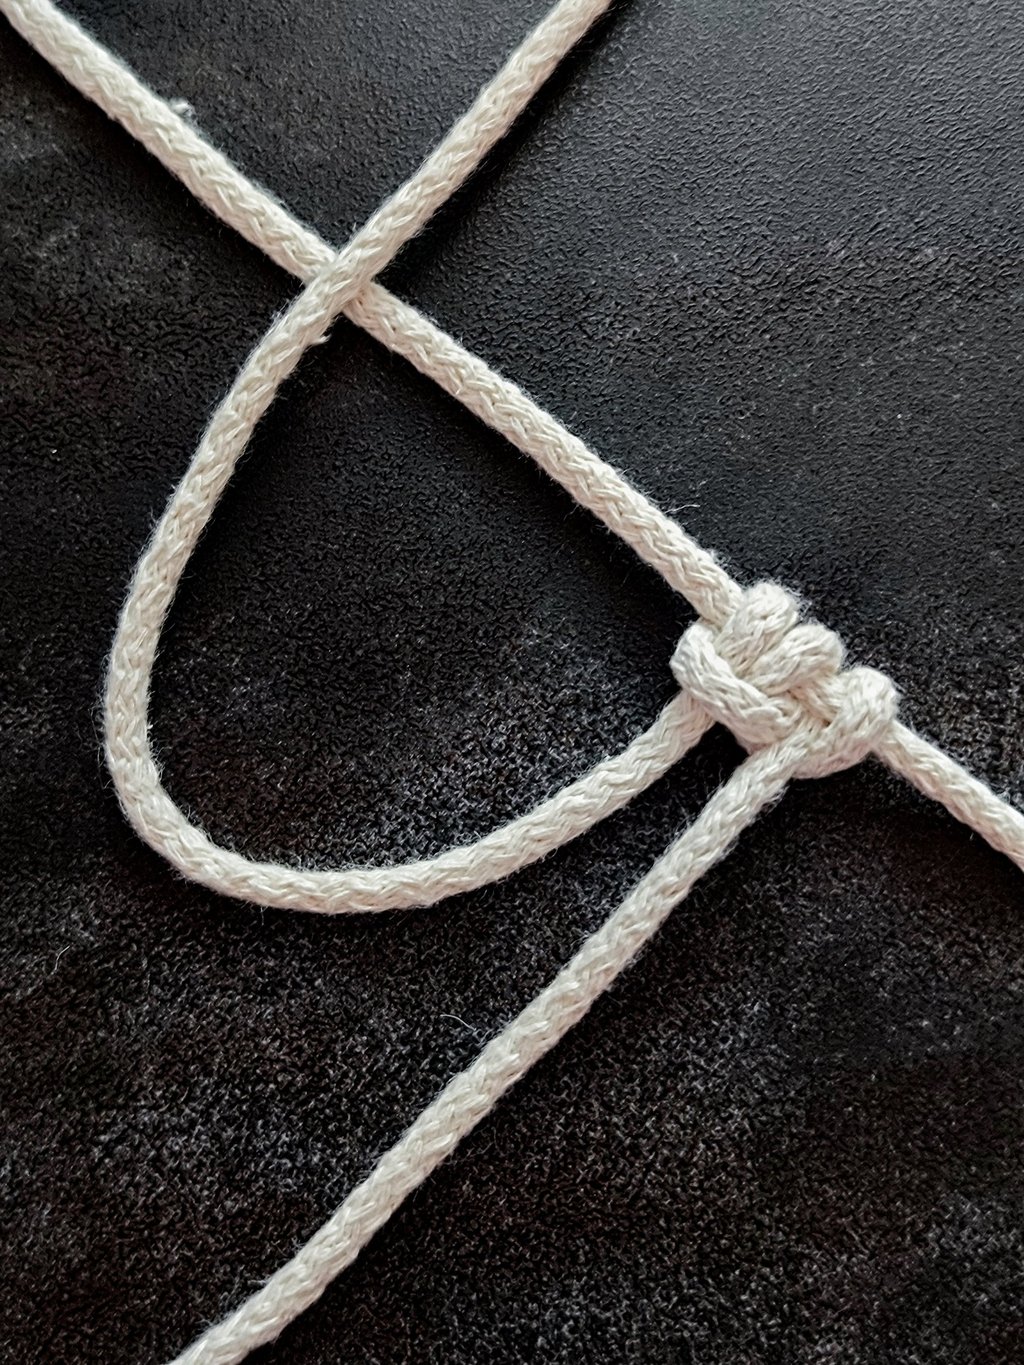
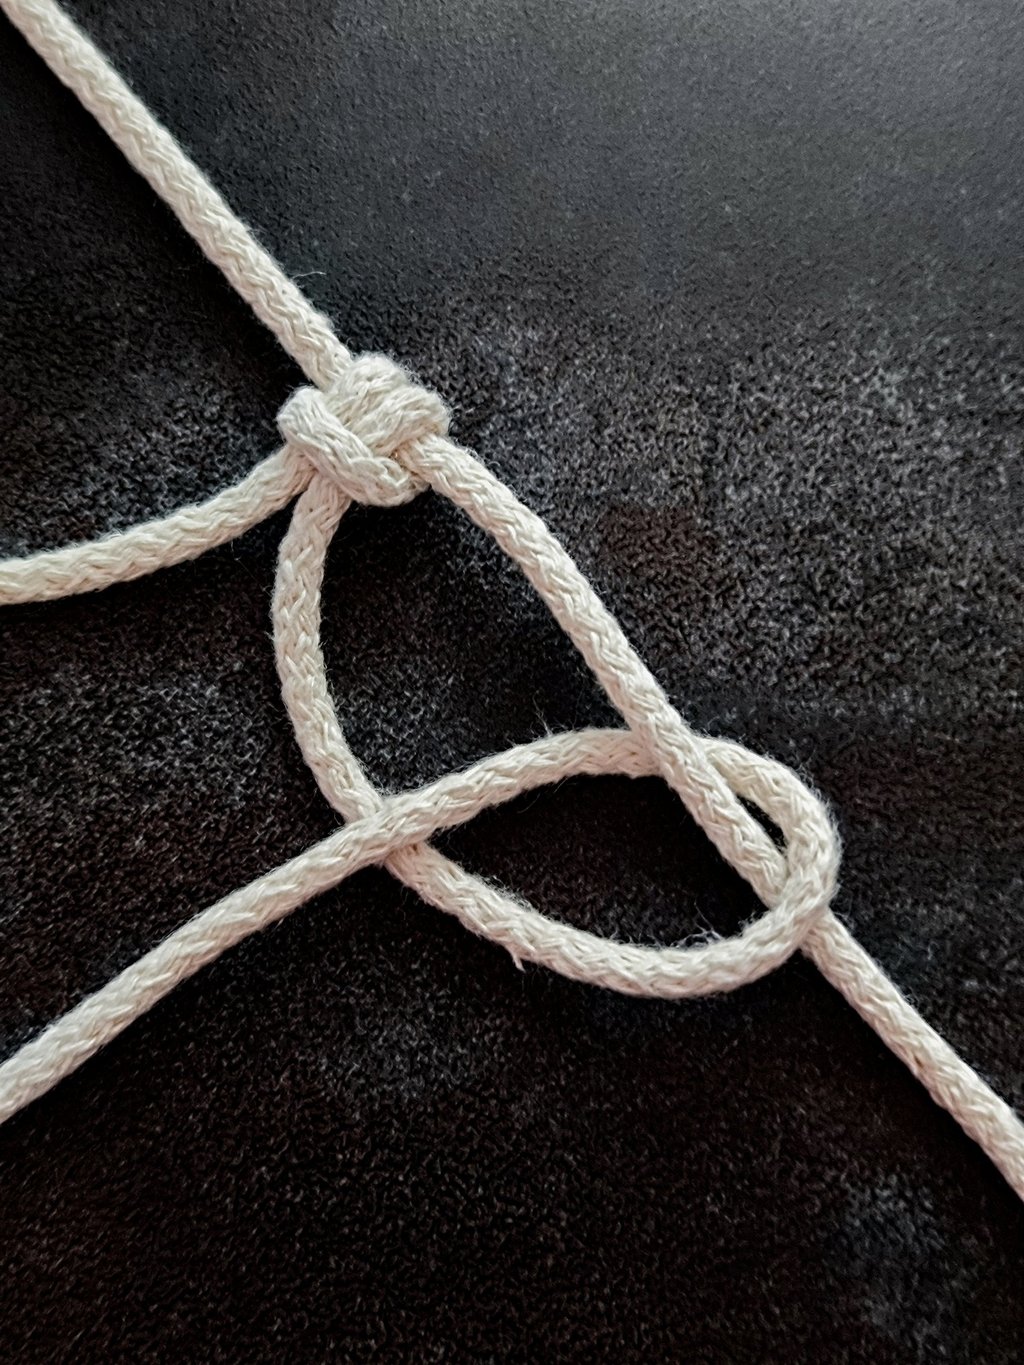
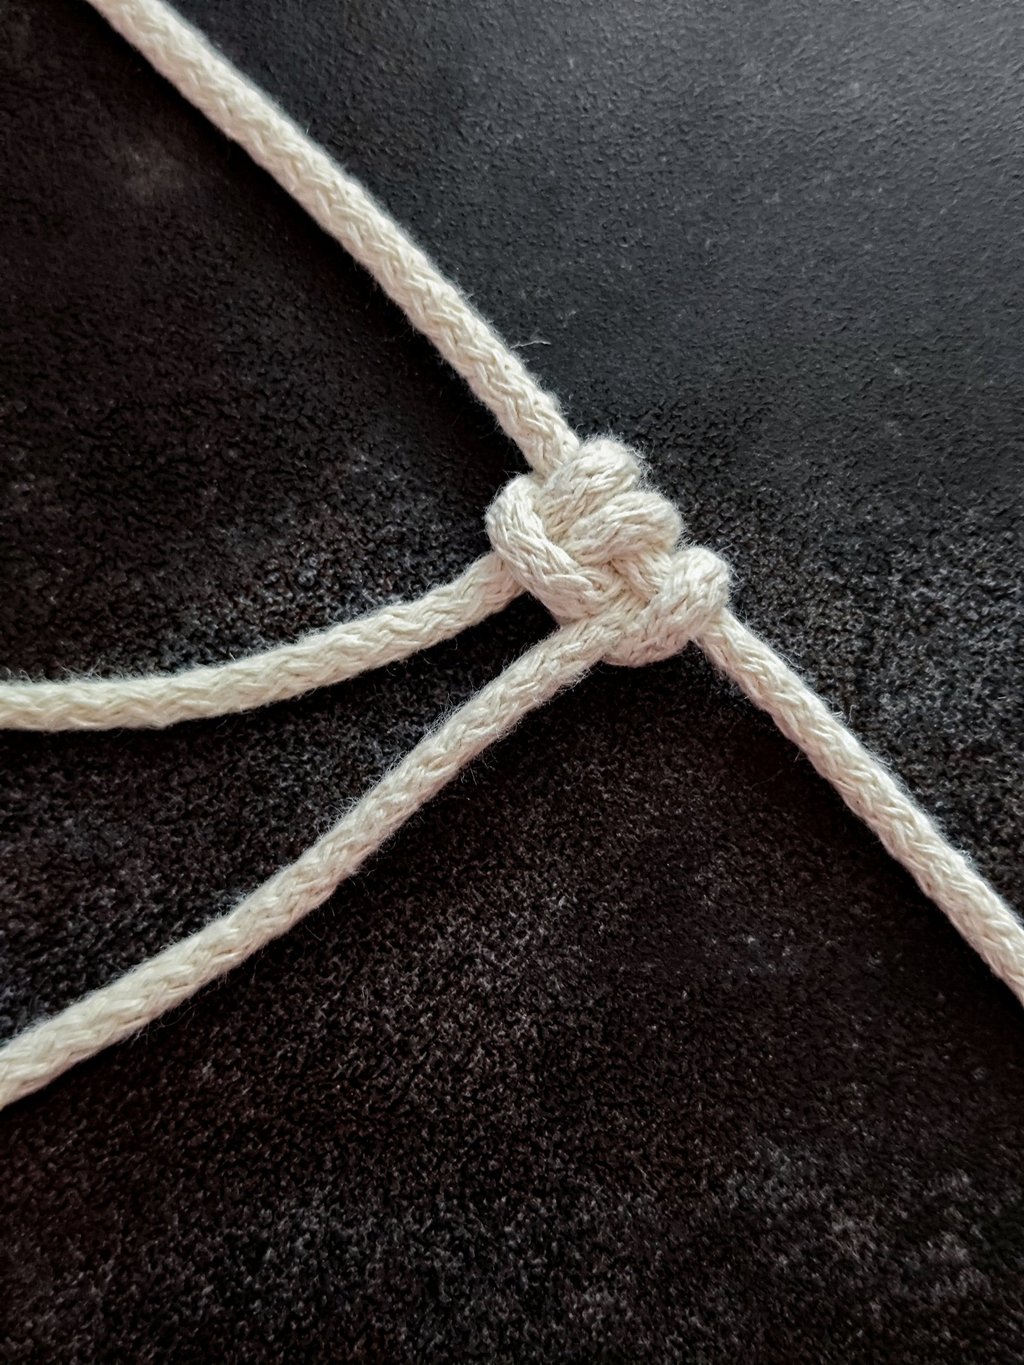
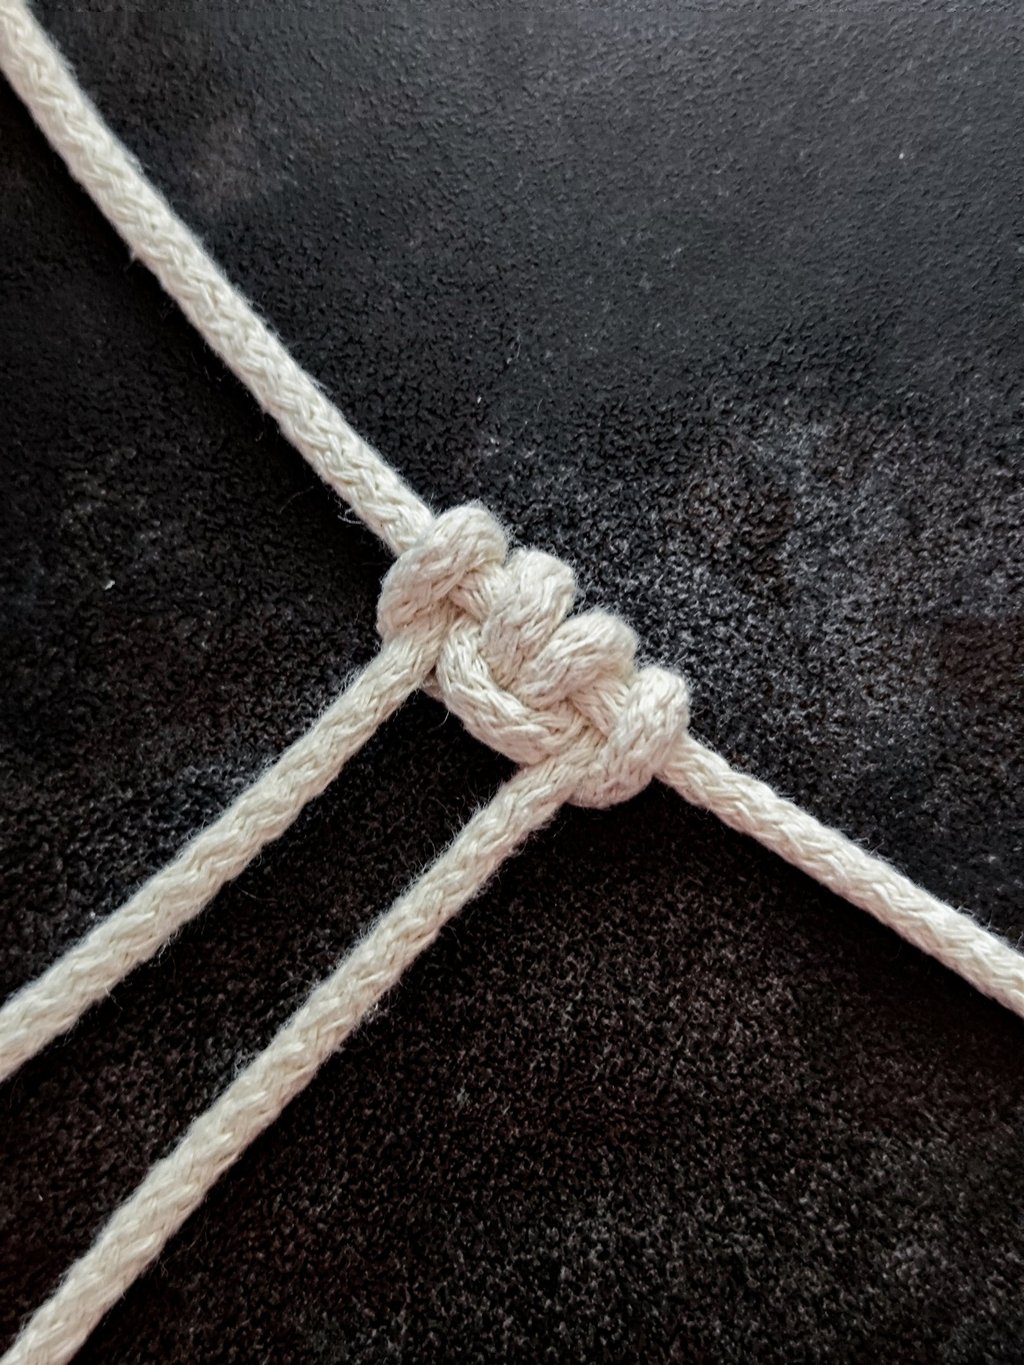
STEP 8
Go on the other side and put the 2nd cord up.
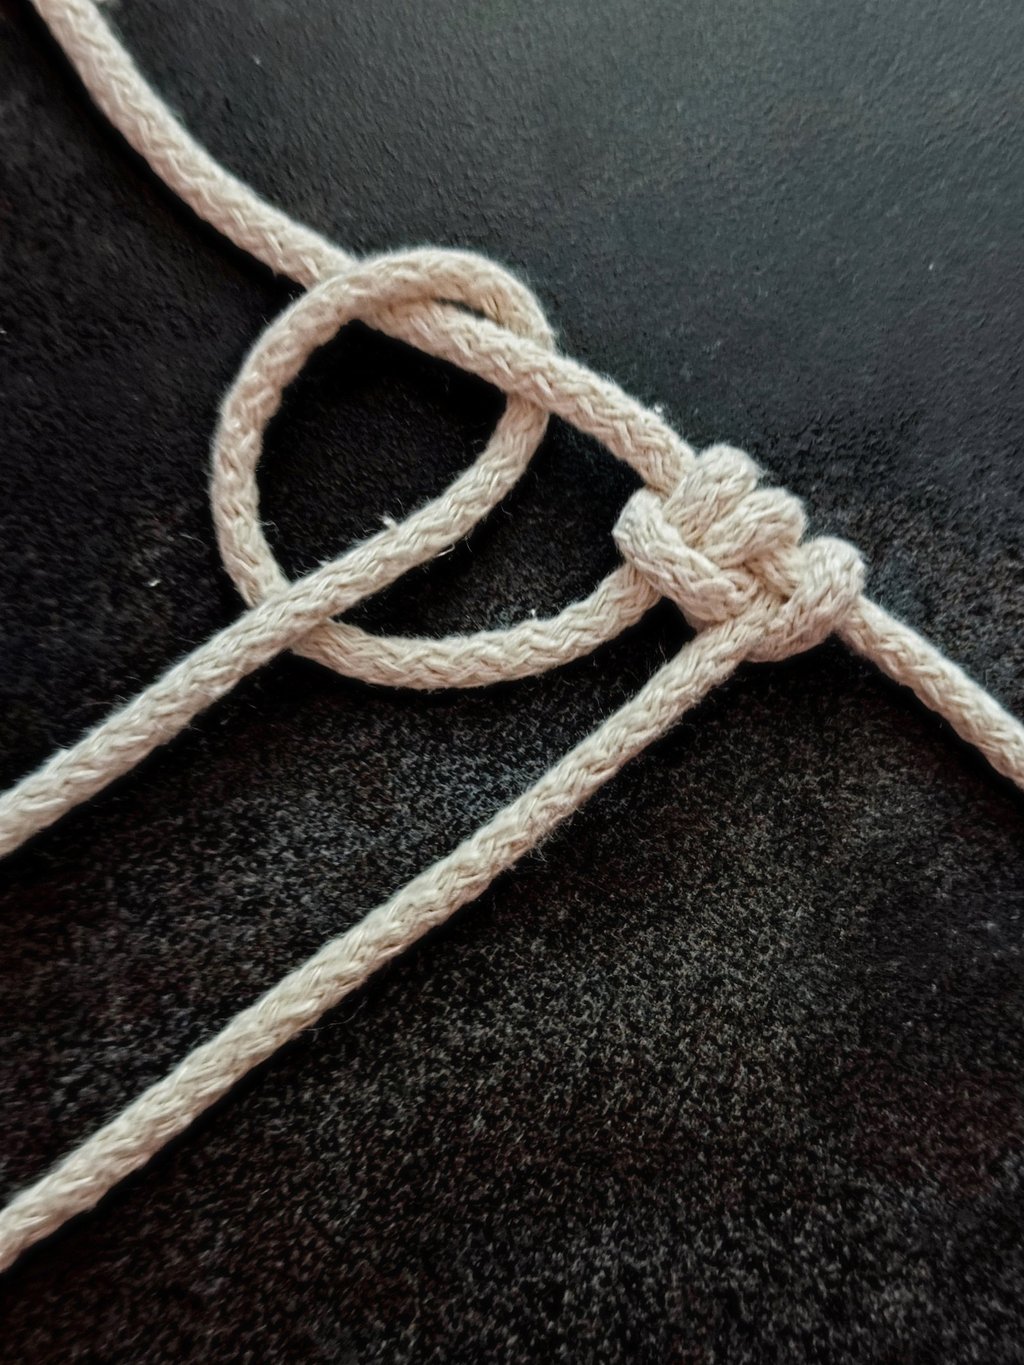
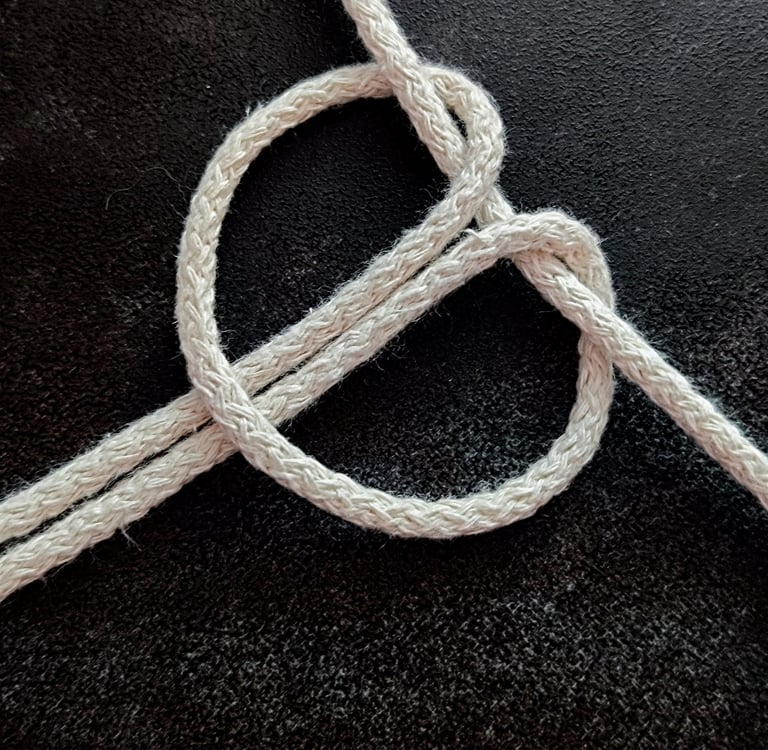
STEP 9
With the cord's end go behind the anchor cord and down through the loop you just created on the bottom right side.
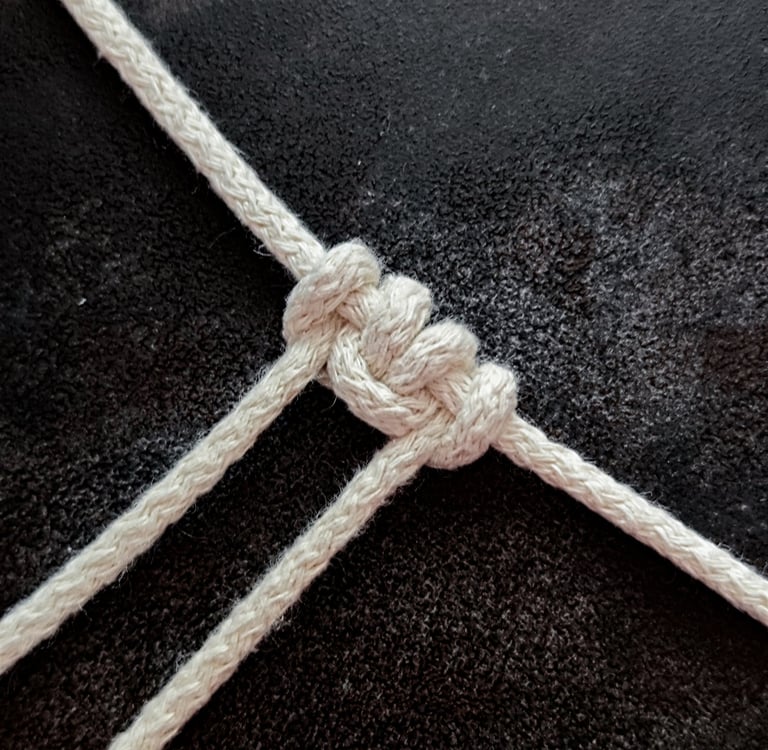
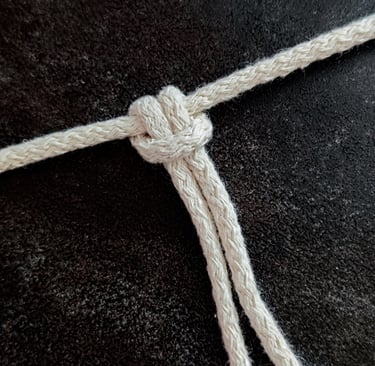
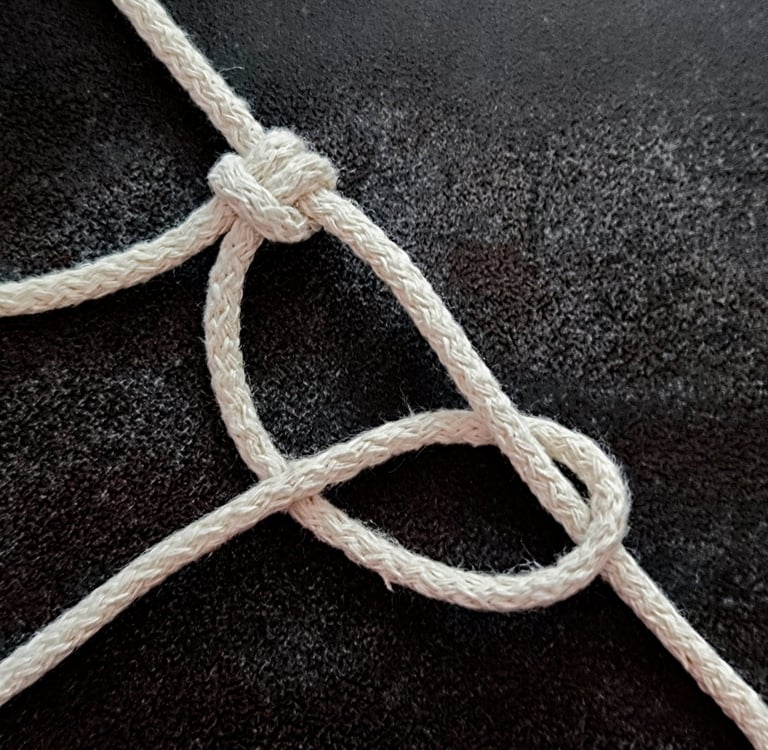
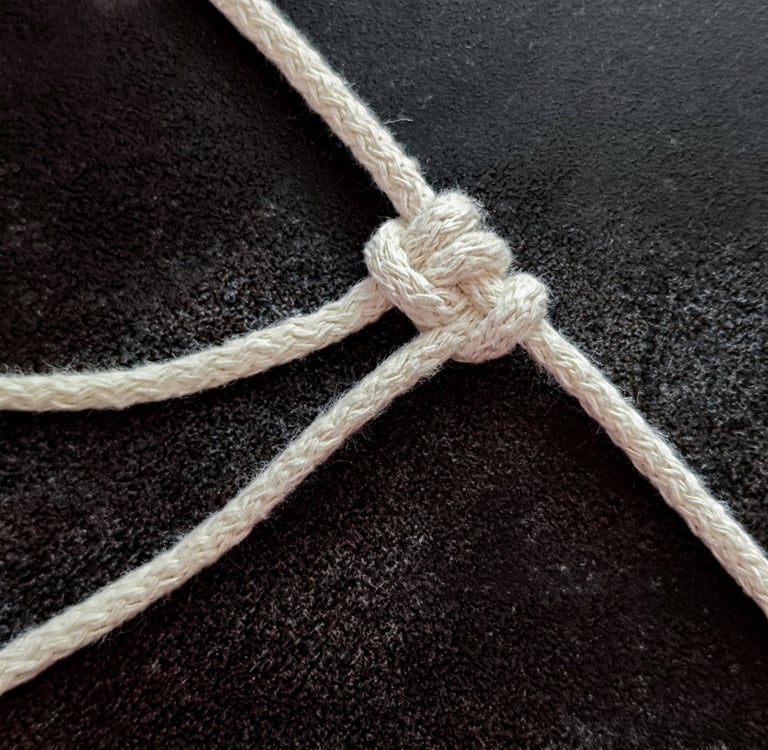
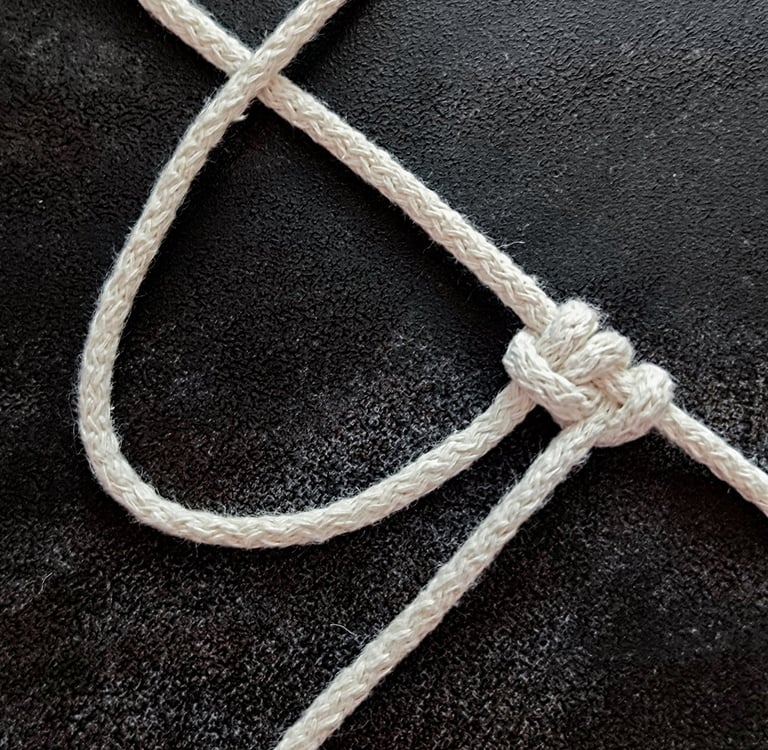
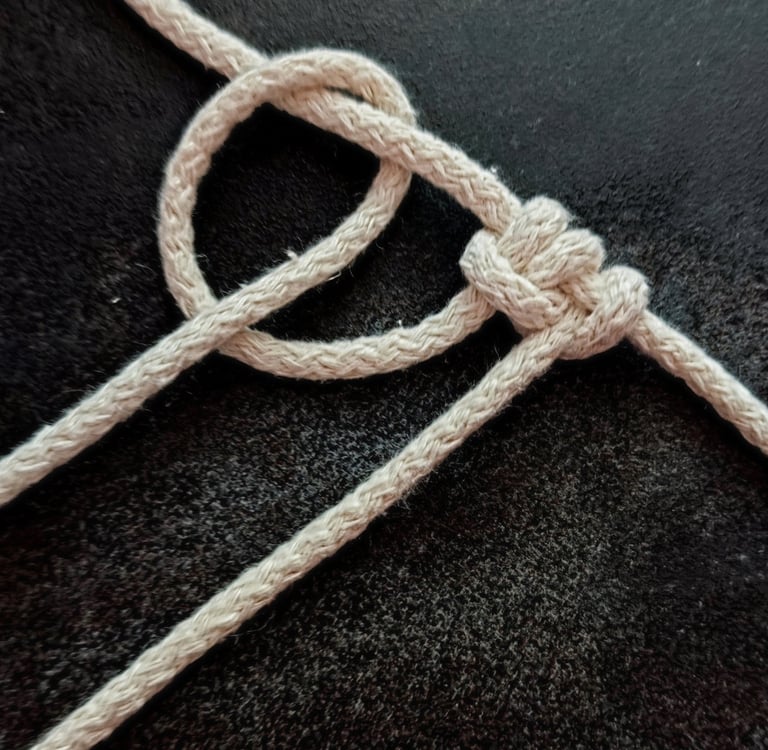
STEP 10
Pull to tighten.
Mastering the Extended Lark's Head knot requires attention to detail in your technique and control over knot tension. These areas directly impact the knot’s appearance and durability.
Common Mistakes and How to Avoid Them
A frequent error is not folding your cord evenly before looping it around the anchor. Uneven folding causes asymmetry, making the knot look unbalanced.
Avoid twisting the cord while pulling it through the loop. This can weaken the knot's grip and alter its shape.
Using cords that are too slippery or stiff can affect knot stability. Choose a cord material that holds shape well but remains flexible.
Finally, ensure you pull the ends firmly but not excessively. Over-tightening can distort the knot or damage thin cords.
Ensuring Even Tension
Maintaining uniform tension keeps your knots neat and consistent in size. Uneven tension causes some parts to be loose and others too tight, ruining the overall design.
To achieve even tension, pull each side of the cord gently and equally once the knot is tied.
Practice using light, steady pressure rather than quick or harsh pulls.
If you notice imbalance, loosen the knot and adjust before proceeding. Consistency in tension improves the final look and strength across all your knots.

LEFT SIDE
RIGHT SIDE
