
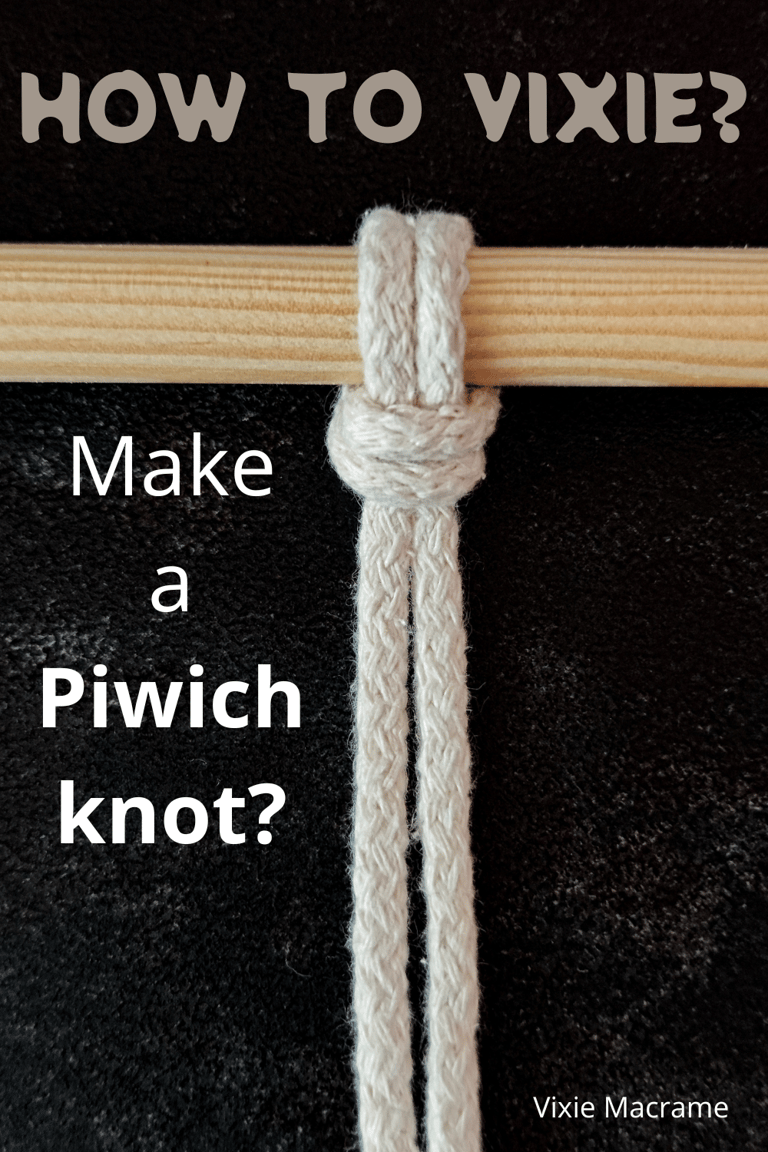
How to Vixie? Make a Piwich knot?
Discover the art of macrame with our exciting tutorial on how to make a Piwich knot! Whether you're a beginner or looking to expand your crafting skills, this step-by-step guide will lead you through the process with clear instructions and expert tips. Dive into the world of textured knots and elevate your macrame projects with this unique and versatile knot. Get ready to create stunning designs that showcase your creativity and craftsmanship!
KNOTS TUTORIALS
Vixie Macrame
6/22/20254 min read
The Piwich knot is a versatile and visually appealing macrame technique that adds texture and complexity to your projects. It is a great knot to learn if you want to expand your macrame skills beyond basic knots and create unique designs. This tutorial will guide you through the steps to master the Piwich knot clearly and effectively.
Understanding the Piwich knot allows you to incorporate it into items like wall hangings, plant hangers, or jewelry, enhancing the overall structure and style. You don’t need advanced experience to follow along, making this knot accessible for both beginners and those looking for a creative challenge.
By focusing on this knot, you can add a new level of detail to your work, enriching your macrame practice. Learning how to tie the Piwich knot will open up fresh possibilities for your handmade creations.
Piwich knot Overview
The Piwich knot is a distinctive variation of the Lark's Head knot that offers both secure holding and easy release. You will find its structure ideal for projects requiring strength without complicated tying or untying.
History and Origin
The Piwich knot was first documented in 1995 by Robert Pont. It emerged as a specific variant of the more commonly known Lark's Head knot. This knot has since gained recognition in ropework fields due to its balance of security and simplicity.
You might notice that its name is often linked to macrame and general knot-tying encyclopedias, particularly Geoffrey Budworth’s works. Its history is relatively recent compared to traditional knots, which means you are working with a modern addition to knot craft.
Unique Features
What sets the Piwich knot apart is its ability to hold firmly while remaining easy to untie. This is due to the way the knot loops and tightens under tension but does not jam.
If you use this knot, you benefit from its straightforward tying process combined with reliable grip. It achieves a level of security with moderate complexity, different from standard hitches that might slip or become difficult to undo after use.
Because of these qualities, the Piwich is versatile for both artistic macrame projects and practical applications where knot failure is a risk.
Common Applications in Macrame
In your macrame work, the Piwich knot is useful when you want durable joins without sacrificing aesthetics. It works well in plant hangers, wall hangings, and decorative patterns.
You can employ it as an alternative to the standard Lark's Head knot for better holding power. Its neat appearance also complements intricate macrame designs where clean lines are essential.
Step-By-Step Piwich knot Tutorial
You will need to prepare your cords properly, follow precise steps to form initial loops, and build the knot’s unique pattern carefully. Finally, tightening and securing the knot ensures it holds shape and stays durable.
STEP 1
Fold the cord in half and place the folded end behind the wooden dowel rod.
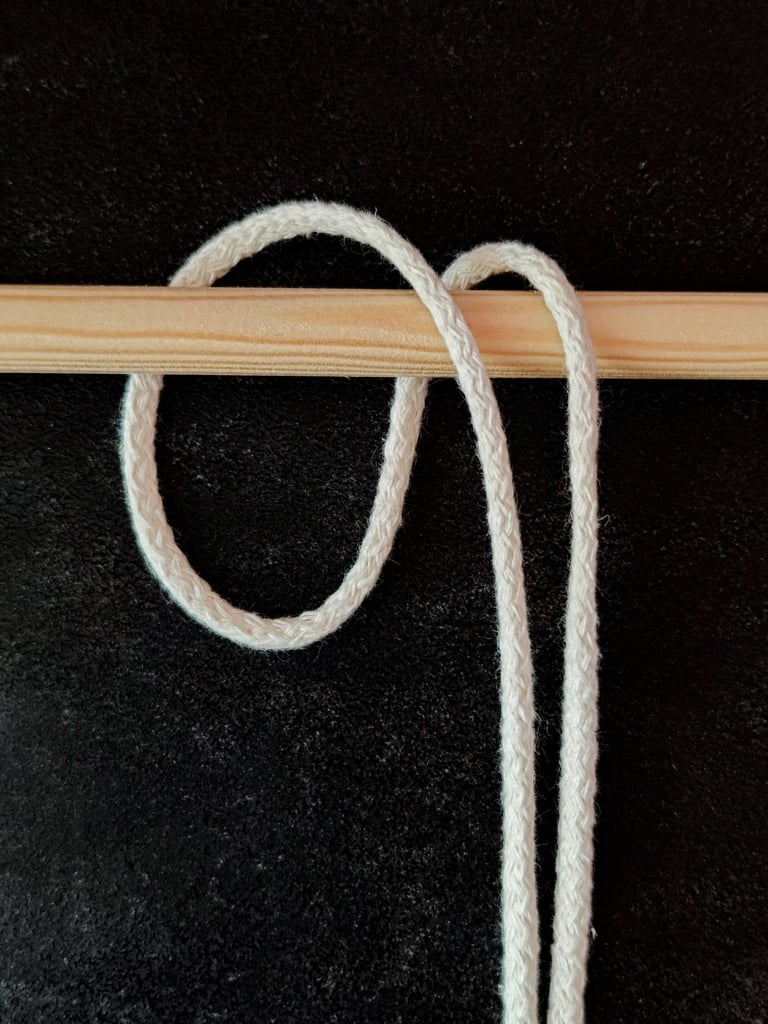
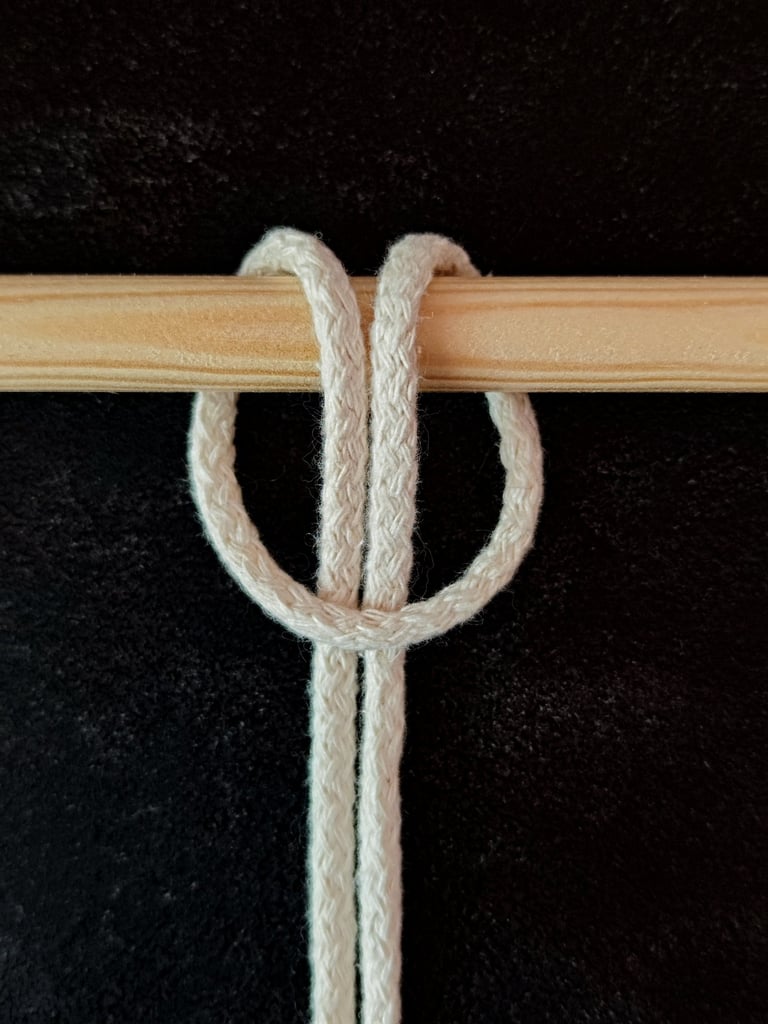
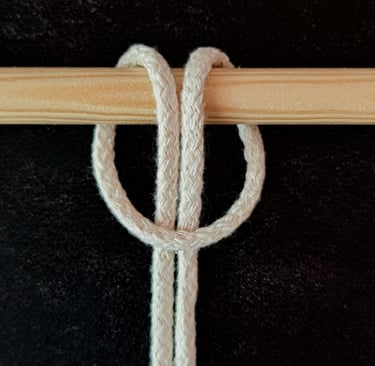
STEP 2
Pass the ends of the cord through the loop you just formed.
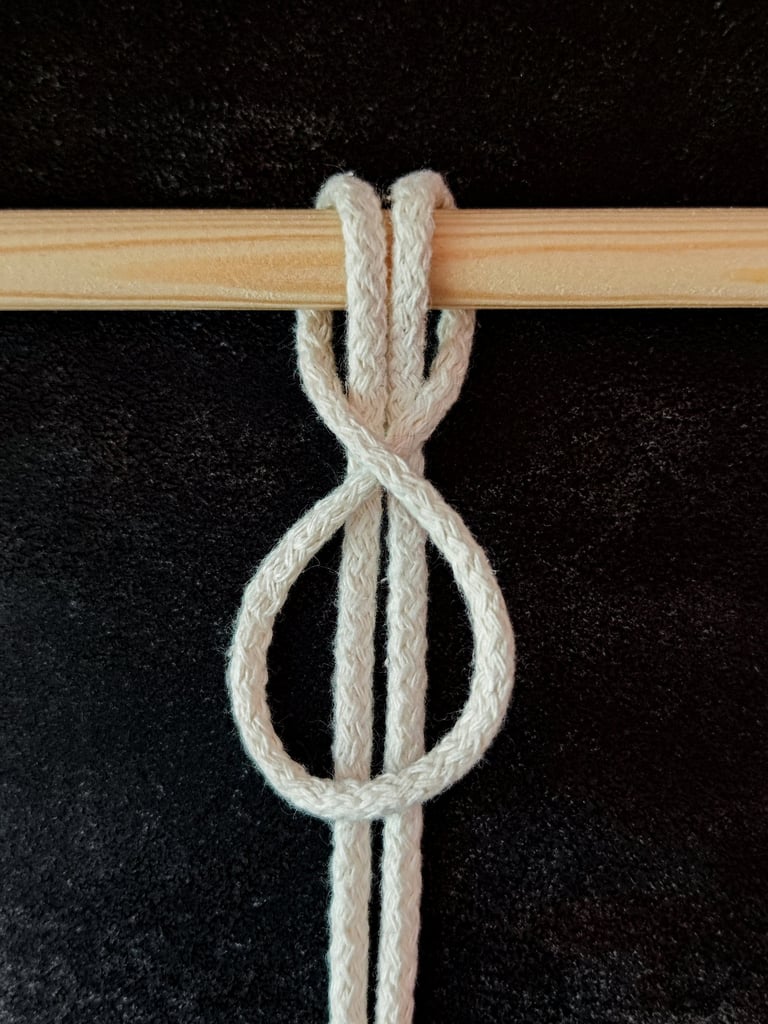
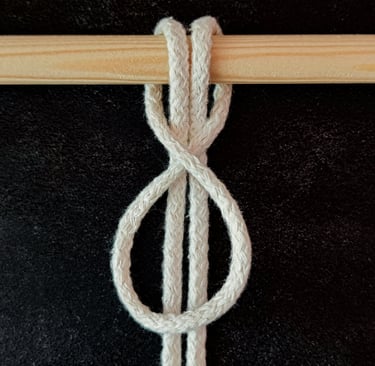
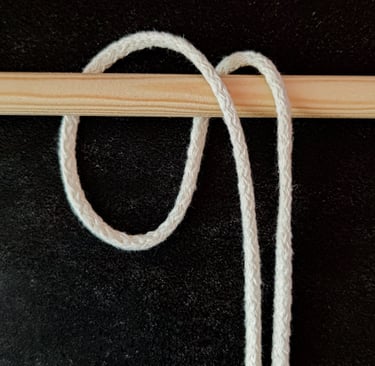
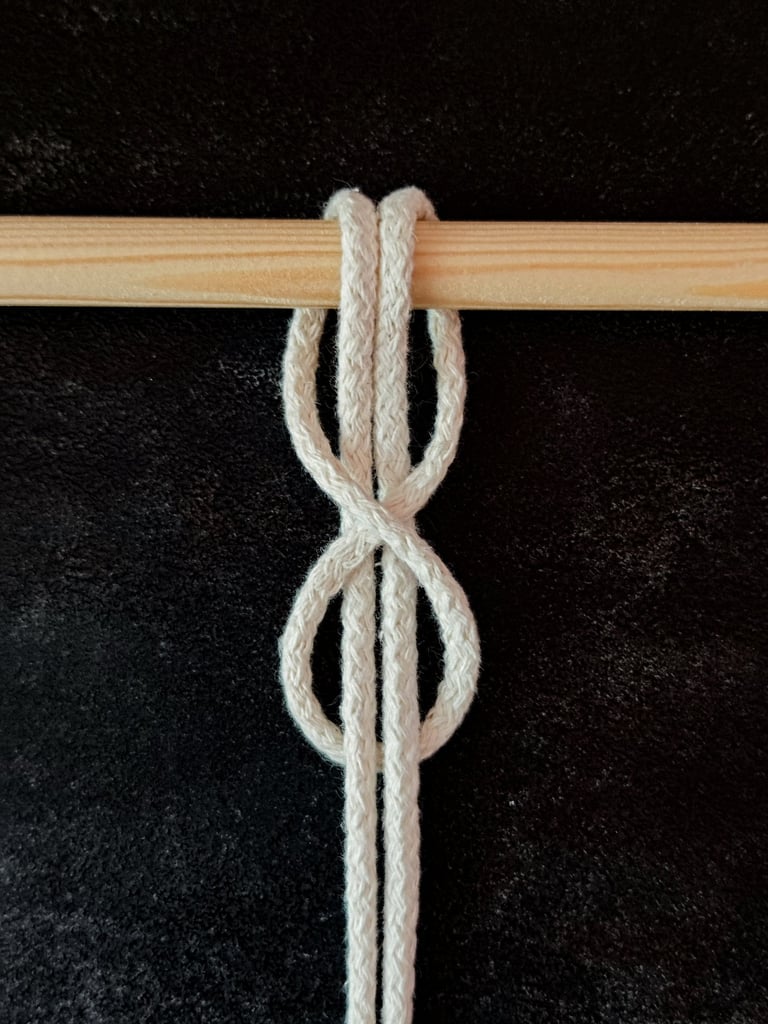
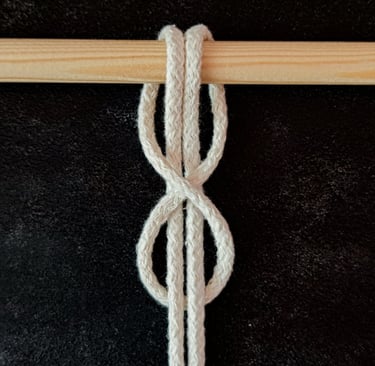
STEP 3
Without tightening, pull the front cord and form a number 8 shape, crossing the left side over the right.
STEP 4
Thread the ends of the cord through the loop.
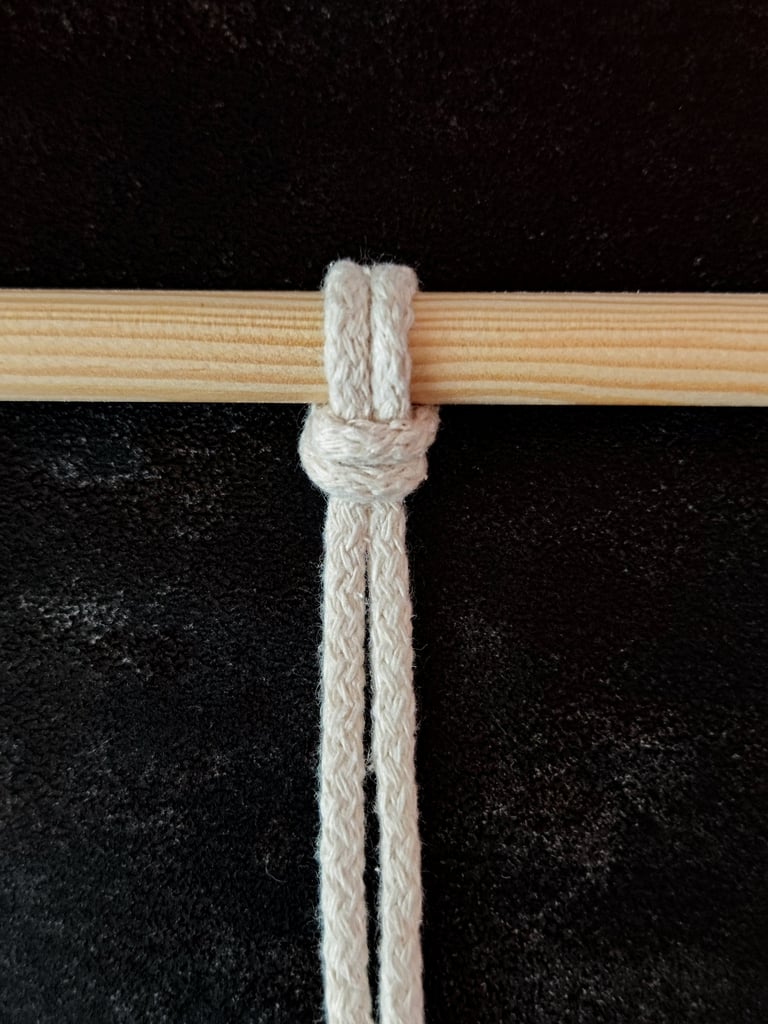
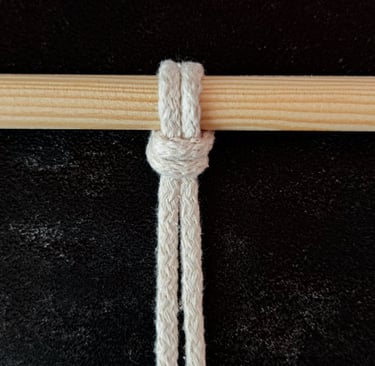
STEP 5
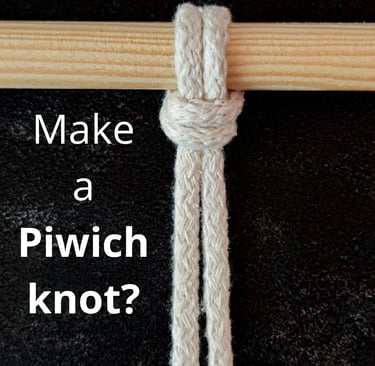
Pull the ends to tighten the knot.
Tightening and Securing the knot
Once you have the desired length, gently tighten each knot one by one. Work gradually from the starting point to the end, preventing uneven tension.
Use your fingers or a macrame comb to smooth the cords as you tighten. This will enhance the visual sharpness and durability of the knot.
Check your work for any loose cords and pull them firmly to lock the structure in place.
Troubleshooting Common Issues
When working with the Piwich knot in macrame, attention to cord management and knot accuracy is essential. Addressing these areas ensures your project remains neat and structurally sound.
Avoiding Tangling and Uneven Tension
Tangling can disrupt your workflow and damage cords. To prevent this, always unwind your cords fully before starting and keep them separated. Use clips or weights to hold cords in place and reduce slack.
Uneven tension causes knots to look inconsistent and weakens your piece. Focus on maintaining the same pulling force with each knot. Practice knotting slowly, and adjust tension as you go to keep the pattern uniform.
Regularly pause to untangle cords and check knot size. Consistency in tension improves the visual balance of your macrame item. Following these steps makes your Piwich knots cleaner and easier to manage.
Fixing Mistakes in knot Formation
If a knot is incorrect, the best time to fix it is immediately. Loosen the knot carefully without pulling too hard to avoid tightening it further.
If you miscounted cords or knots, backtrack by undoing knots up to the error. Keep track of your pattern count using markers or notes for accuracy.
When a knot is uneven or crooked, gently adjust the cord’s position before tightening again. Avoid rushing; precision in each knot vastly improves the final appearance.
Knowing how to recognize and correct these common mistakes helps you maintain workflow and quality.
