
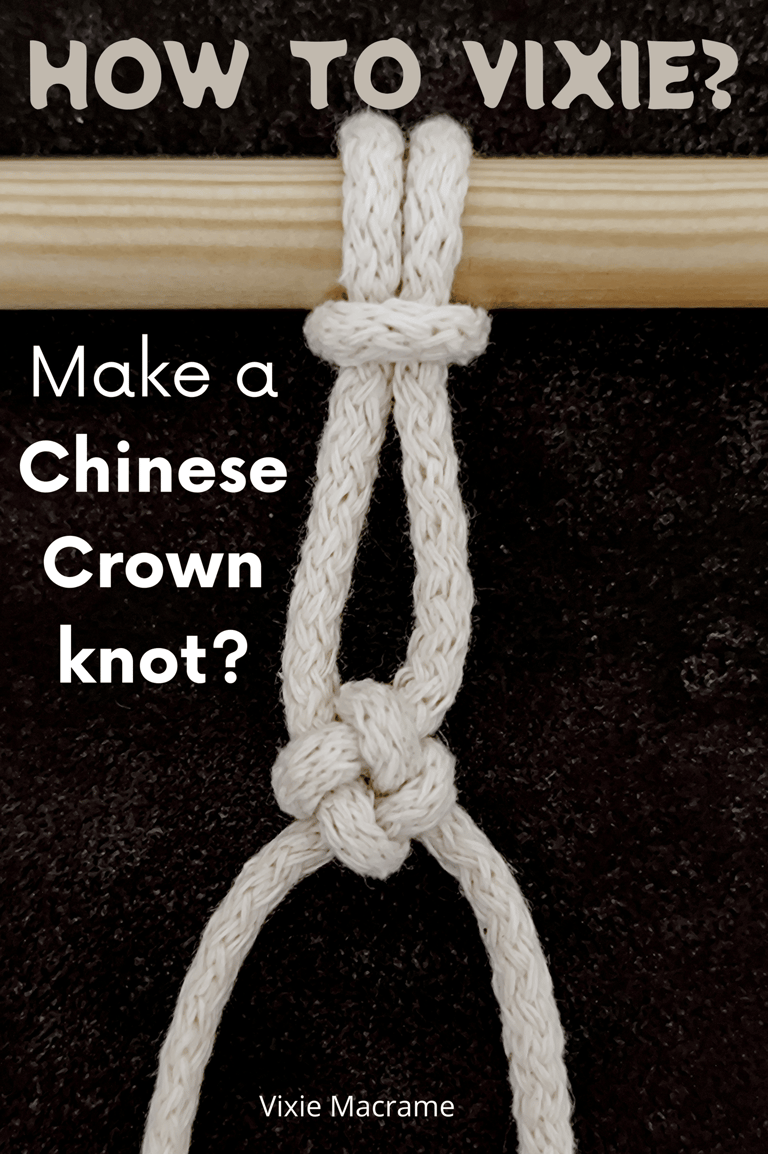
How to Vixie? Make a Chinese Crown knot?
Embark on a creative journey into the world of ancient artistry as you master the legendary Chinese Crown knot! This isn’t just any knot — it’s a symbol of strength, unity, and timeless beauty, waiting for you to unlock its secrets. Grab your cord and prepare to dive into a hands-on adventure where every twist and loop brings you closer to crafting a stunning piece steeped in tradition. Whether you’re a daring beginner or a seasoned explorer of crafts, this step-by-step guide will lead you through the twists and turns of the Crown Knot, transforming simple rope into a masterpiece. Ready to weave your own story? Let’s tie the knot and set off on this creative quest!
KNOTS TUTORIALS
Vixie Macrame
7/21/20254 min read
The Chinese Crown knot is a versatile and decorative knot used in macrame projects like plant hangers, keychains, and bracelets. It creates a strong, spiral design by tying several strands over each other in a specific pattern, making your crafts both sturdy and visually appealing.
You can use this knot to keep rope ends from unraveling or to build thick, textured ropes for different macrame designs. With a clear step-by-step tutorial, you’ll learn how to tie this knot easily, whether you have 3 strands or more.
Learning the Chinese Crown Knot opens up many creative options for your macrame work. Once you master it, you can make practical and decorative items that hold together well and look neat.
Understanding the Chinese Crown knot
The Chinese Crown knot is a distinctive decorative knot used in macrame, known for its symmetry and elegance. It has roots in Chinese culture and stands apart from other macrame knots by its structure and style. You will often see it in various craft projects, especially plant hangers and jewelry, where it adds both strength and visual interest.
Origins and Symbolism in Chinese Culture
The Chinese Crown knot dates back to ancient China, where knotting was an important art form. It often symbolizes good luck and fortune. In Chinese culture, knots like the Crown Knot represent the weaving of fate and continuity.
These knots were used in clothing, decorations, and gifts to convey wishes for happiness and protection. Different designs, including the Crown knot and other Chinese knot patterns, each hold unique meanings. The Crown knot in particular is linked with unity and harmony because of its round, balanced design.
You can see this influence in many traditional crafts. It is also popular in modern macrame due to its clean, organized look.
Defining Features Compared to Other Macrame knots
Compared to basic macrame knots like the Square knot or Half-Hitch knot, the Chinese Crown Knot is more decorative and complex. It starts from a central point where multiple cords are tied symmetrically around it.
You create the knot by weaving cords in a circular pattern, different from the linear style of many other macrame knots. This weaving creates a "crown"-like shape, giving the knot its name.
It’s often used as a focal point or repeating motif, rather than just a tying method. The structure is strong and holds shape well, which differs from looser knots that mainly join cords.
Mastering this knot adds variety to your macrame skills and enhances your projects visually and functionally.
Choosing the Right Macrame Cord
Selecting the right macrame cord is key to making a sturdy and attractive plant hanger. Look for cords made of natural fibers like cotton, jute, or hemp, which are strong and easy to knot.
The thickness of your cord affects the size and feel of the knots. For a typical macrame plant hanger, cords around 3–5 mm thick work well. Thinner cords create delicate designs, while thicker cords offer more strength.
Make sure your cord length fits your project size. It’s better to cut extra cord than to run short. A typical plant hanger will require several yards, depending on how many knots and layers you plan to include.
Step-by-Step Chinese Crown Knot Macrame Tutorial
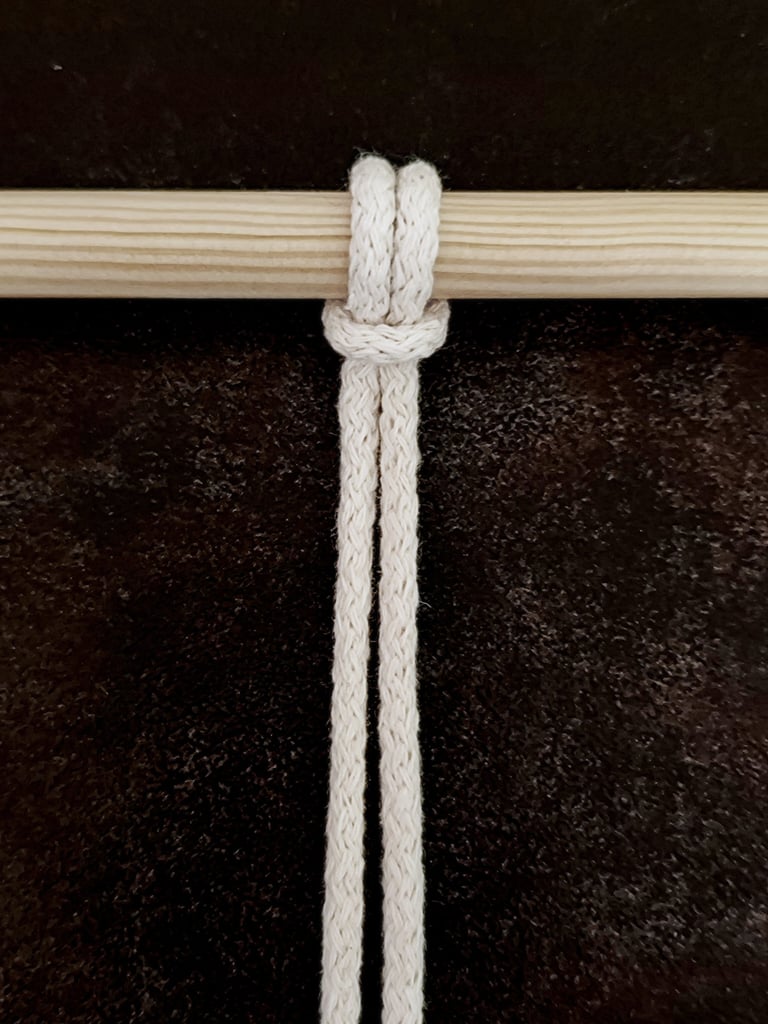
STEP 1
To begin, you will need 2 cords.
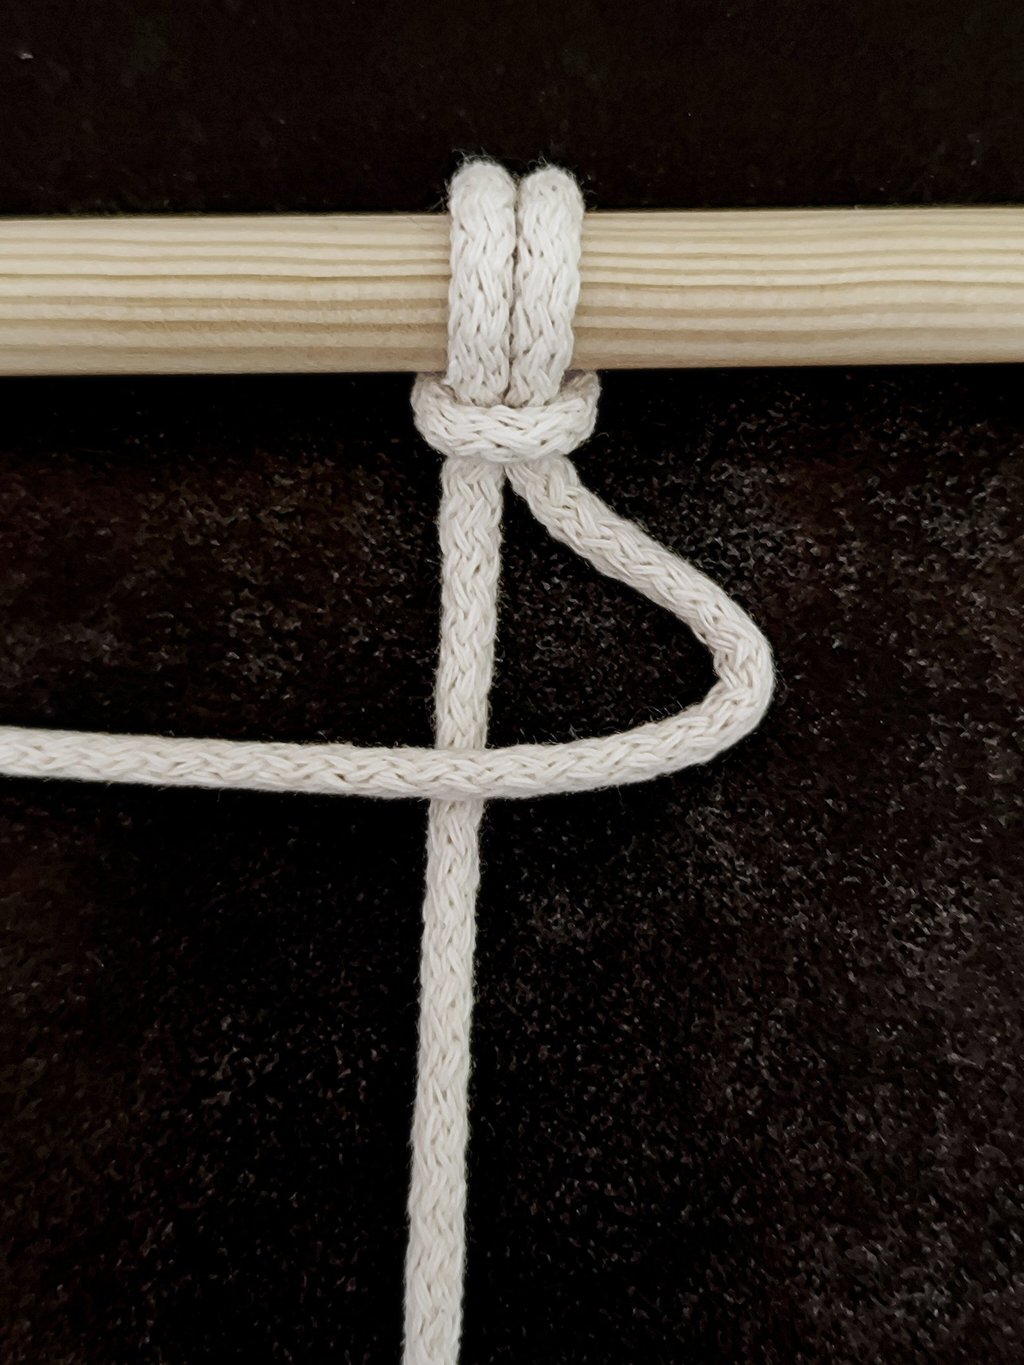
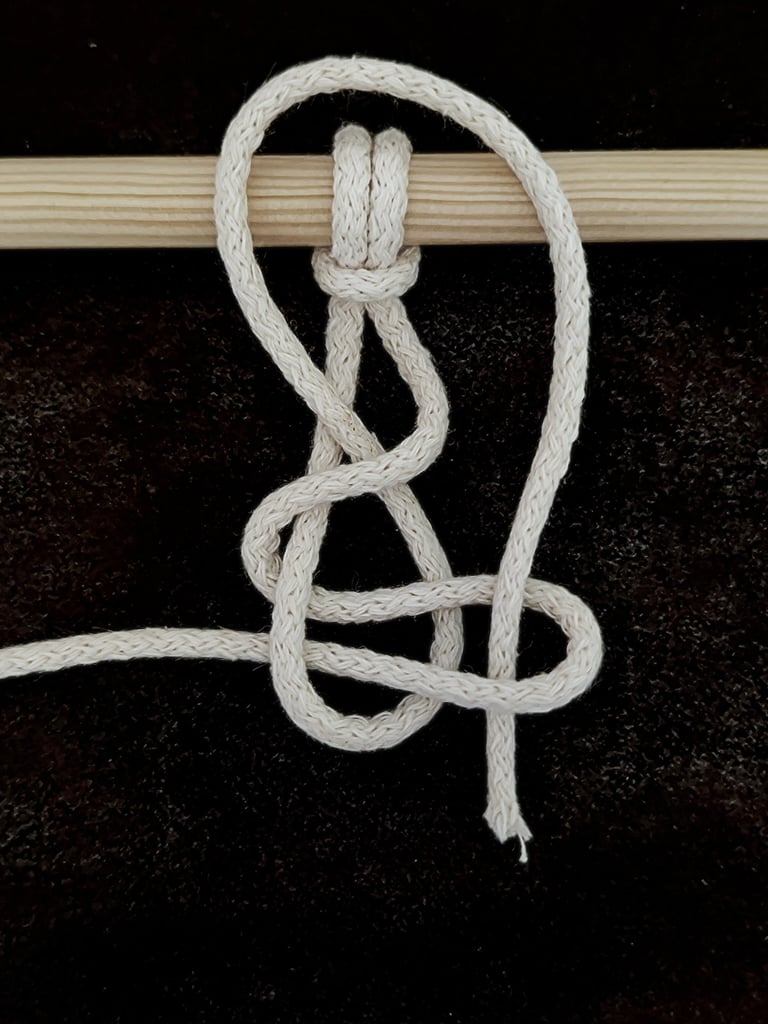
STEP 2
Take the 2nd cord and fold it horizontally over the 1st cord toward the left.
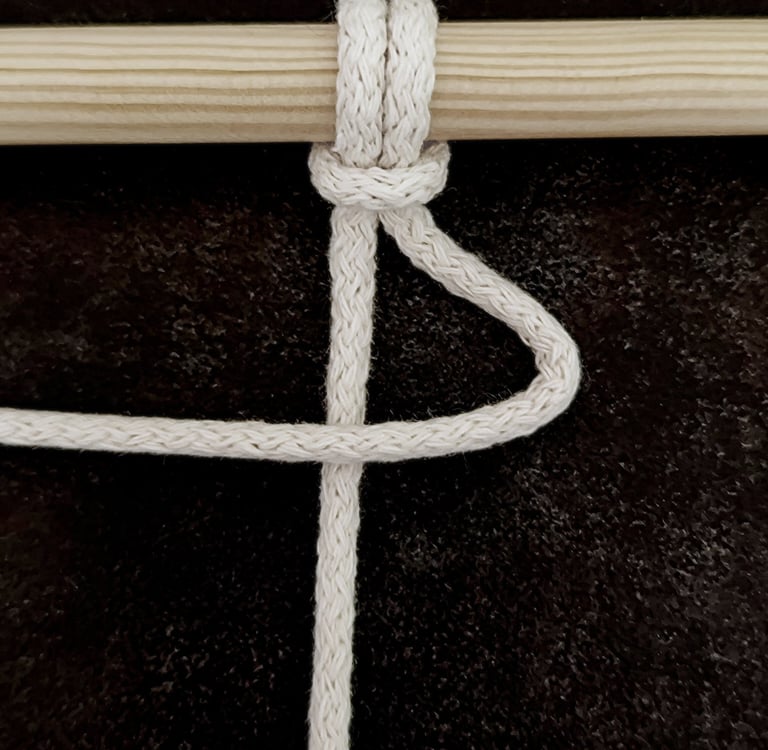
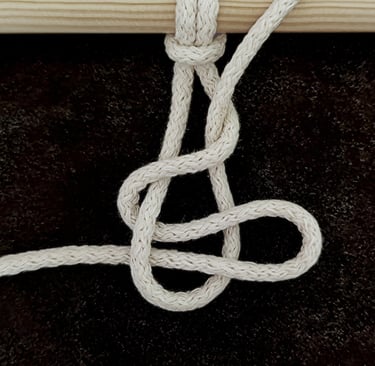
STEP 3
Change direction to the right and pass the 2nd cord behind the 1st cord.
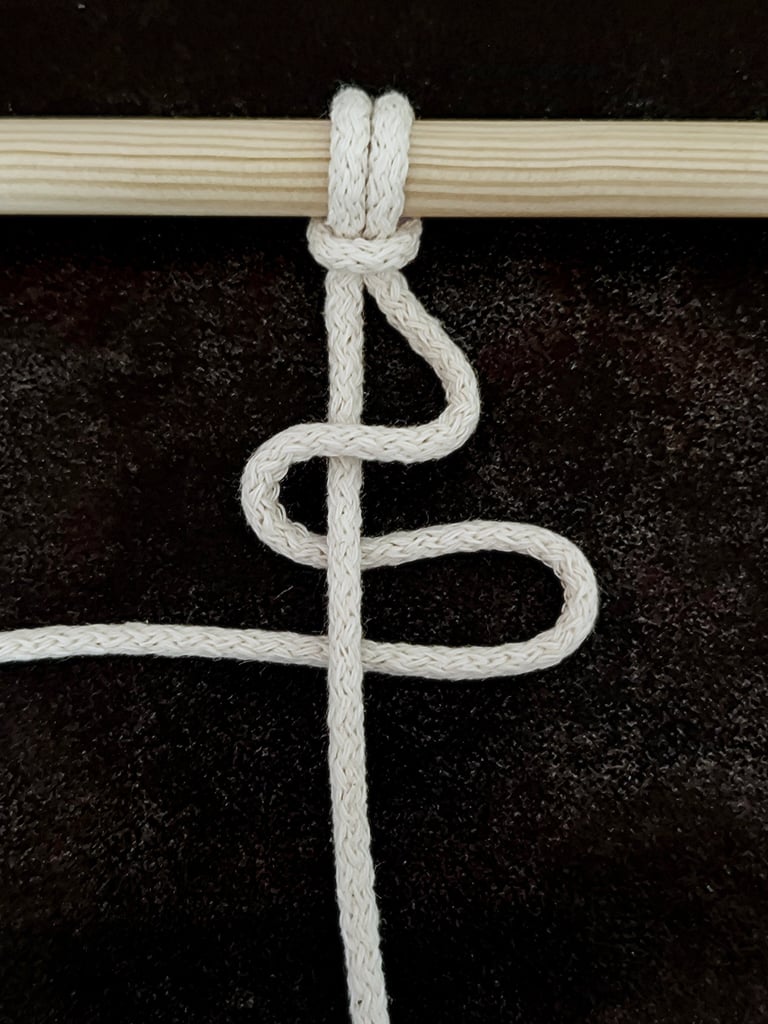
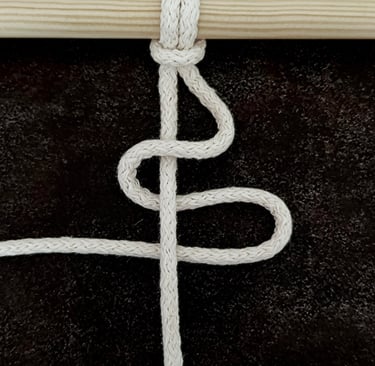
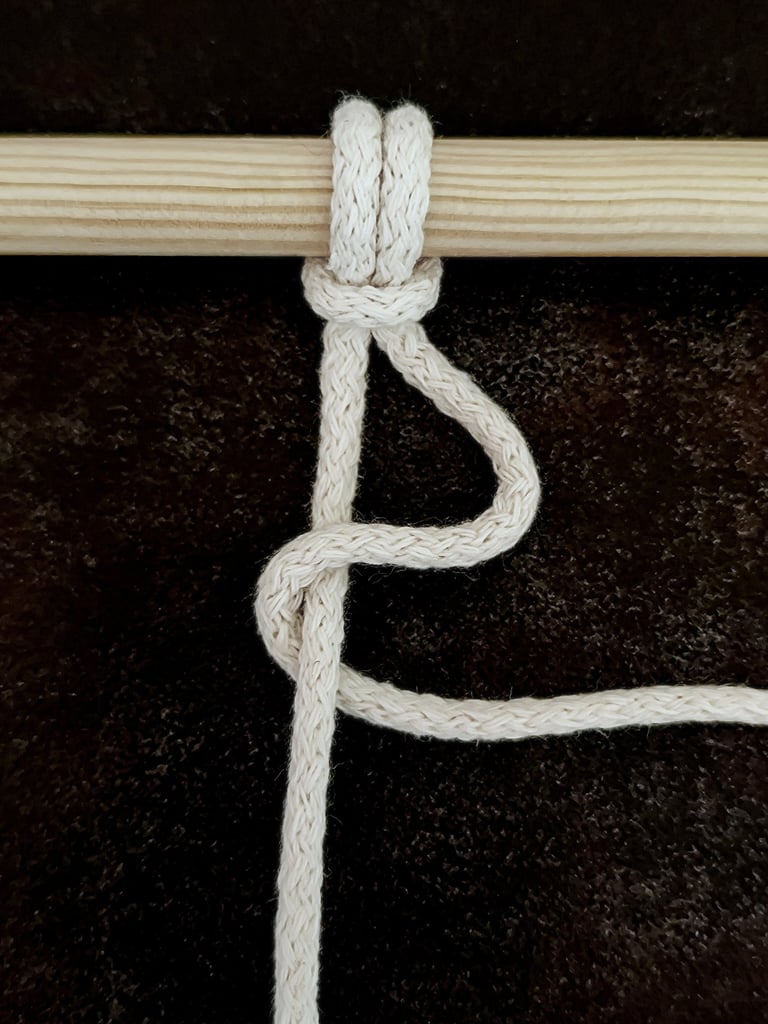
STEP 4
Change direction once more to the left, keeping the 2nd cord behind the 1st cord.
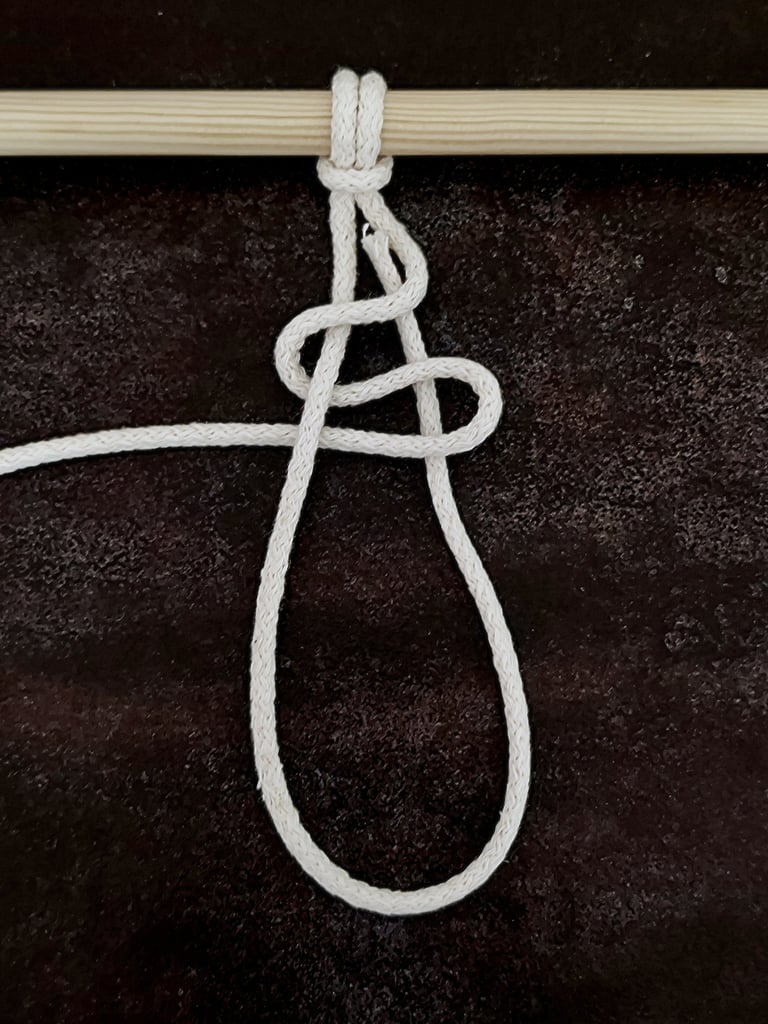
STEP 5
Now take the 1st cord, pass it behind, and thread it upward through the 1st loop created by the 2nd cord.
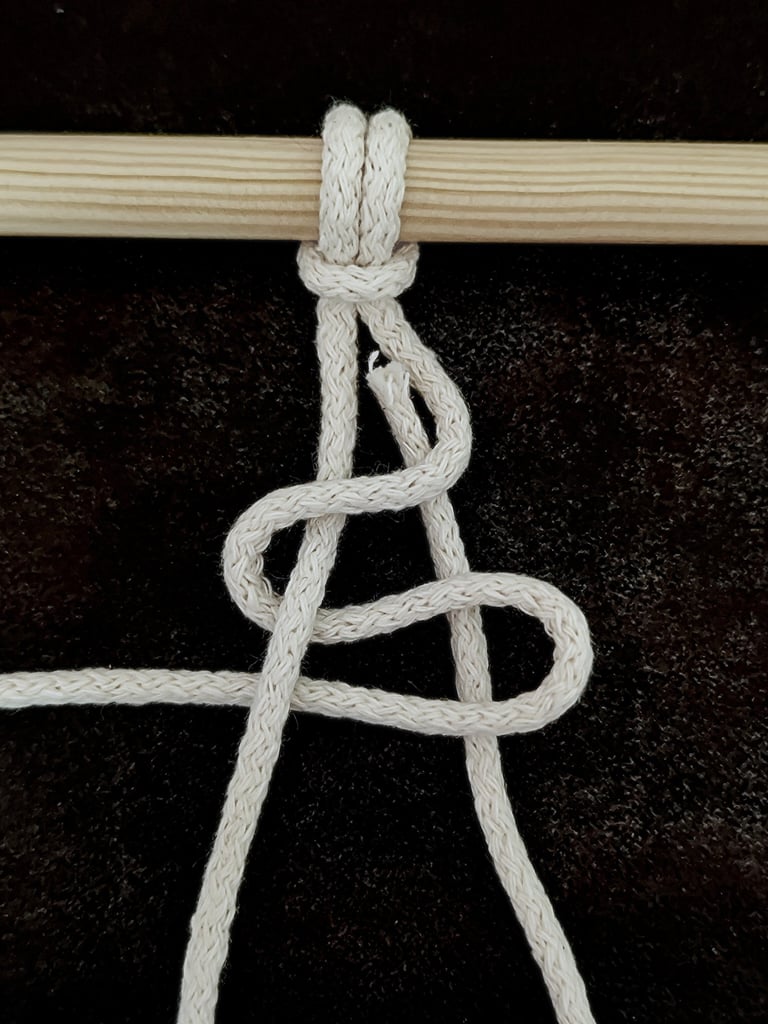
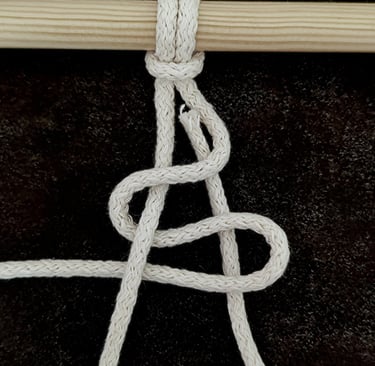


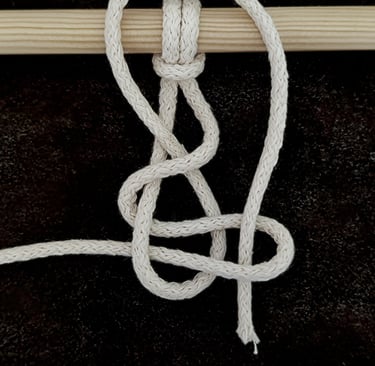
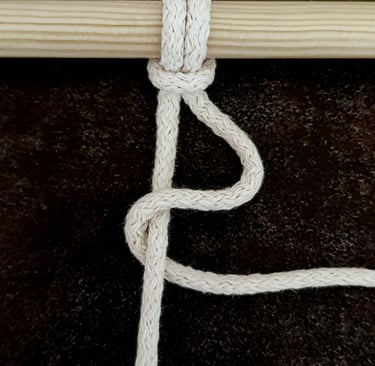
STEP 6
Next, guide 1st cord downward through the 2nd loop created by the 2nd cord.


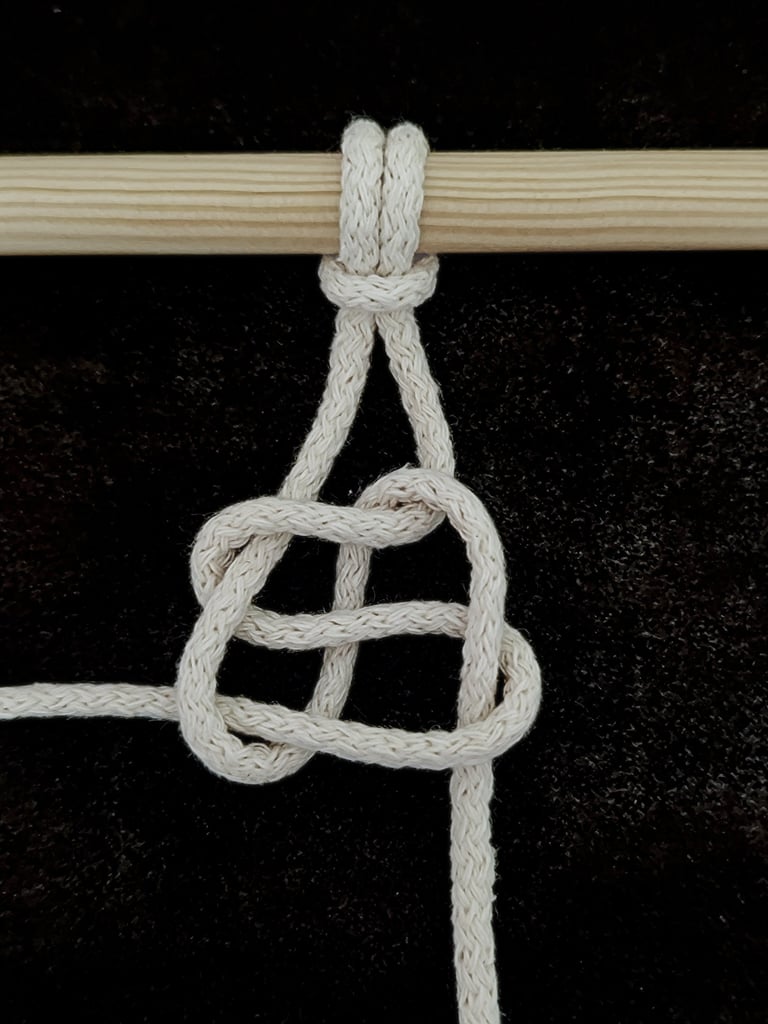
STEP 7
Pull both cords firmly to tighten the knot.