Beginner Guide to Macrame my Way
Ready to dive into the world of macrame but not sure where to begin? This is your beginner’s guide—with a twist. Macrame My Way is all about learning the ropes with creativity, courage, and a spirit of adventure. In this fun and fearless post, I’ll walk you through the essential knots, tools, and tips you need to get started—no perfection required, just a passion to create. Whether you're hanging your first wall piece or crafting your first plant hanger, get ready to explore macrame the bold and personal way. Let’s knot, learn, and discover your own creative path—one loop at a time! 🧭✨
GUIDES
Vixie Macrame
6/8/20259 min read
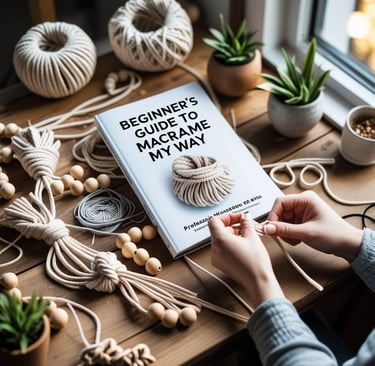
My post content
If you want to learn macrame but don’t know where to begin, this guide will give you all you need to start with confidence. You only need a few basic knots and some simple materials to create a wide range of macrame projects, from wall hangings to plant hangers and more. The craft is accessible and rewarding once you master these foundational skills.
You’ll find practical tips on selecting materials, setting up your workspace, and practicing the essential knots that form the basis of every macrame piece. Understanding these basics will help you avoid common mistakes and make the learning process smoother. Whether you want a relaxing hobby or to make decor for your home, macrame is a straightforward craft anyone can pick up.
This guide is designed to help you get started without overwhelming you. By focusing on clear steps and simple projects, you can build your skills steadily and enjoy seeing your creations take shape.
What Is Macrame?
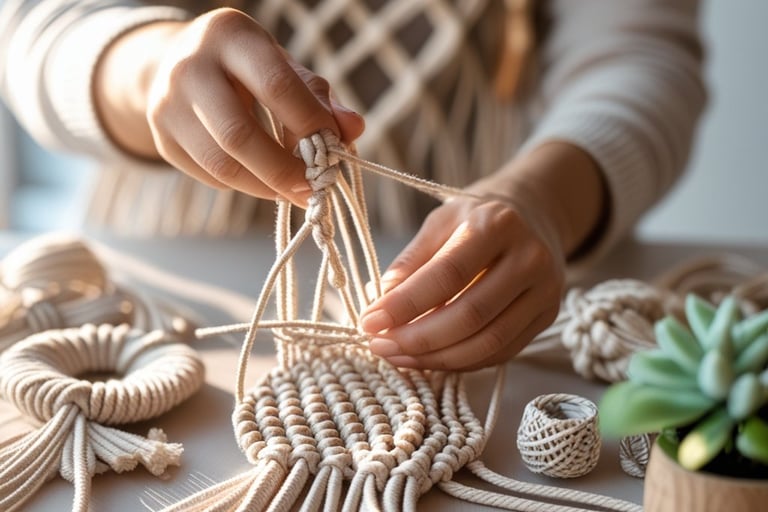
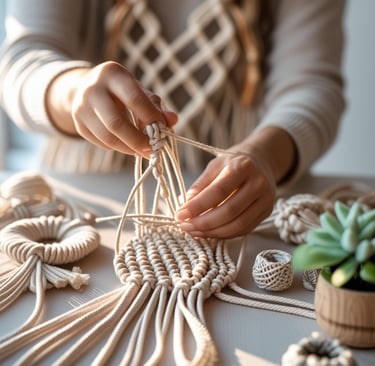
Macrame is a textile technique that involves knotting cords or strings to create patterns and shapes. It uses specific knots and materials, resulting in a versatile craft that you can apply to various decorative and functional projects.
You’ll learn about its origins, how it’s used today, and key terms you need to understand before getting started.
Brief History of Macrame
Macrame dates back to at least the 13th century and is believed to have roots in Arab weaving traditions. Sailors popularized it by knotting ropes during long voyages, creating decorative and useful objects like hammocks and belts.
During the Victorian era, macrame became a popular pastime in Europe, often used for household items such as curtains and tablecloths. Its resurgence in the 1970s gave it a modern, bohemian flair, especially in wall hangings and plant holders.
Understanding this history helps you appreciate the craft’s evolution and gives context to the techniques you’ll use.
Uses of Macrame Today
Today, macrame is widely used in home décor, fashion, and accessories. You can create items like wall hangings, plant hangers, bags, earrings, and keychains using basic knots.
Its popularity lies in the wide range of materials available, from natural cotton cords to colorful synthetic threads, allowing endless creativity. Many people use macrame to personalize their living spaces or make handmade gifts.
Knowing these uses will guide you in choosing projects that fit your interests and skills.
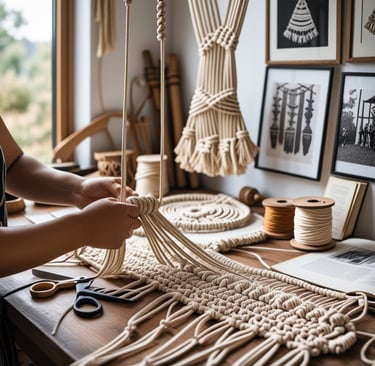
Basic Terminology
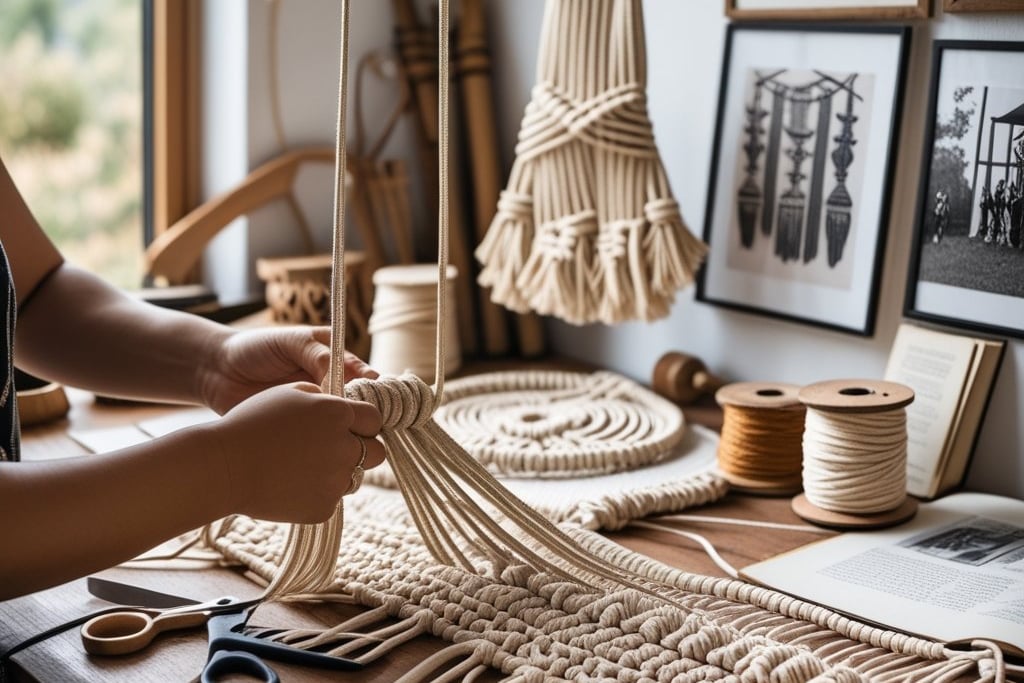
Before you start knotting, know these key terms:
Cord: The material used for knotting, often cotton or synthetic fibers.
Working Cord: The cord used to tie knots.
Holding Cord / Anchor Cord: The cord that remains stationary while knots are tied around it.
Familiarity with these terms will make following instructions easier and your learning process smoother.
Essential Materials for Macrame
To get started, you need the right cords, supplies, and tools designed for macrame projects. Each choice affects how easy your work will be and how polished your final piece looks.
Choosing the Right Cord
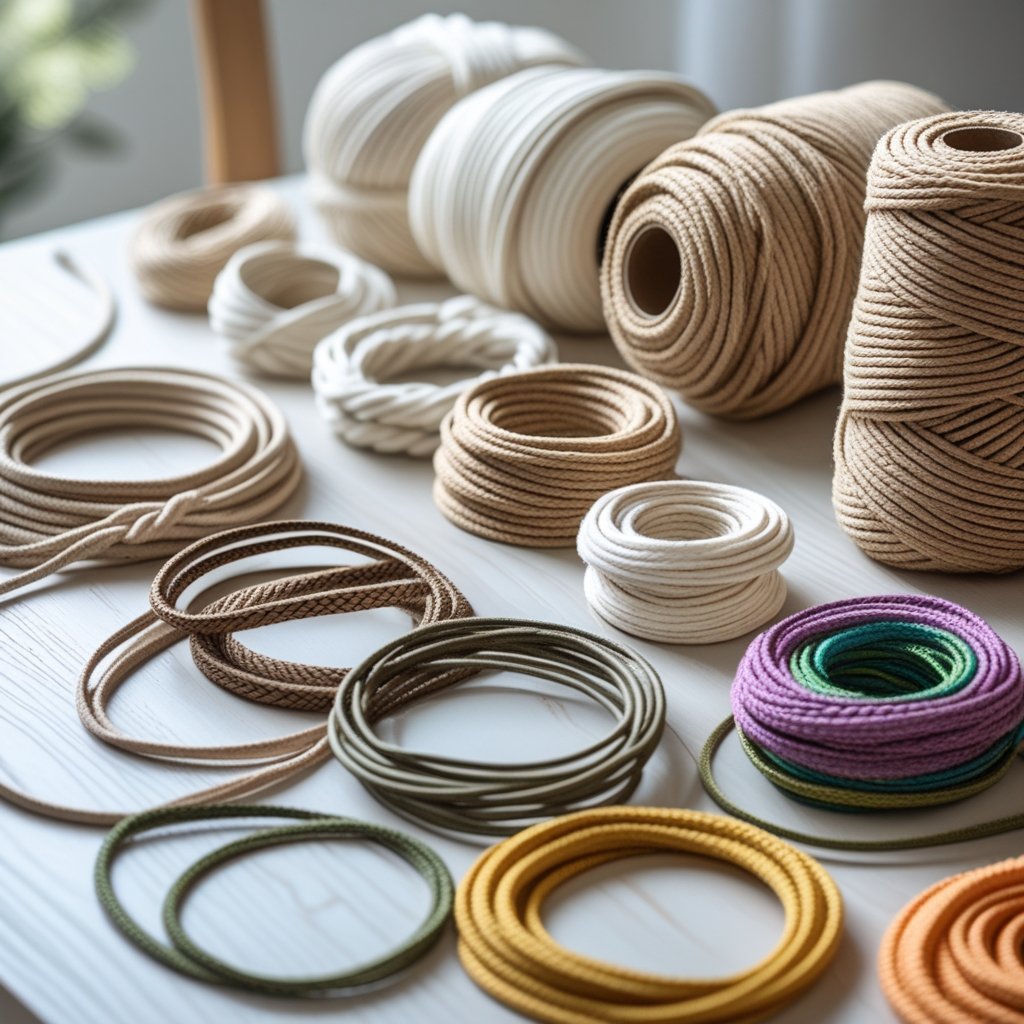
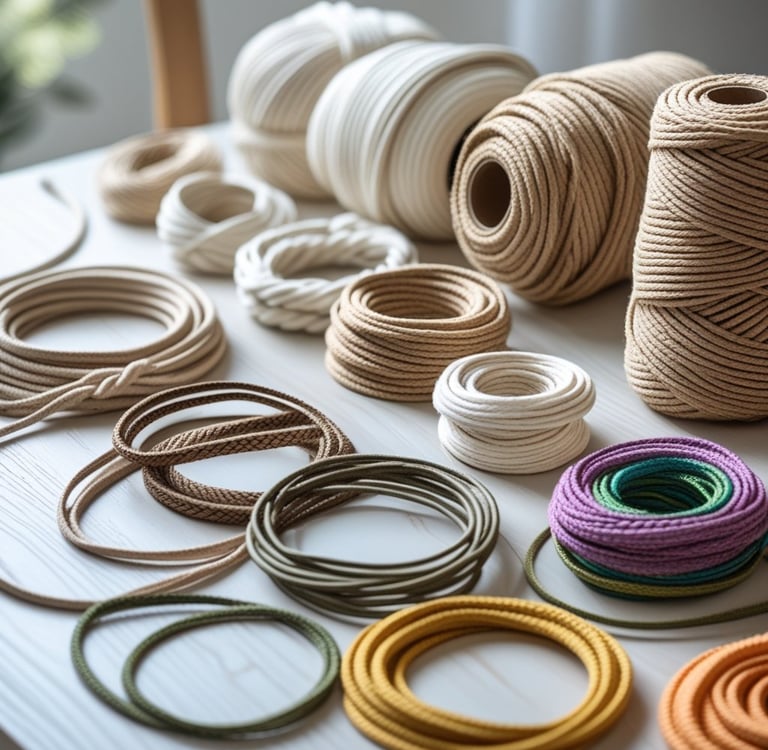
Your cord is the foundation of any macrame project. Look for cords made from natural fibers like cotton or jute; these are easy to knot and hold structure well. Cotton cords, especially 3mm to 5mm thickness, are popular for their softness and durability.
Consider cord texture and strength. Smooth cords give cleaner lines, while rougher textures add rustic character. Synthetic cords exist but often lack the flexibility and natural feel of cotton. Always measure and cut extra length since knots consume more cord than expected.
Types of Macrame Supplies
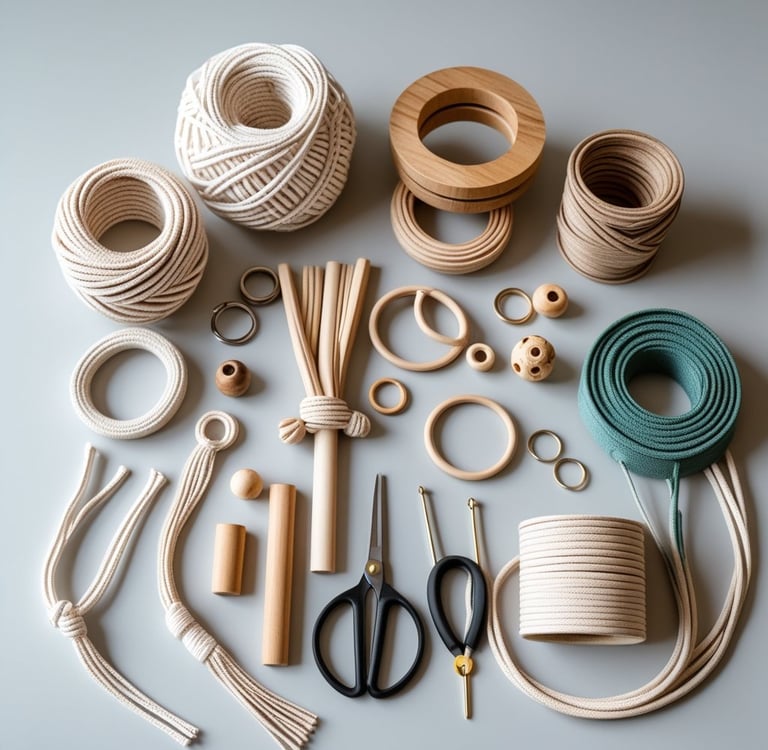
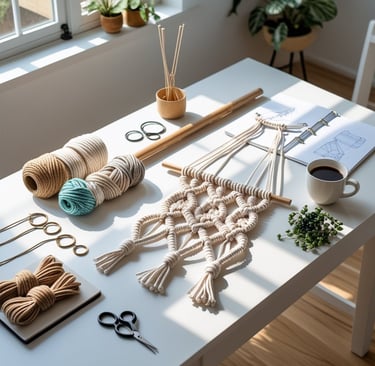
Beyond cord, you’ll need some basic supplies. Start with a sturdy rod, dowel, or metal ring to anchor your project. This will hold the cords and keep everything taut while you work.
Other essentials include scissors sharp enough to cut thick cords cleanly and a tape measure for accuracy. A comb or brush can help separate strands if you want a fringed look.
Having these supplies on hand ensures you can maintain control and precision as you learn new knots and techniques.
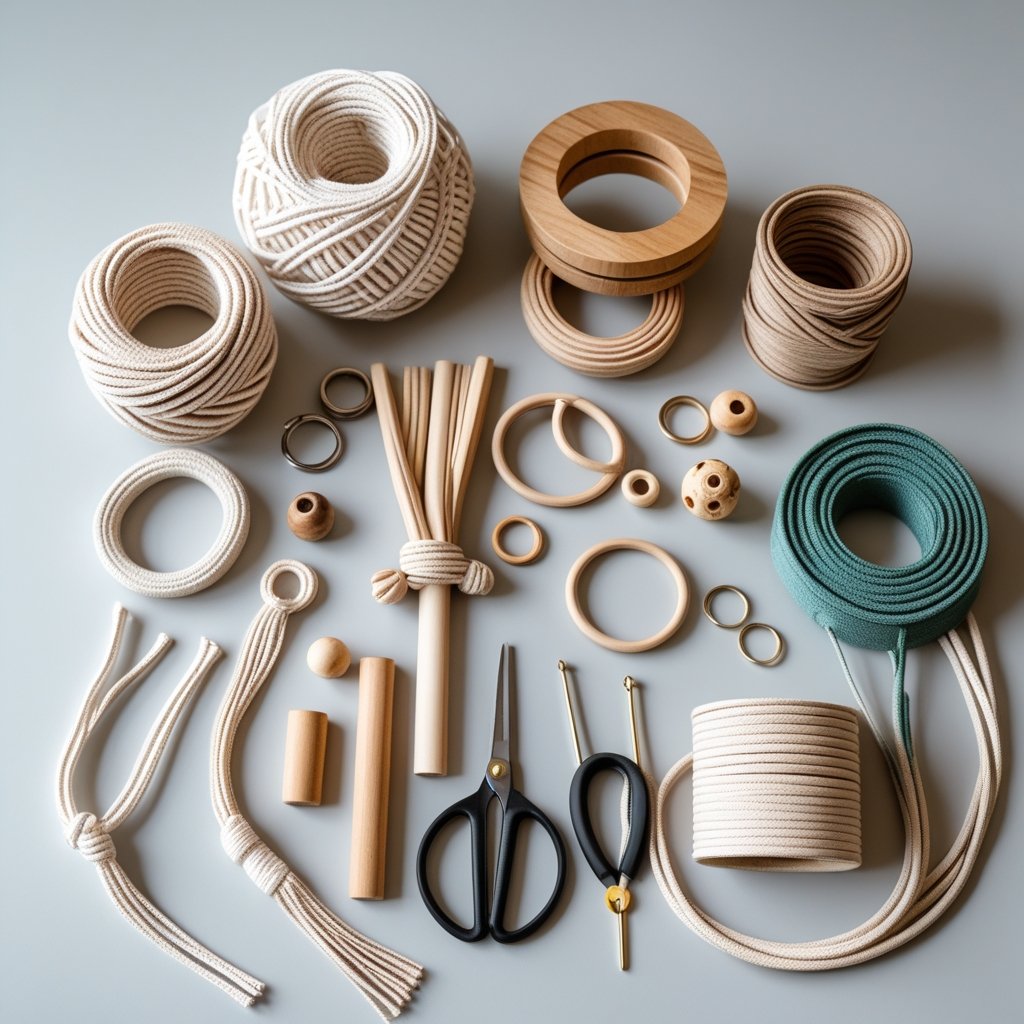
Selecting Project-Friendly Tools
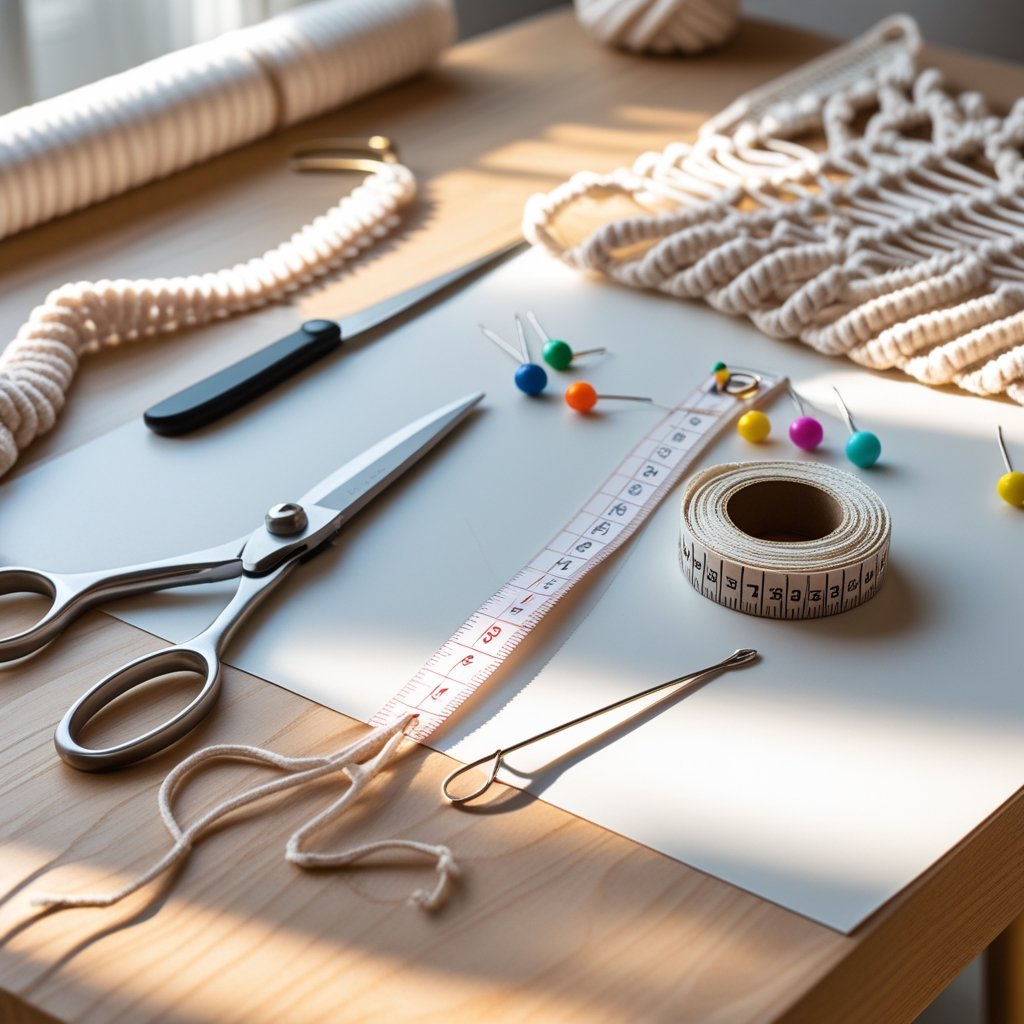
Certain tools make working on macrame easier and improve your workflow. A good workspace light helps you see knot details clearly, reducing mistakes.
You might also want clips or pins to hold cords in place temporarily. Some beginners find a macrame board or foam surface useful for pinning cords during complex patterns.
Start simple, using scissors, measuring tools, and a place to hang your work. As you advance, adding specialized tools will help streamline your macrame crafting.
Fundamental Macrame Knots
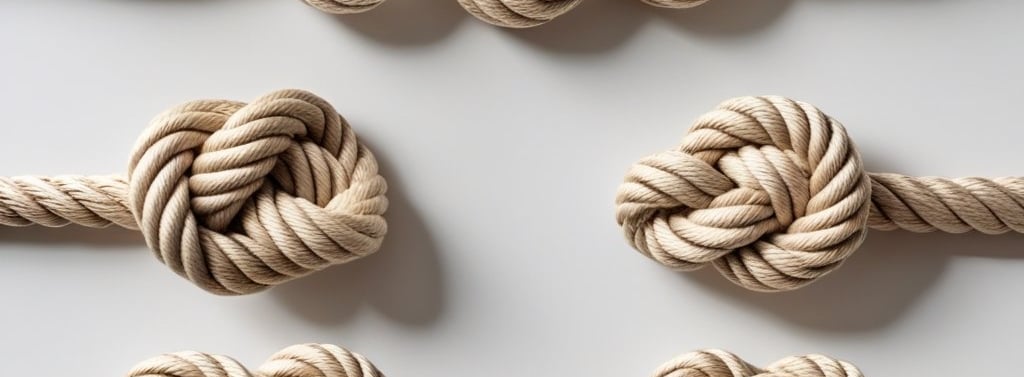
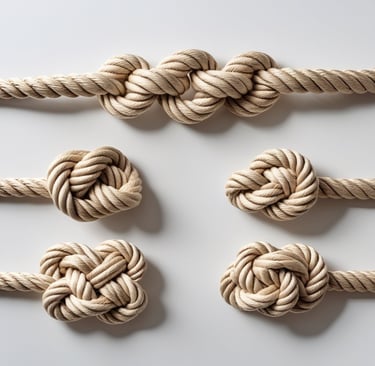
The Lark’s Head knot is often the starting point in macrame. It attaches your working cords to a holding cord or dowel securely and neatly.
This knot creates a clean base, is easy to adjust, and doesn't require much cord length. It’s particularly useful for framing your pieces and starting projects efficiently.
Square knot
The Square knot is a staple in macrame patterns due to its versatility. You use four cords: two outer working cords and two inner filler cords.
It produces a flat, firm knot that holds well and can be combined to form rows or chains. Remember to leave extra cord; the working cords consume more material than fillers.
Half-Hitch knot
The Half-Hitch knot is a simple wrapping knot used to create lines or curves on your project. It involves looping a working cord around a filler cord or dowel.
By repeating multiple Half-Hitch knots in sequence, you can form spirals or decorative bands. It’s popular for adding texture and dynamic shapes to your design.
Double Half-Hitch knot
The Double Half-Hitch knot builds on the Half-Hitch by adding extra security. You tie two consecutive half hitches with the same working cord around a filler cord.
This knot is ideal for creating straight, sturdy lines and angles in your pattern. It offers more control and firmness compared to a single Half-Hitch, making it essential for shaping complex designs.
Planning Your First Macrame Project
Starting with the right project, preparing your cords accurately, and understanding the pattern instructions are crucial to avoid frustration and ensure steady progress. These steps set a solid foundation for your macrame crafting.
Simple Project Ideas for Beginners
Pick projects that use basic knots and simple shapes. Wall hangings, keychains, and plant hangers are popular and manageable for beginners. These allow you to practice essential knots like the Square knot and Half-Hitch.
Choose smaller projects first. They require less material and time, so you can finish and gain confidence. Gradually move to more complex patterns once you feel comfortable with the basics.
Avoid projects with intricate designs or too many cords until you master foundational skills. Focus on creating neat, even knots to develop a consistent technique.
Measuring and Cutting Cord
Measure your cords to at least four times the length of your intended project. This extra length accounts for knotting and any mistakes you might make.
Use a ruler or tape measure and note the total length for each cord before cutting. Cutting too short forces you to start over, wasting materials.
Keep cords organized by grouping and labeling them if your project requires multiple lengths. Using sharp scissors will ensure clean cuts without fraying.
If you are unsure about length, add an extra 10-15% to prevent running out mid-project.
Setting Up Your Workspace
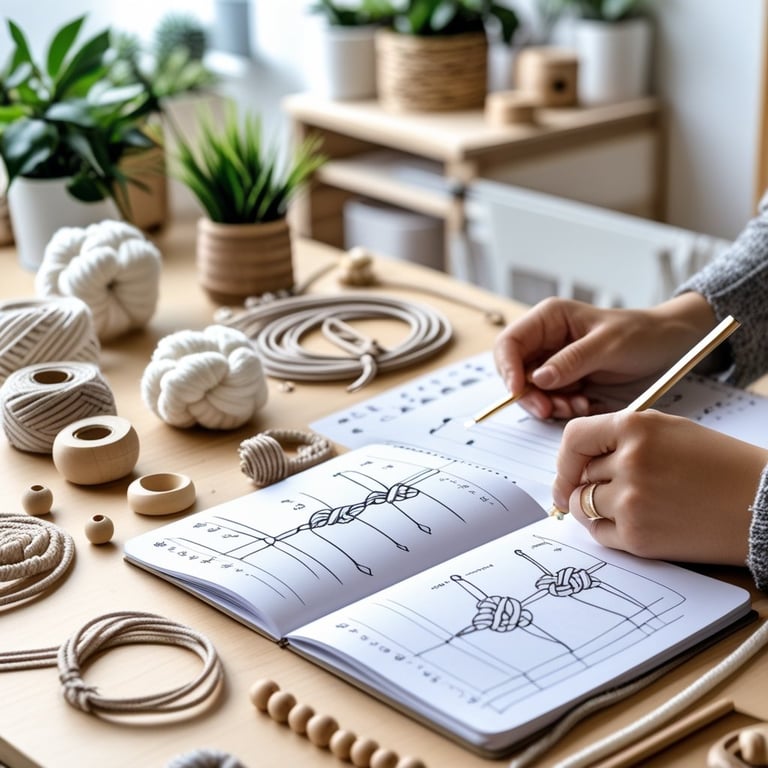
Patterns specify knots, cord counts, and measurements precisely. Read instructions fully before starting to avoid confusion.
Common macrame knots like the square knot or lark’s head are often abbreviated. Look up unfamiliar terms or diagrams to familiarize yourself.
Patterns may include step-by-step guides, knot symbols, or images. Follow these carefully and work slowly to maintain accuracy.
Use a note-taking method to track your progress, marking completed steps. This helps if you pause and return later, reducing errors.
Step-by-Step Guide to Starting Macrame
To begin, you need a well-organized workspace, proper materials neatly prepared, and clear instructions to follow basic knot patterns. Each of these elements plays a crucial role in making your macrame project manageable and enjoyable.
Understanding Pattern Instructions
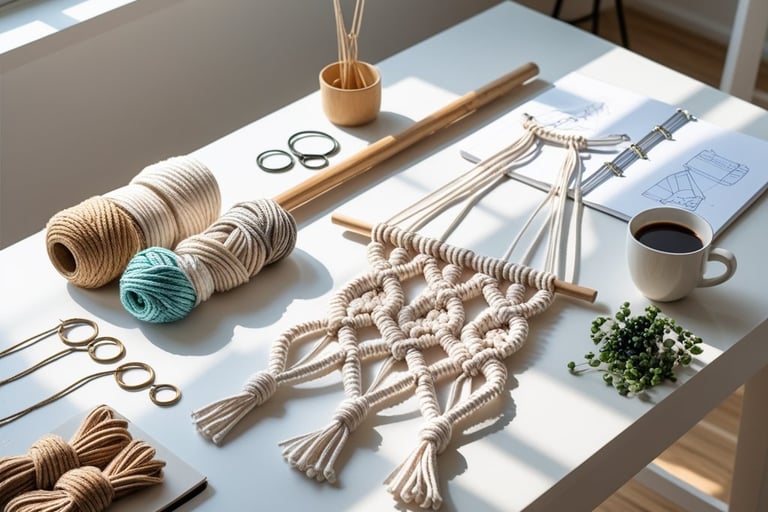
Choose a comfortable, well-lit area where you can sit or stand with room to move your arms freely. Make sure your workspace can accommodate the size of your project. A sturdy surface or a hanging rod will help secure your cords.
Use a clipboard, macrame board, or a simple ring to anchor your cords at a suitable height. Keep your tools—scissors, tape measure, and comb—within easy reach. Organize your cords to avoid tangling.
Good lighting is important to clearly see your knots. A bright lamp or natural light will reduce eye strain during detailed work.
Preparing and Organizing Materials
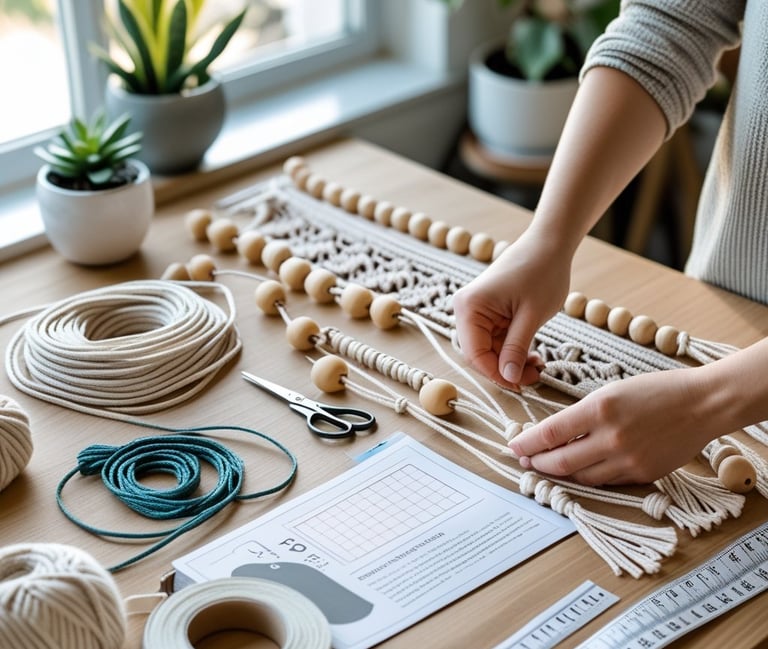
Start with the right cord type and length. For beginners, cotton or jute cords about 3-5 mm thick are ideal. Cut your cords approximately 4 to 8 times the length of your intended finished piece, depending on your pattern’s requirements.
Gather tools like sharp scissors, a measuring tape, and optionally, a comb for fraying ends.
Label your cords if working with multiple colors or lengths to prevent confusion. Use clips or clothespins to keep cords separated and untangled.
Before tying knots, straighten cords to remove bends or kinks. This preparation makes the knotting process smoother.
Following Basic Patterns
Begin with simple knots such as the Square knot and Half-Hitch. These form the foundation of most macrame designs.
Follow step-by-step tutorials or diagrams carefully. Pay attention to cord placement and tension to keep consistent knot size.
Work slowly and check your progress frequently. Correct mistakes early to avoid unraveling complex sections later.
Practicing straightforward projects like keychains or wall hangings helps build your skills before moving to intricate patterns.
Troubleshooting Common Macrame Mistakes
When working on your macrame projects, you may encounter issues like uneven tension or knots that don’t look uniform. Paying close attention to how tightly you pull your cords and how consistently you tie your knots will help create a cleaner, more professional finish.
Adjusting Tension and Spacing
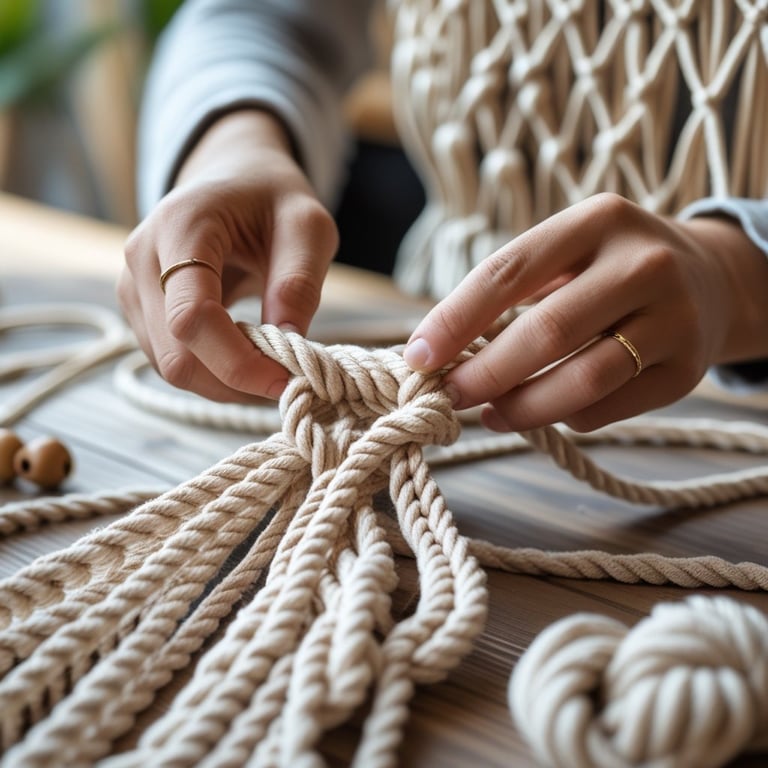
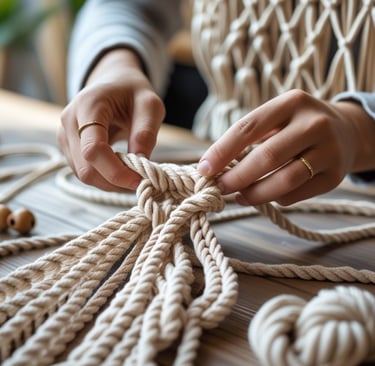
Tension affects both the look and structure of your piece. If your knots are too tight, the macrame can become stiff and warped. Too loose, and it may sag or lose shape. Aim for consistent tension by pulling each knot firmly but not with excessive force.
Spacing is equally important. Uneven gaps between knots make your design appear irregular. To control spacing, use your fingers as a guide to measure equal distance. You can also mark your cords lightly with a pencil or use masking tape on your workspace to maintain uniformity.
Fixing Uneven Knots
Uneven knots disrupt the symmetry of your macrame. This usually happens when you pull one side of the cord harder than the other. To fix this, untie the knot carefully and retie while balancing the tension on both cords.
Practice the basic knots to get comfortable with the movements. Use tools like sharp scissors and a flat workstation to keep your cords straight and organized. Over time, your muscle memory will improve, and knot consistency will follow naturally.
Finishing Touches and Care
Properly finishing your macrame project ensures durability and a neat appearance. Caring for your piece will keep it looking good and extend its life, so it’s important to handle both aspects carefully.
Securing and Trimming Ends
To secure the ends of your cords, use techniques like knotting, whipping with smaller thread, or applying glue designed for fabric. Avoid loose ends as they can unravel over time.
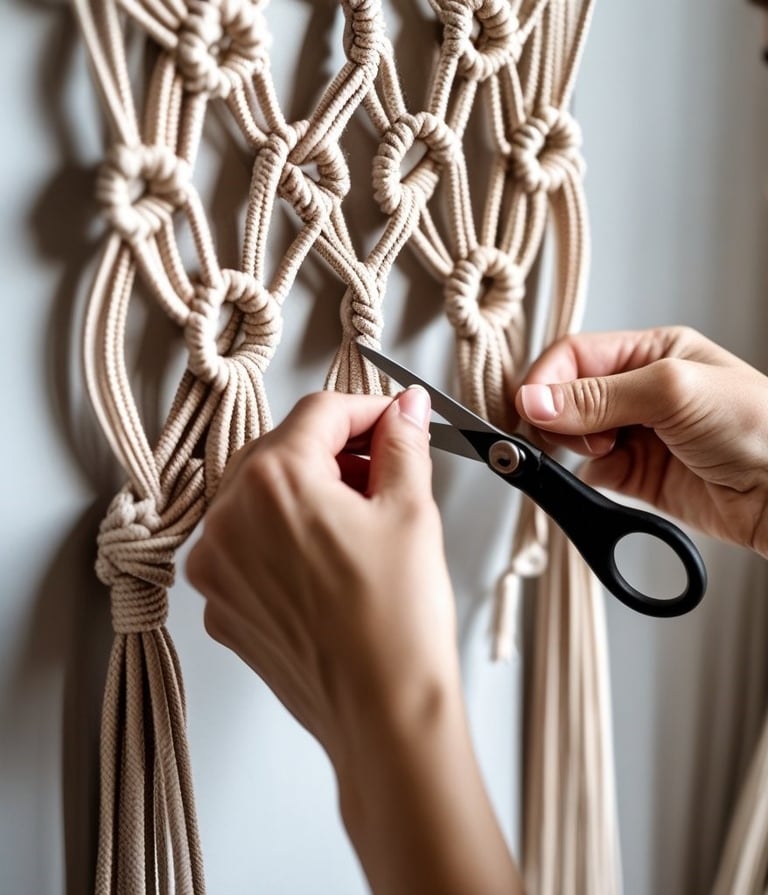
When trimming, use sharp scissors to cut cords evenly. Leave a small tail—about 1/4 inch (6,4 cm)—to prevent knots from slipping. If you want a polished look, lightly singe synthetic cords with a lighter to stop fraying, but avoid burning natural fibers.
If your project uses beads or metal rings, make sure these are firmly attached before trimming. Secure any hanging strands with additional knots or clear fabric glue for extra hold.
Maintaining Your Macrame Pieces
To keep your macrame clean, gently dust it with a soft brush or shake out dirt outdoors. For deeper cleaning, hand wash with mild soap and cold water. Avoid harsh detergents or bleach.
Lay your piece flat to dry to prevent distortion. If wrinkles appear, use a steam iron on a low setting, placing a cloth between the iron and the cords.
Store your macrame away from direct sunlight and humidity to prevent discoloration and mold. Regular maintenance will preserve the texture and strength of your knots.